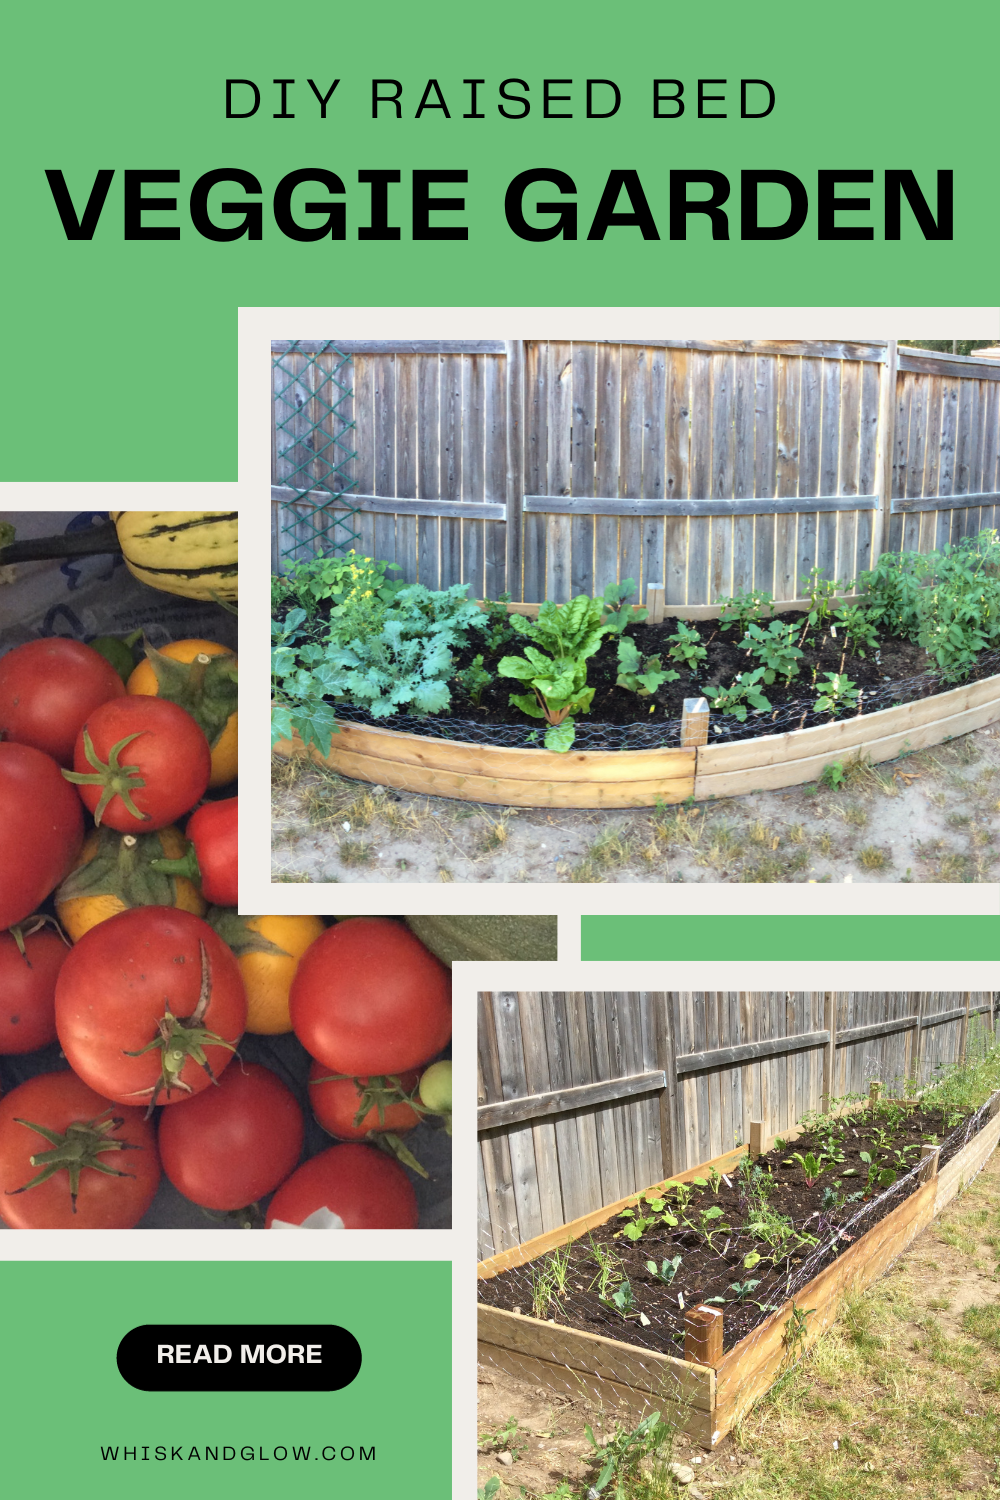
Creating a raised vegetable garden is a fulfilling project that requires a little planning and careful execution. Follow these steps to establish a raised bed veggie garden of your very own.
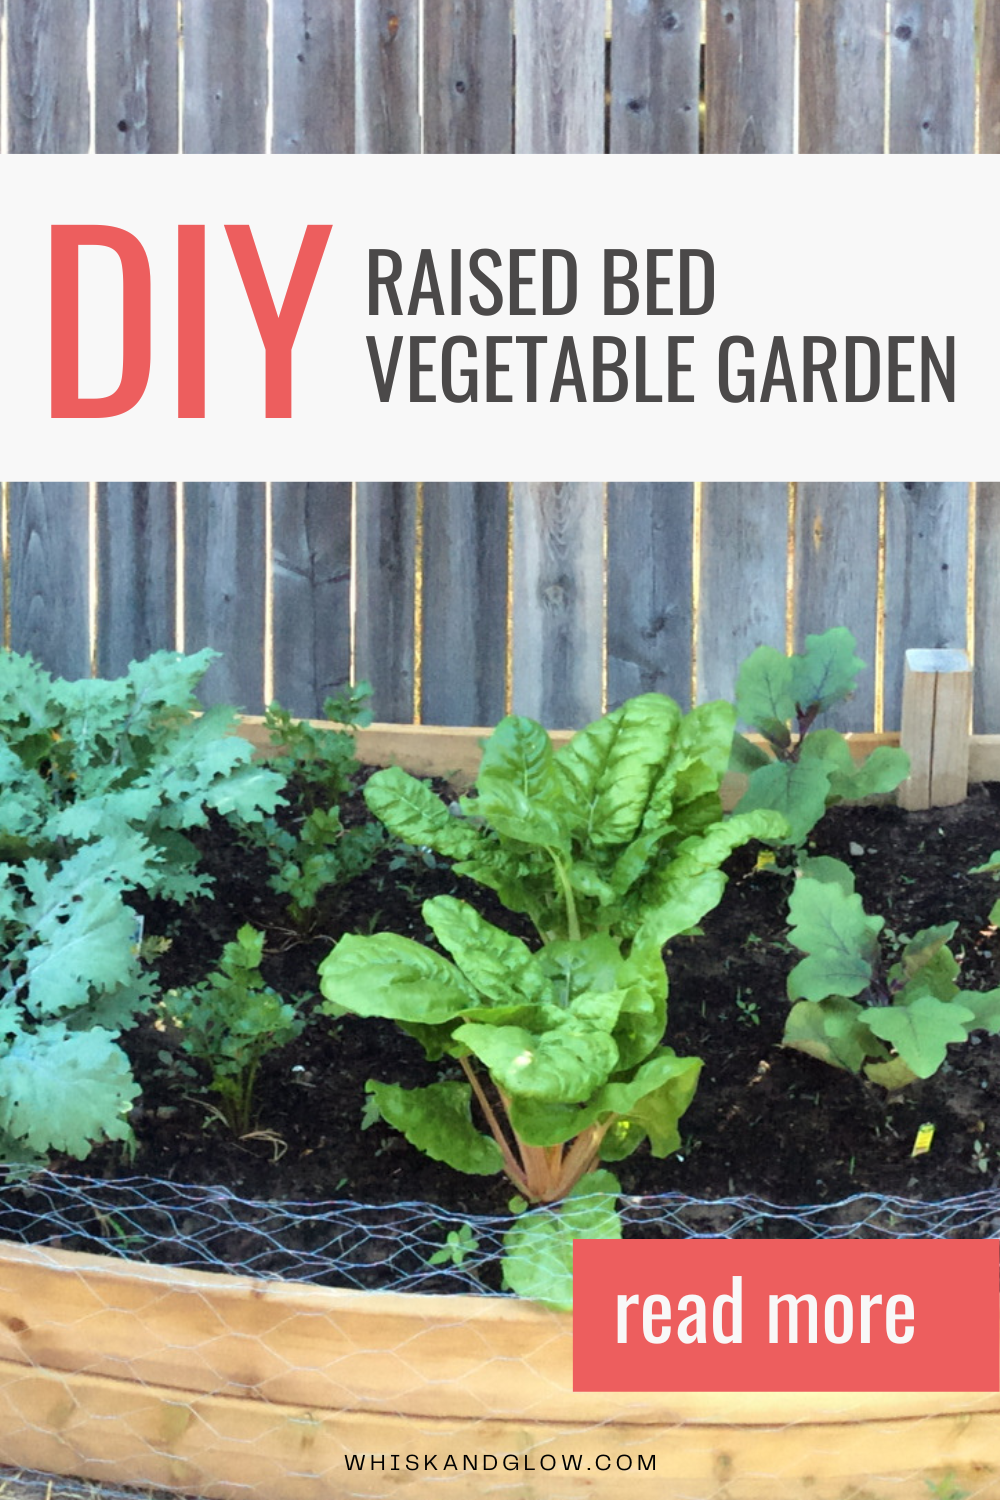
1. Choose a Location:
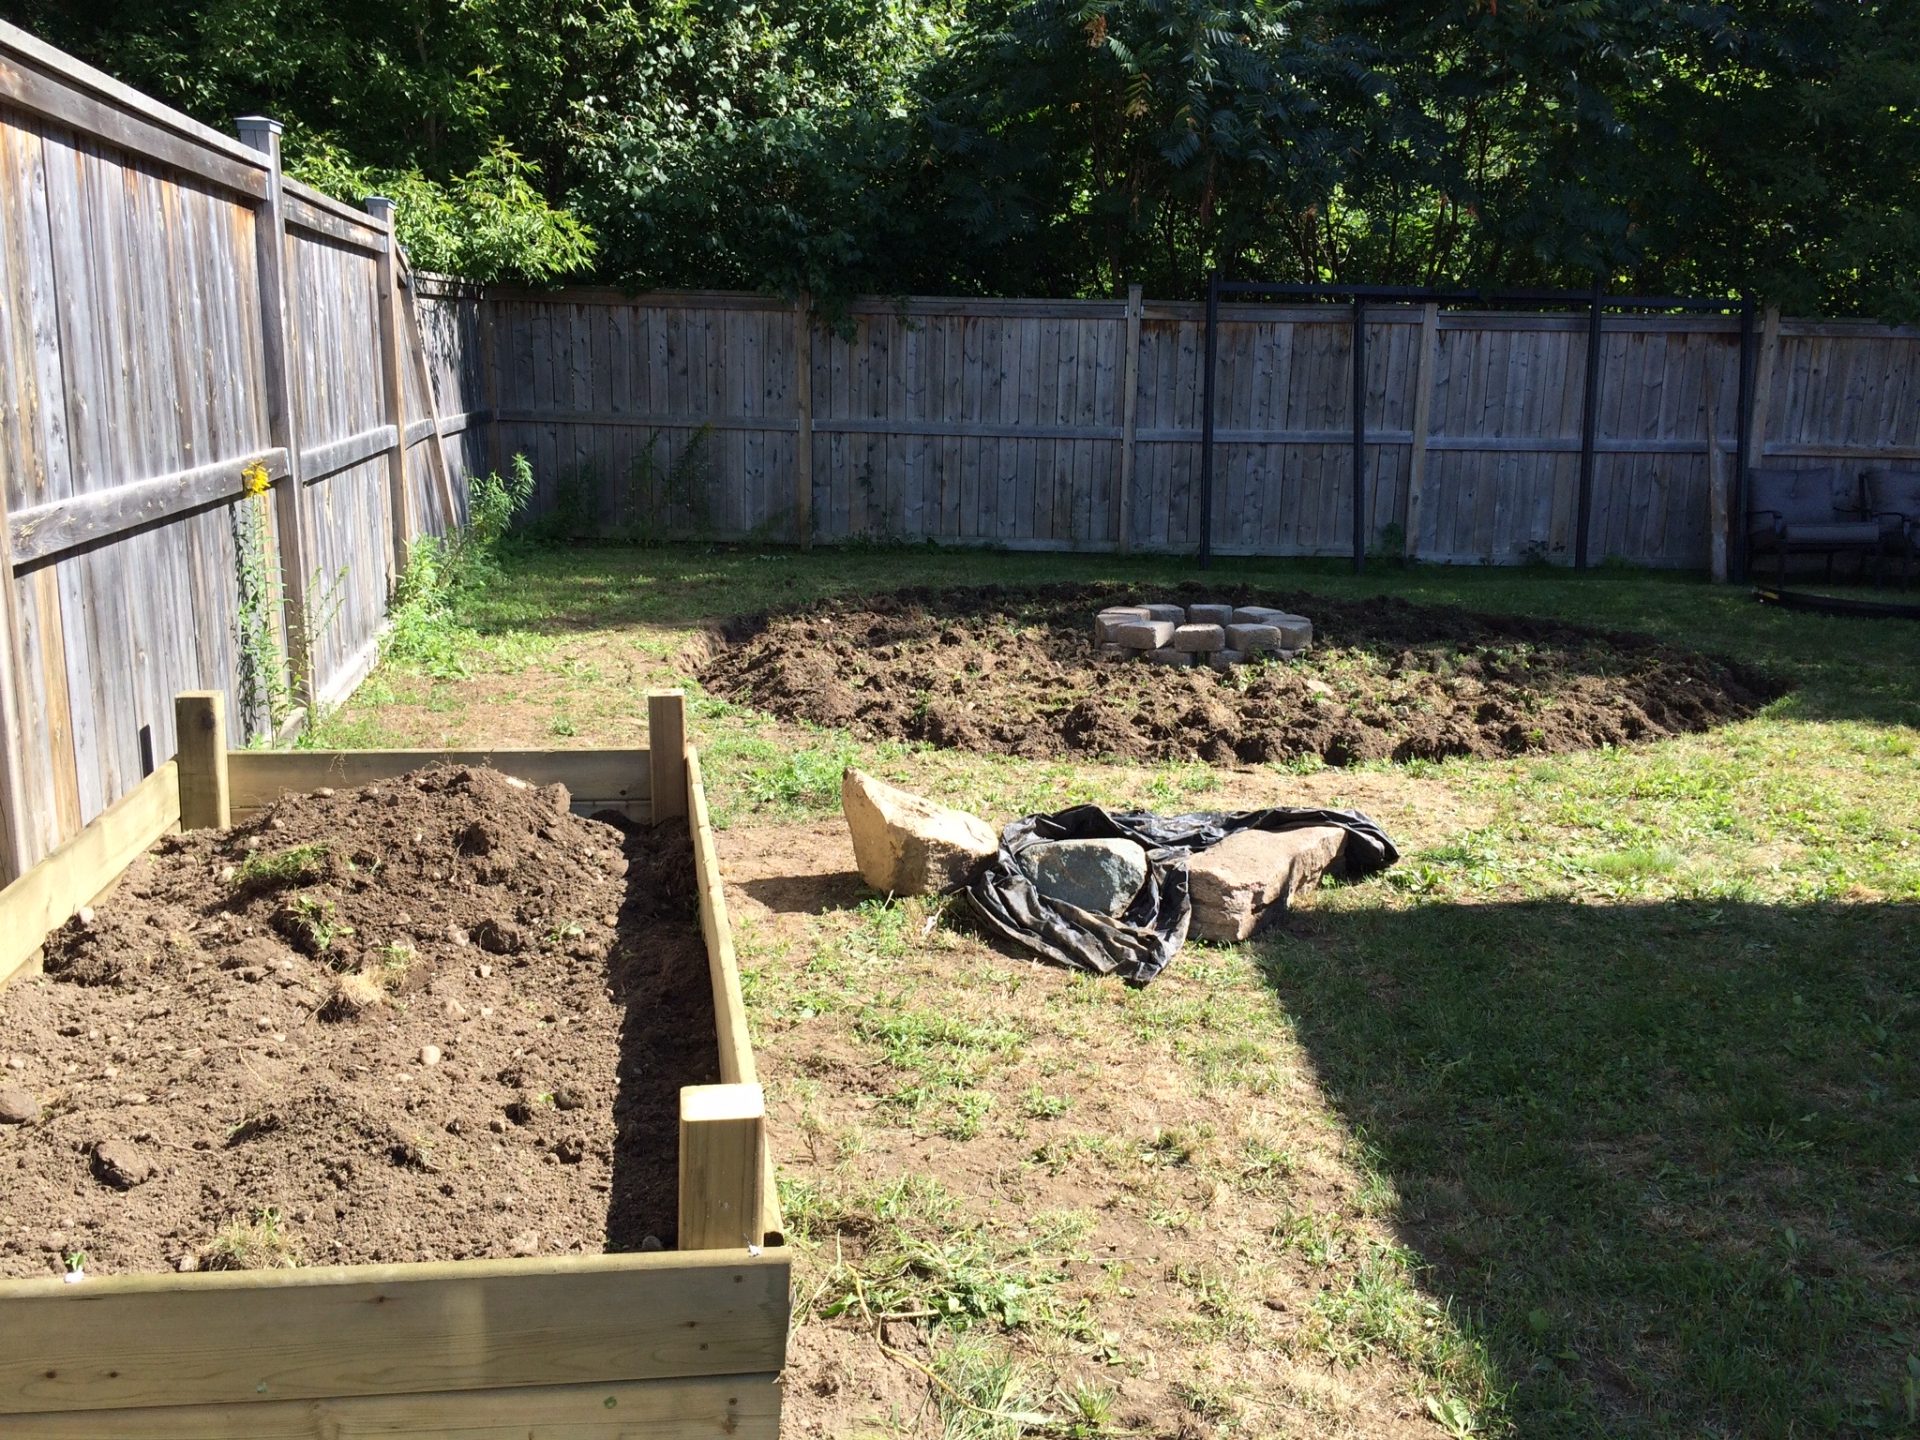
Selecting the right location is crucial for a successful raised vegetable garden. Aim for a sunny spot that receives at least 6-8 hours of sunlight daily. Consider the sun and shade patterns in your yard, taking note of potential obstructions like fences, trees, and the house. In the example below, the chosen location received almost full sun, with the fence providing a suitable area for beans and vine veggies to climb.
In the picture below, this was the only part of my backyard that got almost full sun (it got the most out of anywhere). I watched the sun and shade for several days to see where it was sunny and where it was shaded. There are many things in our backyard that blocked the sun, including the fence, but at least the fence was able to provide an area for beans and vine veggies to grow upwards. The trees and house blocked a lot of light elsewhere in the yard.
2. Determine the Size:
Decide on the size of your raised bed garden based on available space and soil requirements. Since I had a lot of soil to use up from the fire pit area, I opted to make two sections with deck boards and 4x4 posts, cut up and dug into the ground so they didn’t budge.
3. Gather Materials:
Prepare for the construction phase by gathering all necessary materials. This includes 4x4 posts, deck boards, screws, measuring tape, and optional items like landscaping fabric, chicken wire, and a trellis for specific gardening needs.
Items needed for this project: 2 x 4x4 post, 10 x 8ft Deck boards, 1.5-inch deck screws (coated so they don’t rust), optional: Landscaping fabric for under the beds, Measuring tape, Saw to cut wood, optional: chicken wire to keep out rabbits that will eat your veggies and plants!, optional trellis, if planning to grow vines (cucumber, beans, peas, etc.)
4. Build the Frame:
Construct the frame for your raised bed using the gathered materials. Assemble the sections, and secure them in the ground. The example illustrates building one section in the fall and another in the spring, leading to variations in the wood used.
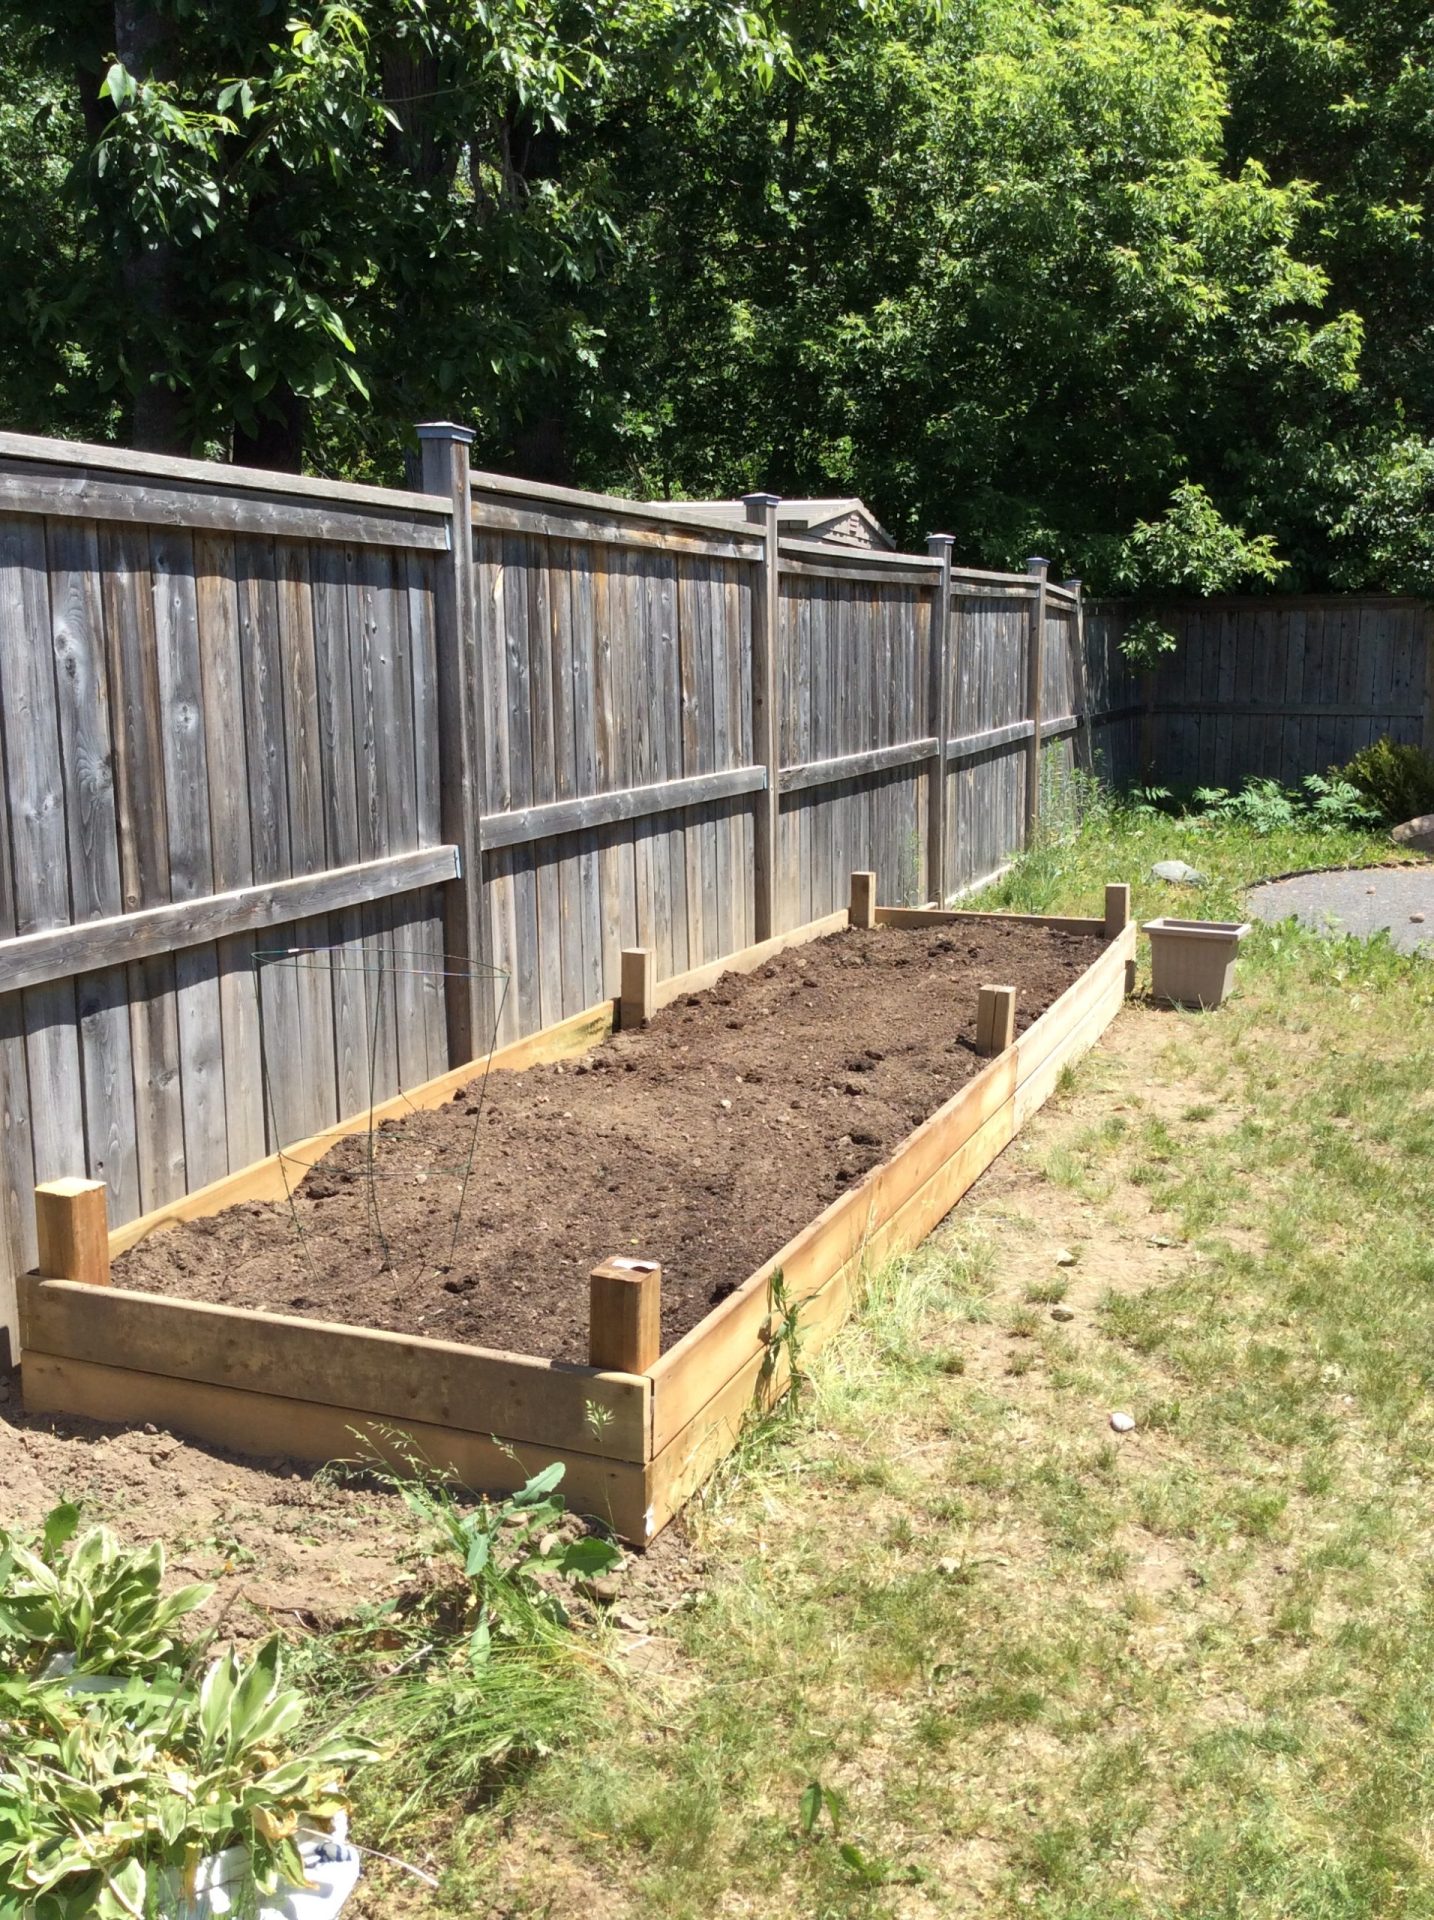
You’ll see from the pictures that I built my raised bed veggie garden in sections. I built one section in fall, then the next section in spring. That is why the wood for each section looks different. (I was a new mom and my time was limited!)
5. Prepare the Site:
Clear the chosen area of grass, weeds, and debris. Optionally, use landscaping fabric under the beds to prevent weed growth.
6. Fill with Soil & Do a Soil Test:
Fill the raised bed with a high-quality soil mix suitable for vegetables. Alternatively, you can use soil from your yard or elsewhere and then purchase specific ingredients to balance the composition ratio.
Use this simple and free method to test your soil.

7. Plan Your Planting:
Plan the layout of your garden bed based on the vegetables you want to grow. Consider spacing requirements, sunlight, and water needs. There are some veggies than don’t grow well next to one another, and some that grow better next to something else (companion planting). You’ll want to consider this when planning out your garden.
Marigolds to repel pests:
Marigolds emit a strong scent that can help repel certain pests, such as nematodes, which are microscopic worms that can damage the roots of many plants. The strong aroma from marigolds disrupts the life cycle of nematodes and can reduce their population in the soil.
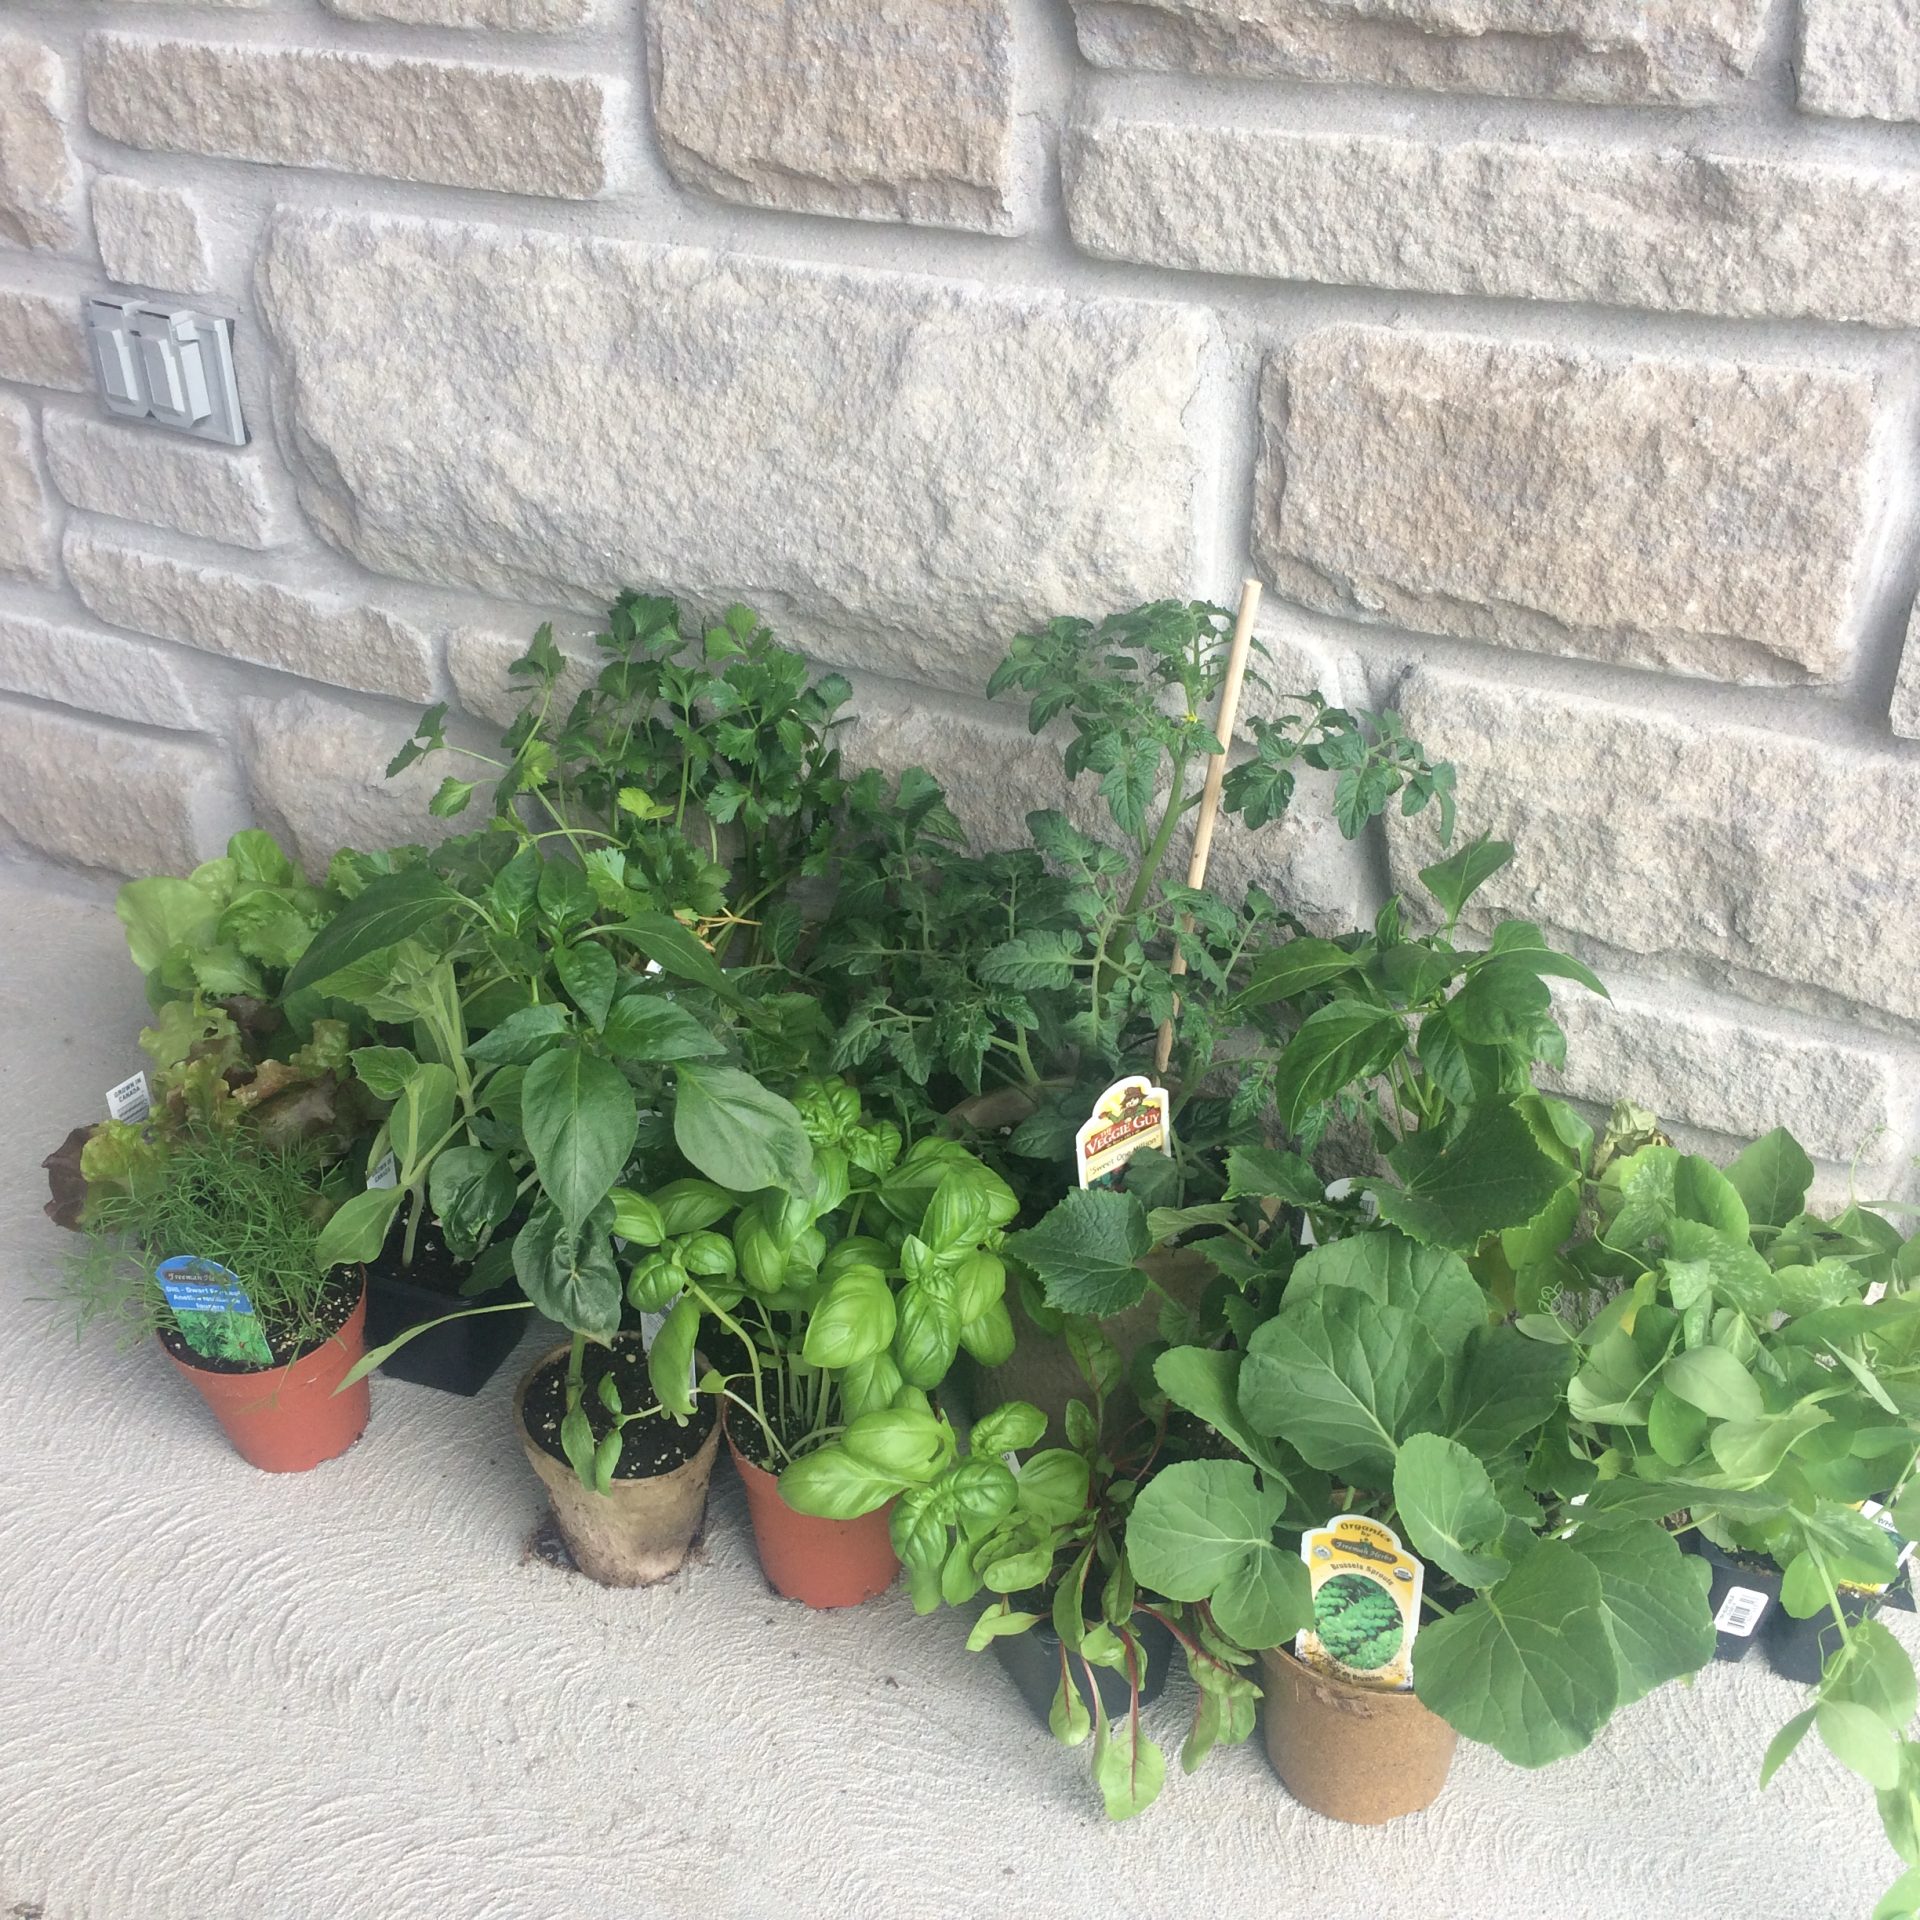
8. Plant Your Vegetables:
Follow the planting instructions for each vegetable type. Plant seeds or seedlings at the appropriate depth and spacing.
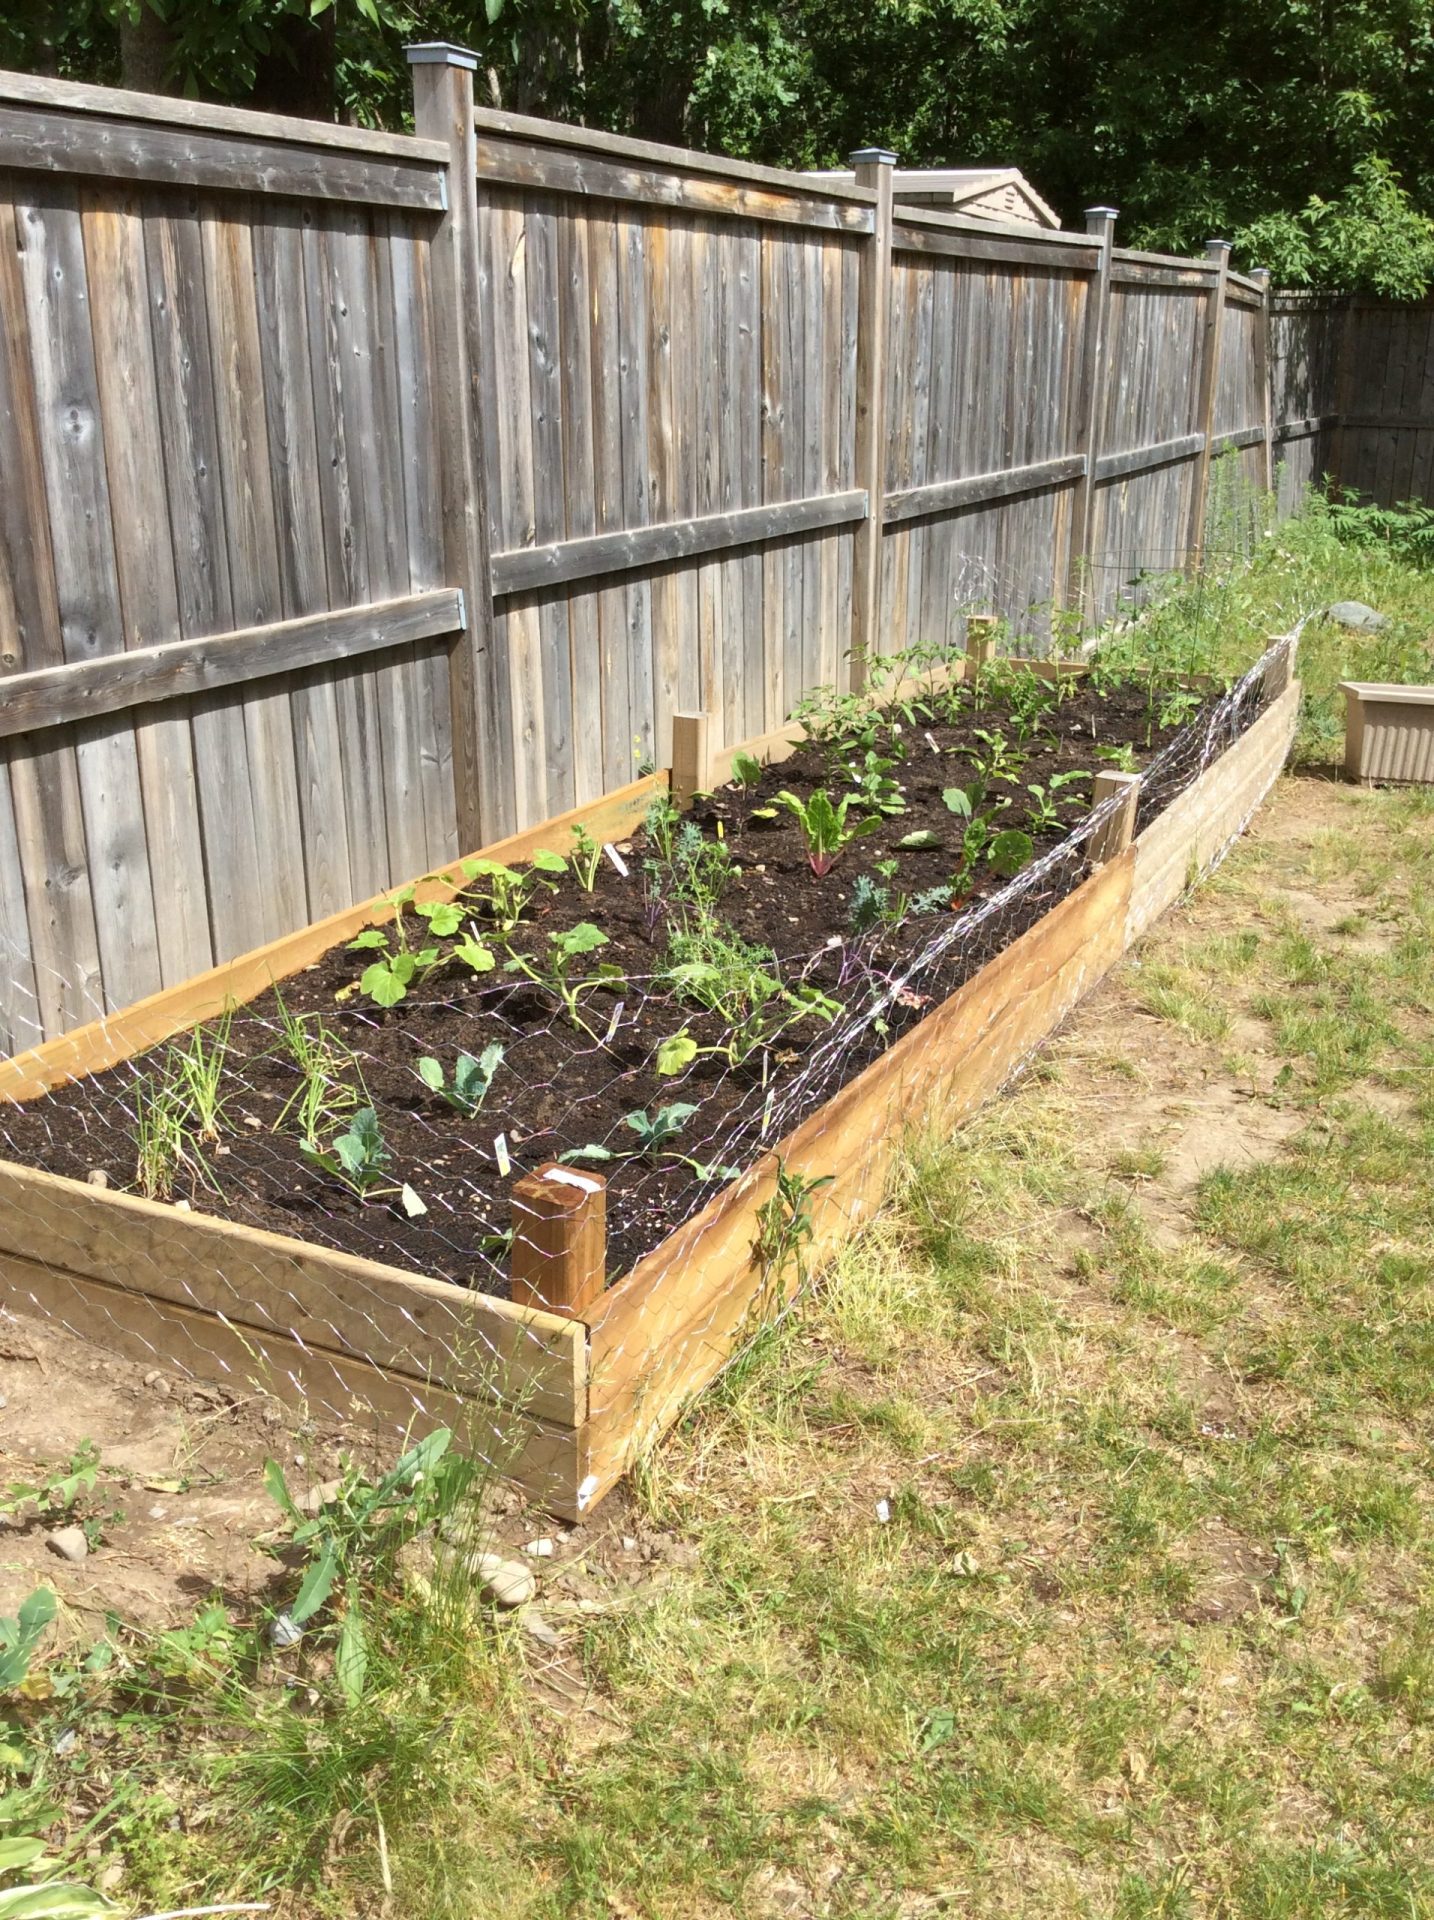
9. Add Mulch:
Apply a layer of mulch on top of the soil to retain moisture, suppress weeds, and regulate soil temperature.
10. Watering and Maintenance:
Water your raised garden bed regularly. Monitor for pests and diseases, and take necessary measures. Add organic matter or compost to enrich the soil as needed.
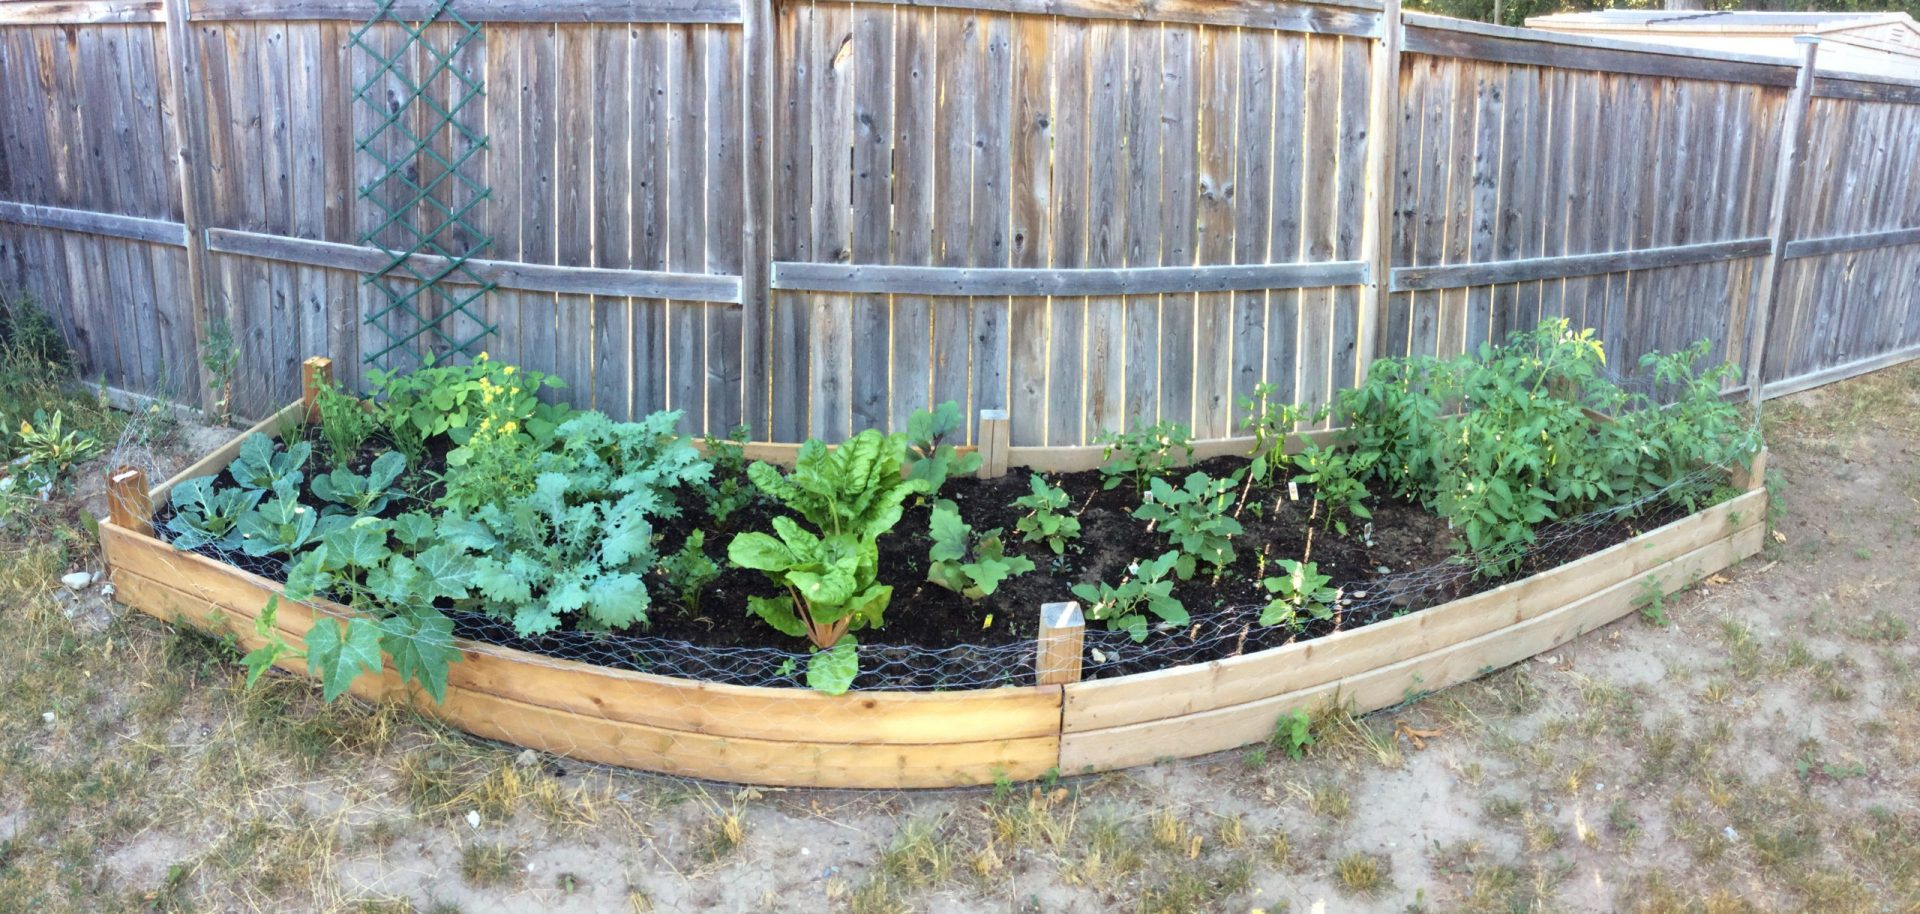
11. Enjoy Your Garden:
Once your vegetables start growing, enjoy the fruits of your labor! Harvest crops as they mature and replant for continuous production.
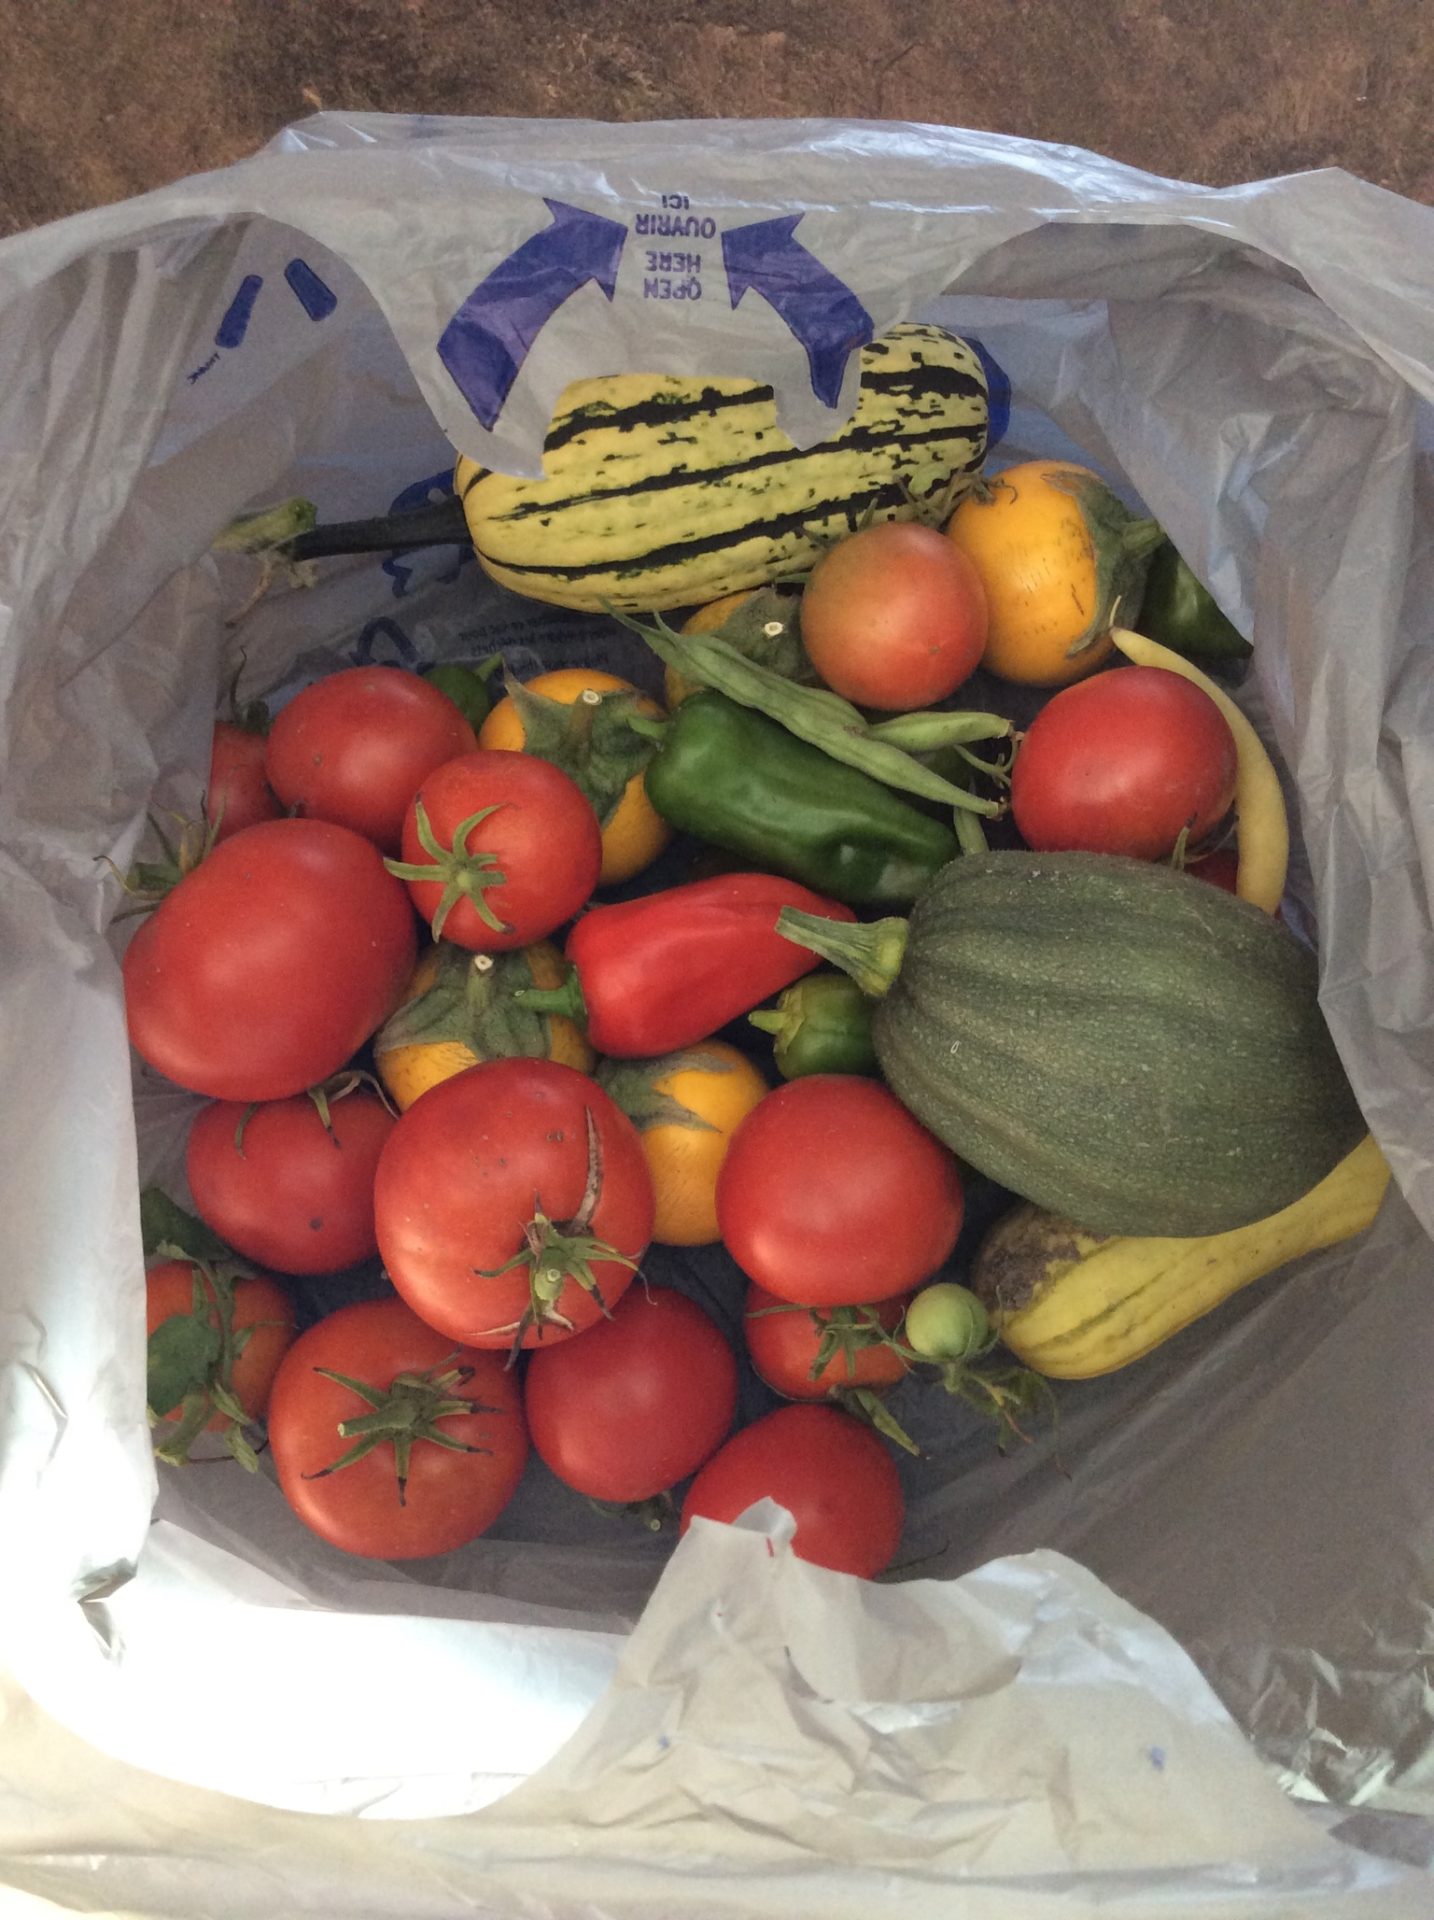

Feel free to adjust these steps based on your specific preferences and the conditions in your garden. Your personal experience and adaptations add valuable insights to the process. Happy gardening!

