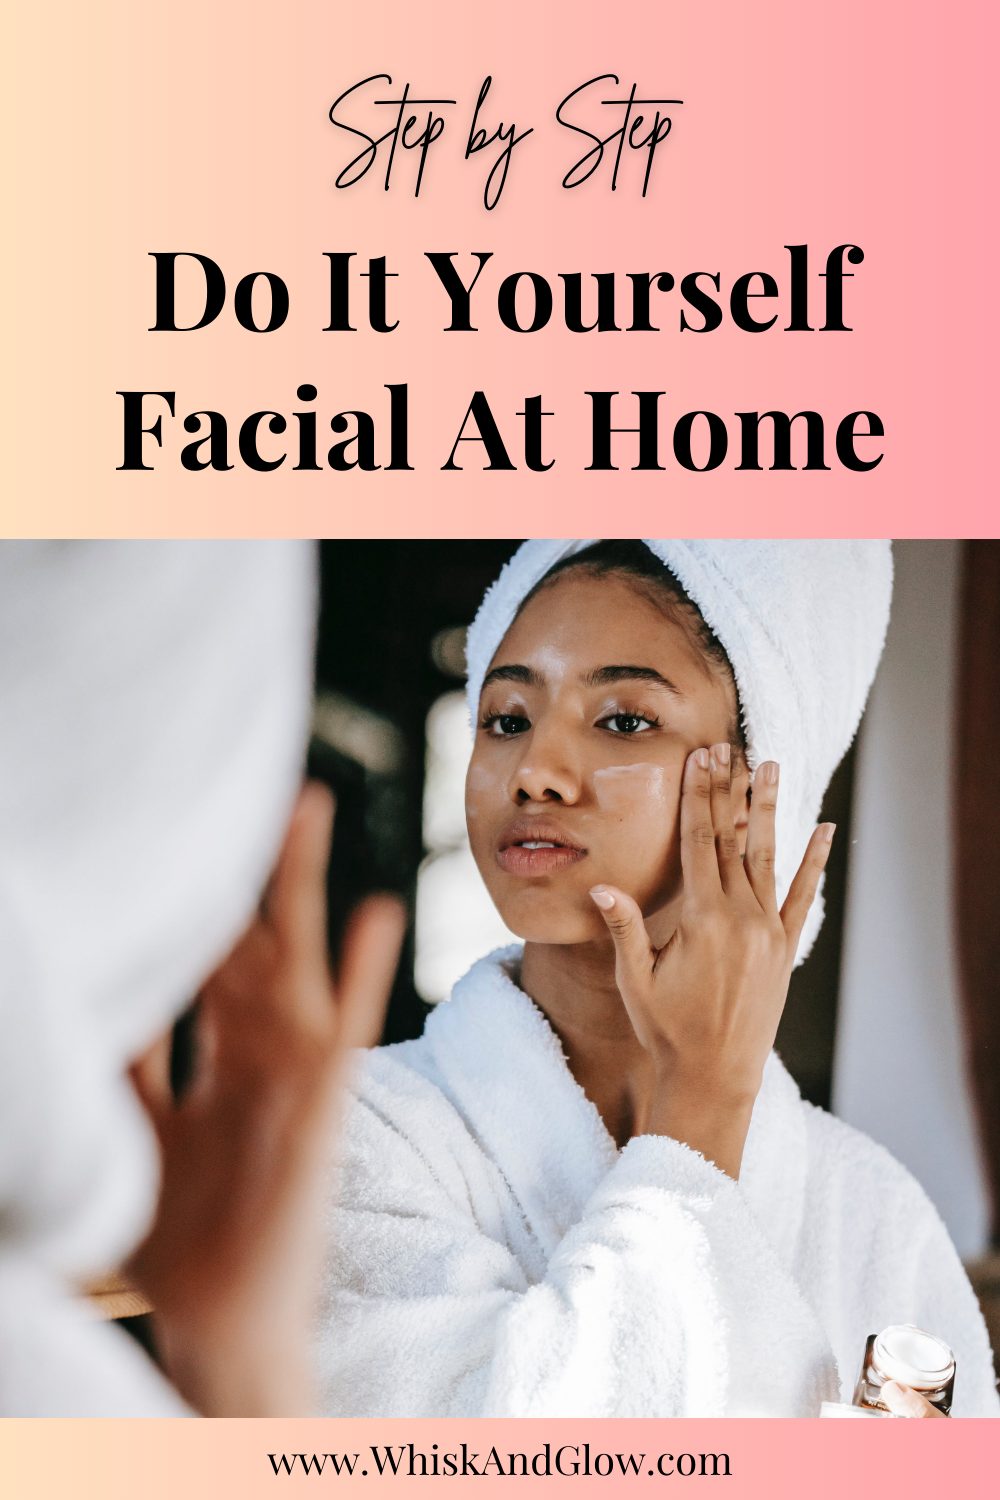
From cleansing to masking and serum application, pamper your skin and achieve a radiant glow. Customize your routine based on your skin goals and age, and unveil the secrets of a rejuvenating at-home facial.

In the hustle and bustle of our daily lives, taking the time to care for ourselves is often overlooked. One simple yet indulgent way to show some love to your skin is by treating yourself to a luxurious facial.
Traditionally performed by skincare practitioners
Facials involve the cleansing and pampering of the face and neck, leaving you with a rejuvenated and relaxed feeling. However, not everyone is convinced of their efficacy in altering the biology of the skin.
After listening to dermatologist Dr. Dray's YouTube videos, I learned that the primary benefit of a facial is essentially a thorough cleansing and moisturizing routine.
While they may not transform the underlying biology of your skin, the experience is undeniably enjoyable. Given this insight, why not skip the spa visit and create your own spa-like experience at home?
Why Do A DIY Facial At Home?
That's why I've listed out the steps below to guide you through doing an at-home facial. For me, there are many reasons to want a facial at home. First, the cost is a lot less.
Second, because I can do it in the comfort of my own home, it means I don't have to set up appointments, drive anywhere, or make time for myself to go out alone and do the appointment. I can just close the door to the bathroom and I'm ready to go- anytime I want!
Understanding Your Skin Goals and Age
Consider your unique skin goals and age when customizing your at-home facial routine. Whether you aim to address signs of aging, combat acne, or simply maintain a healthy glow, tailoring your products accordingly ensures maximum benefits.
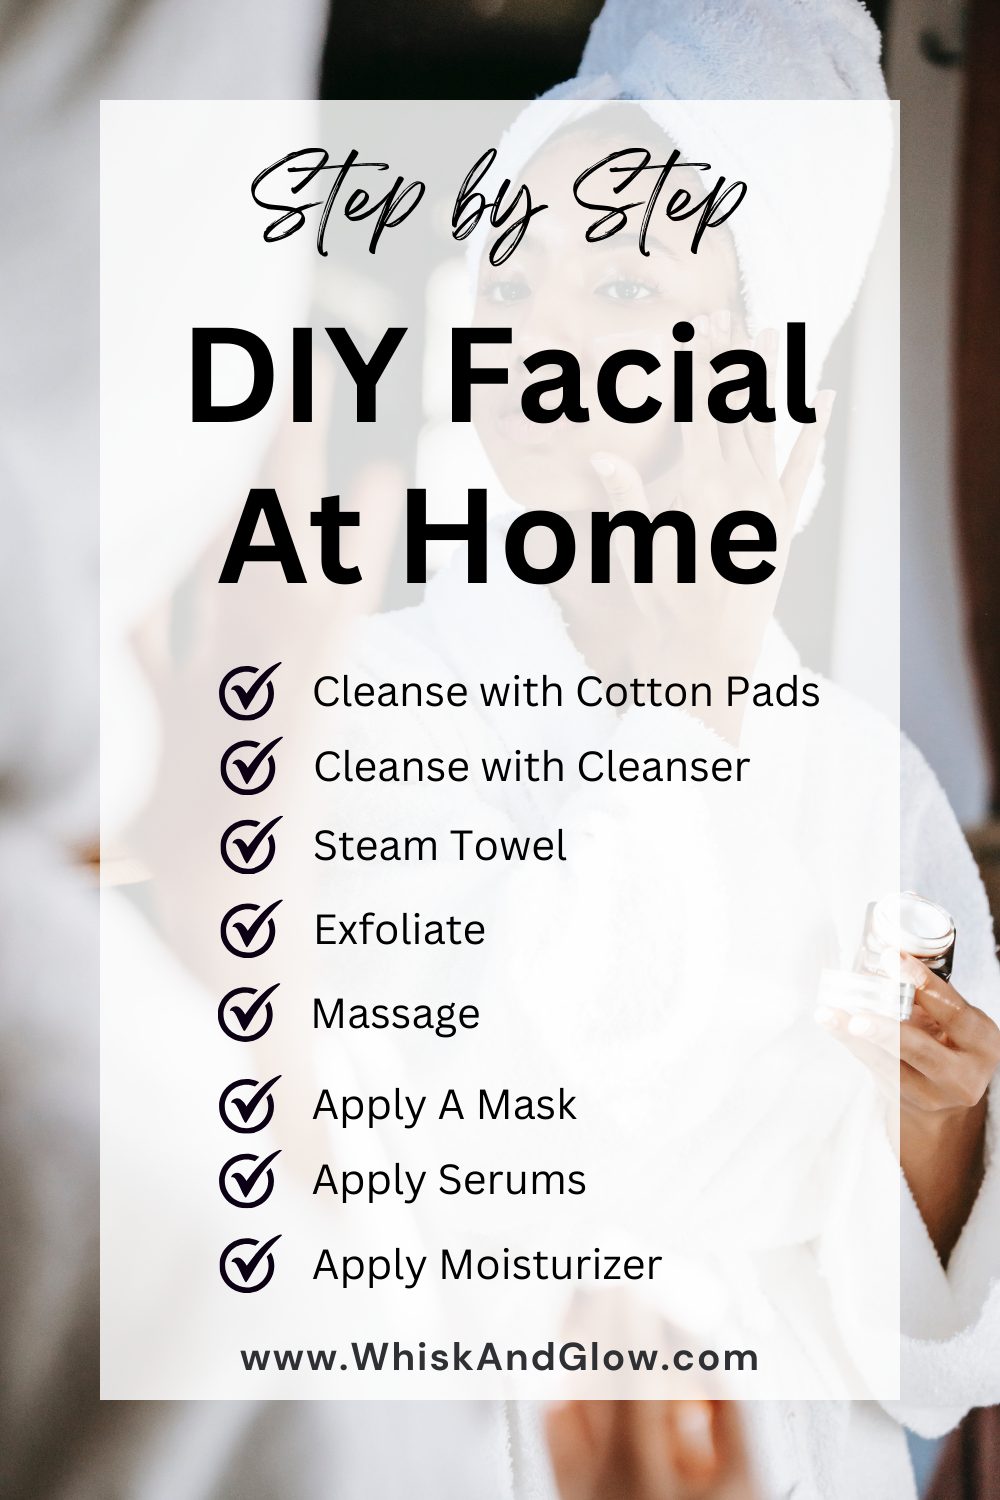
DIY At-Home Facial: A Step-by-Step Guide
1. Cleansing using cotton pads
Begin by gently wiping your face with cleansing pads to remove any surface impurities. I like to use a gently micelles water, but if you want to use an active at this step, opt for cotton pads infused with salicylic acid for an added blackhead-fighting boost. Glycolic acid is great if you want exfoliation at this step. Whatever you choose
Remember that this experience should be relaxing and I consider it my "me-time" so be gently on your skin and go slowly through these steps. If you choose to use an active ingredient, then be sure not to double up by using the same or similar actives in later steps.
2. Cleansing with cleanser
If you didn't use an active in the first step, follow up with a salicylic acid cleanser to target blackheads. If you did use an active, you might want to use a gentle cleanser that is hydrating and doesn't contain actives so that you don't duplicate actives.
3. Use a warm towel to soften the skin
Indulge in the warm towel method to open up your pores and soften the skin, making it more receptive to subsequent treatments.
How to make a warm towel for a facial:
Take a small hand or face towel and run it under water to wet it. Ring it out and place in the microwave for 1 minute (60 seconds). The towel should just be warm and not too hot to handle. Open the towel up and check that its not too hot before laying onto your face. Sit back and let the steam warm your face.
4. Use a chemical exfoliant or a scrub
Apply a chemical exfoliant or a gentle scrub to slough away dead skin cells and reveal a fresh, radiant complexion.
5. Massage
Treat yourself to a soothing facial massage to enhance blood circulation and promote relaxation.
6. Apply a mask to address skin concerns
Choose a mask that caters to your specific skin concerns, whether it be hydration, brightening, or calming. I usually have a clay mask on hand that I like because it draws out impurities.
Since I have an oily t-zone and my cheeks are usually normal to dry, I like to only apply my clay mask to the t-zone, avoiding the cheeks, and eyes of course.
7. Apply Serums
Apply a nourishing serum to target specific skin issues and enhance the overall effectiveness of your routine. If you're on a budget, I highly recommend checking out products made by The Ordinary. They have so many different serums for such great prices.
The Ordinary serums I recommend:
- Multi-Peptide + HA Serum ("The Buffet")
- Vitamin C Suspension 30% un Silicone
- Matrixes 10% + HA
- Alpha Arbutus 2% + HA
- Retinol 1% in Squalane or Retinol 2% in Squalane
- Caffeine Solution 5% + EGCG
- Niacinamide 10% + Zinc 1%
8. Apply Moisturizer
Finish off your at-home facial with a generous layer of moisturizer to lock in all the goodness and keep your skin hydrated.
Indulging in a DIY at-home facial is a wonderful way to show your skin some TLC without breaking the bank. Tailor the routine to your specific needs, and enjoy the spa-like experience in the comfort of your own home. Your skin will thank you for the pampering!
Frequently Asked Questions
How Often Should You Get a Facial?
The frequency of your at-home facials depends on your skin goals and age. Depending on your individual needs, the timeframe to do a facial can vary greatly. I have heard every 2-4 weeks, or closer to 6-8 weeks, and even quarterly. The time frame probably differs so much because everyone's needs are different and what actives you're doing for each facial. I like to include an at-home DIY facial into a full day glow up routine.
What is the difference between a facial a peel?
While facials focus on cleansing, moisturizing, and pampering, chemical peels delve deeper into exfoliation. Chemical peels involve the application of acids to remove dead skin cells, promoting a more profound renewal of the skin's surface. They can be more intense and are typically performed less frequently than facials.

