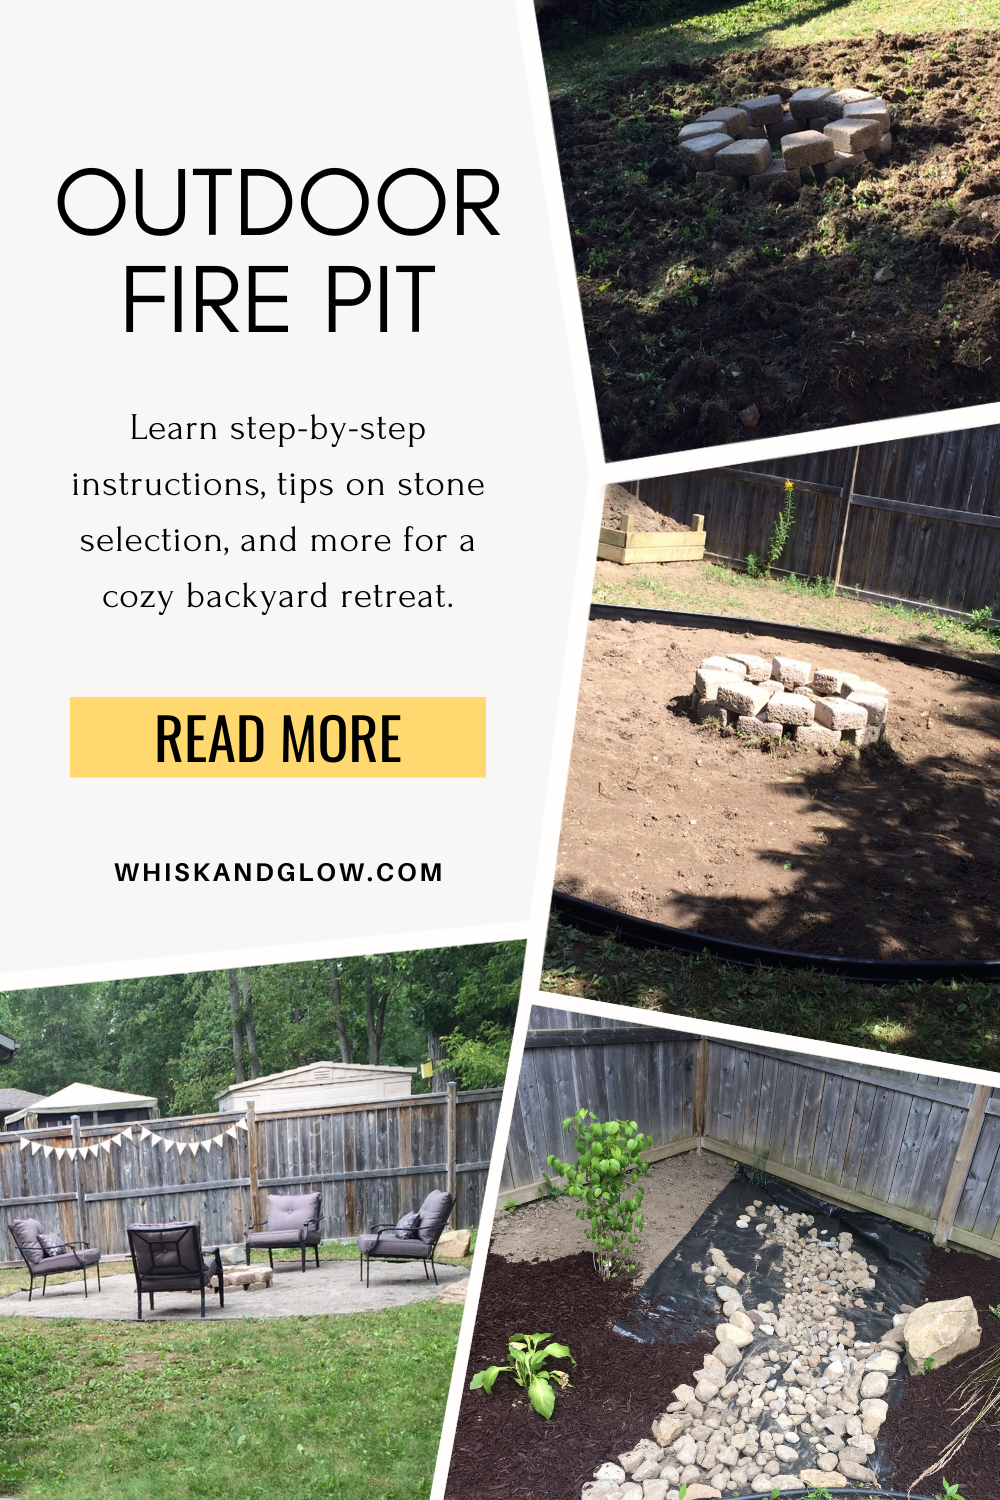
Create an outdoor fire pit with this budget-friendly tutorial. Learn step-by-step instructions, tips on stone selection, and more for a cozy backyard retreat.
Transforming your backyard into an outdoor oasis is easier than you think. In this step-by-step tutorial, we'll guide you through the process of creating an outdoor fire pit using landscaping stones.
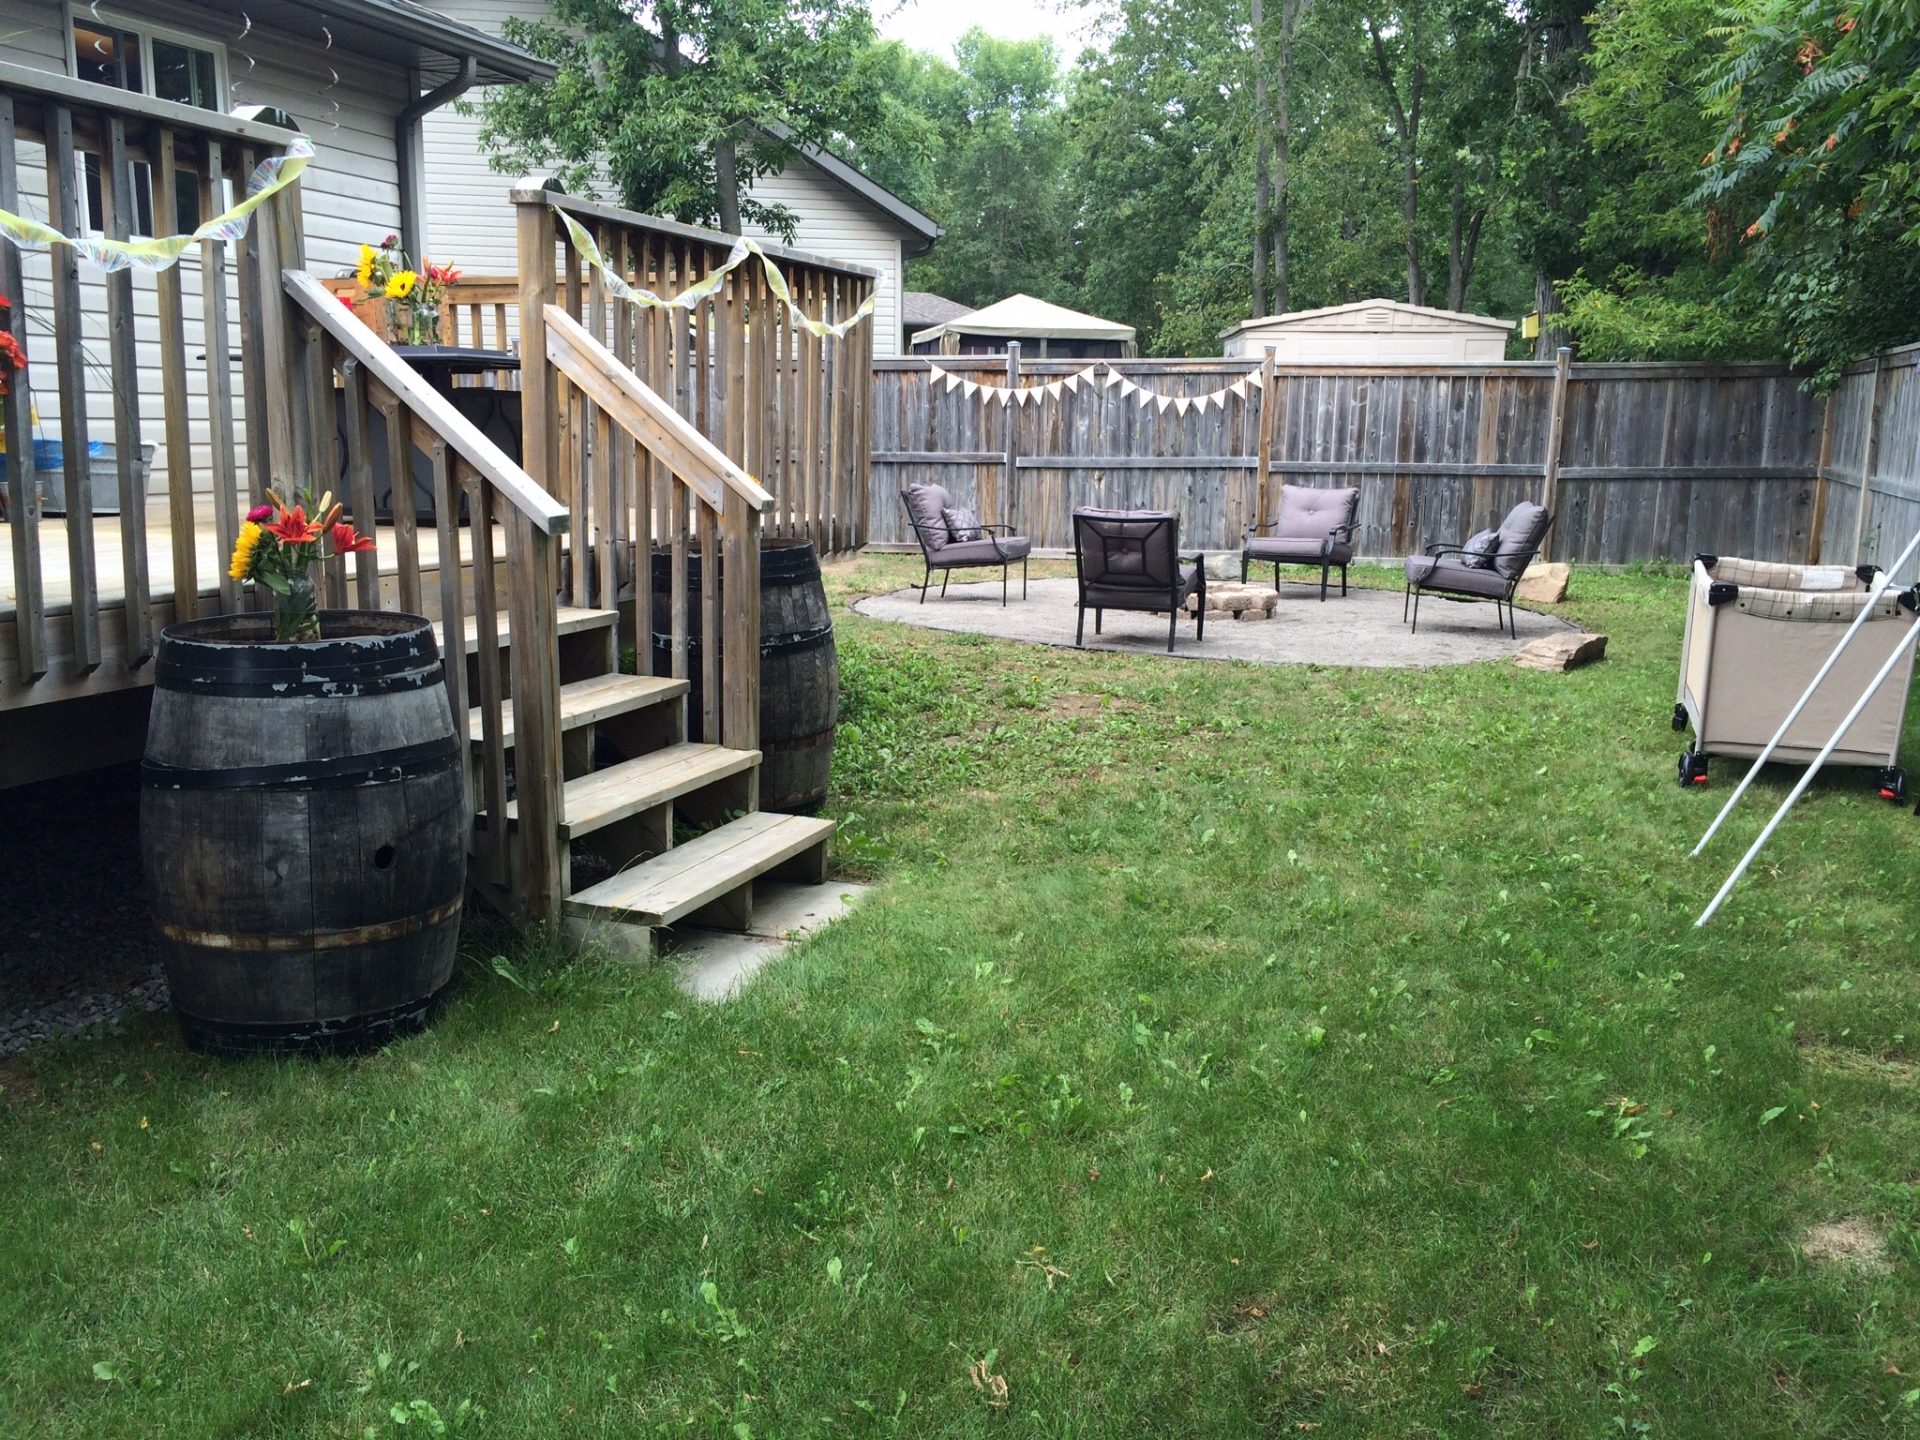
In just one weekend, my husband and I tackled this Outdoor Fire Pit project, and the results are pretty awesome!
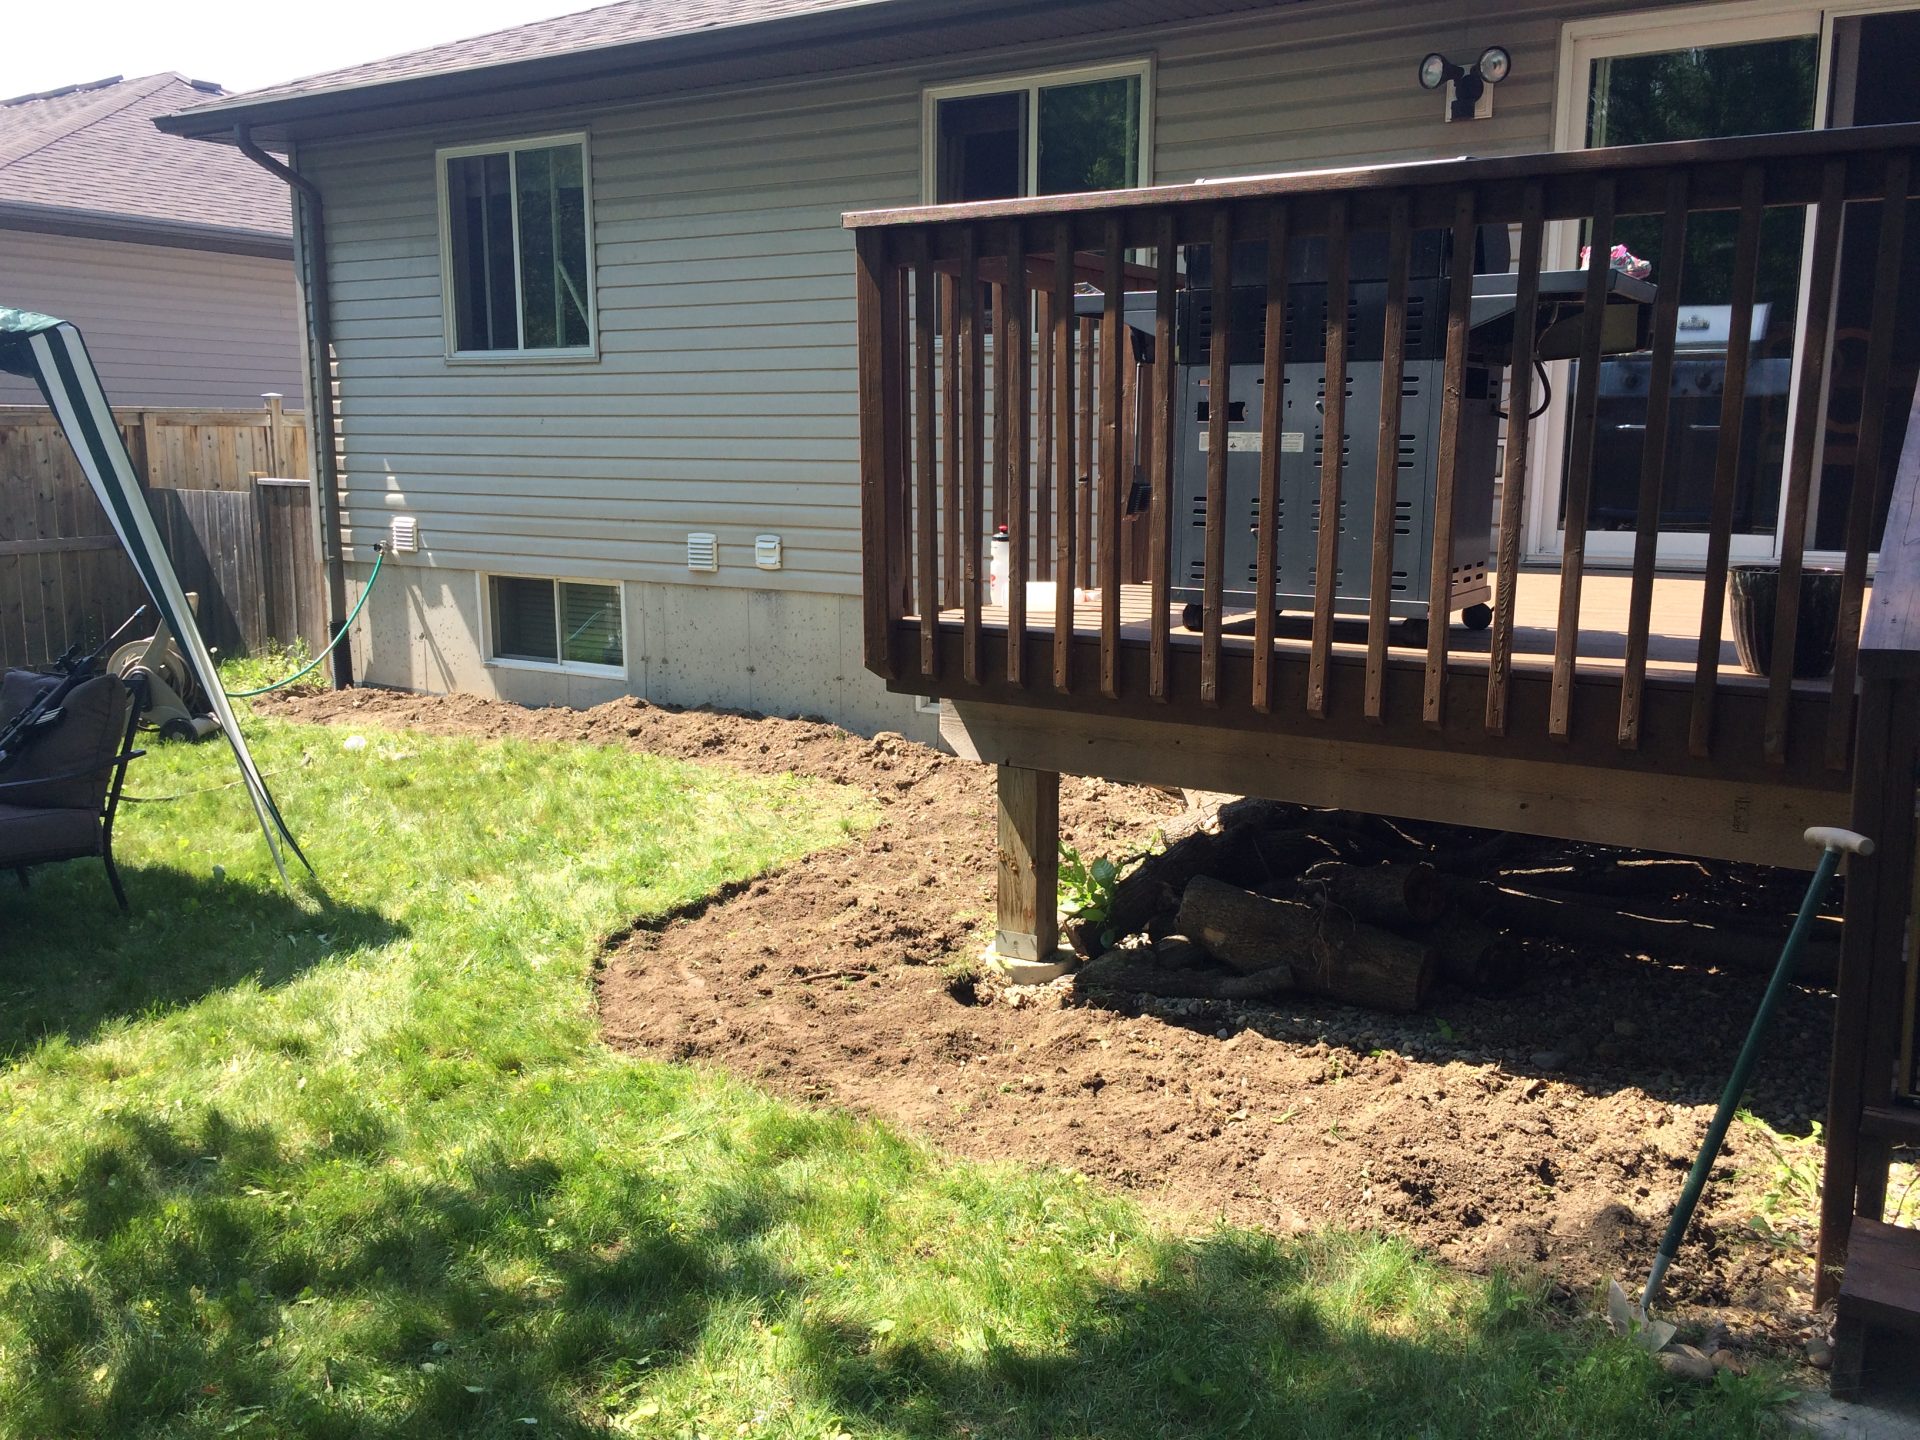
Check out our before-and-after pics to see the backyard makeover.
We had weeds in a good portion of the yard so wanted an area to remove the weeds and a place to relax. Watch us say goodbye to weeds and hello to relaxation as we turn our backyard into a retreat in this weekend project.
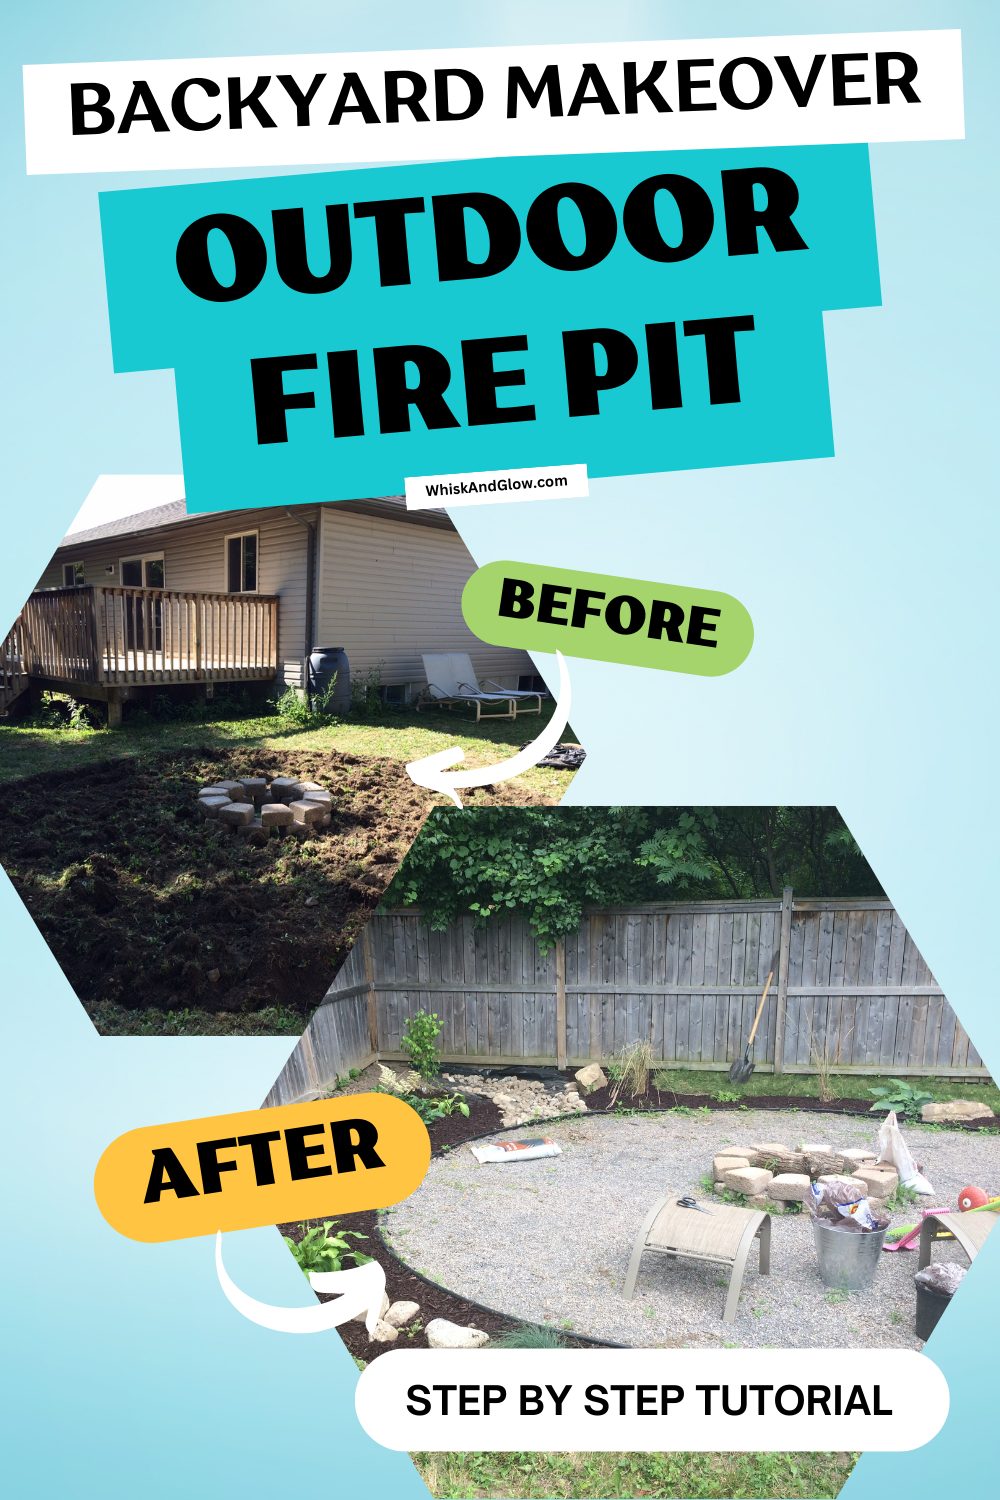
Before starting your outdoor fire pit project, you’ll want to consider a few things.
Things to Consider:
Local Regulations and Precautions
Understanding local fire codes is crucial. Check if open fires are permitted, if you need a permit, and the required distance from neighboring homes. Local regulations may dictate using a propane fire pit instead of a wood-burning one. Ensure compliance for a safe and enjoyable outdoor experience.
Stone Selection
Before embarking on your outdoor fire pit journey, consider the tone and pricing of the landscaping stones. Compare options at local stores, ensuring the color complements your vision. Lay out the stones in-store if possible to confirm your selection, keeping in mind your preferred color tone.
Supplies Needed:
- Rope or string
- Stick
- Garden edger tool
- Garden edging
- Gravel or pebbles
- Shovel
- Landscaping fabric
- Scissors
- Measuring tape
- 2x4 piece of wood to level out high and low spots in the fire pit seating area.
Step-by-Step Guide
1. Choose the Right Location
Consider fire codes, fence proximity, tree placement, and the levelness of the area.
2. Outline the Circle
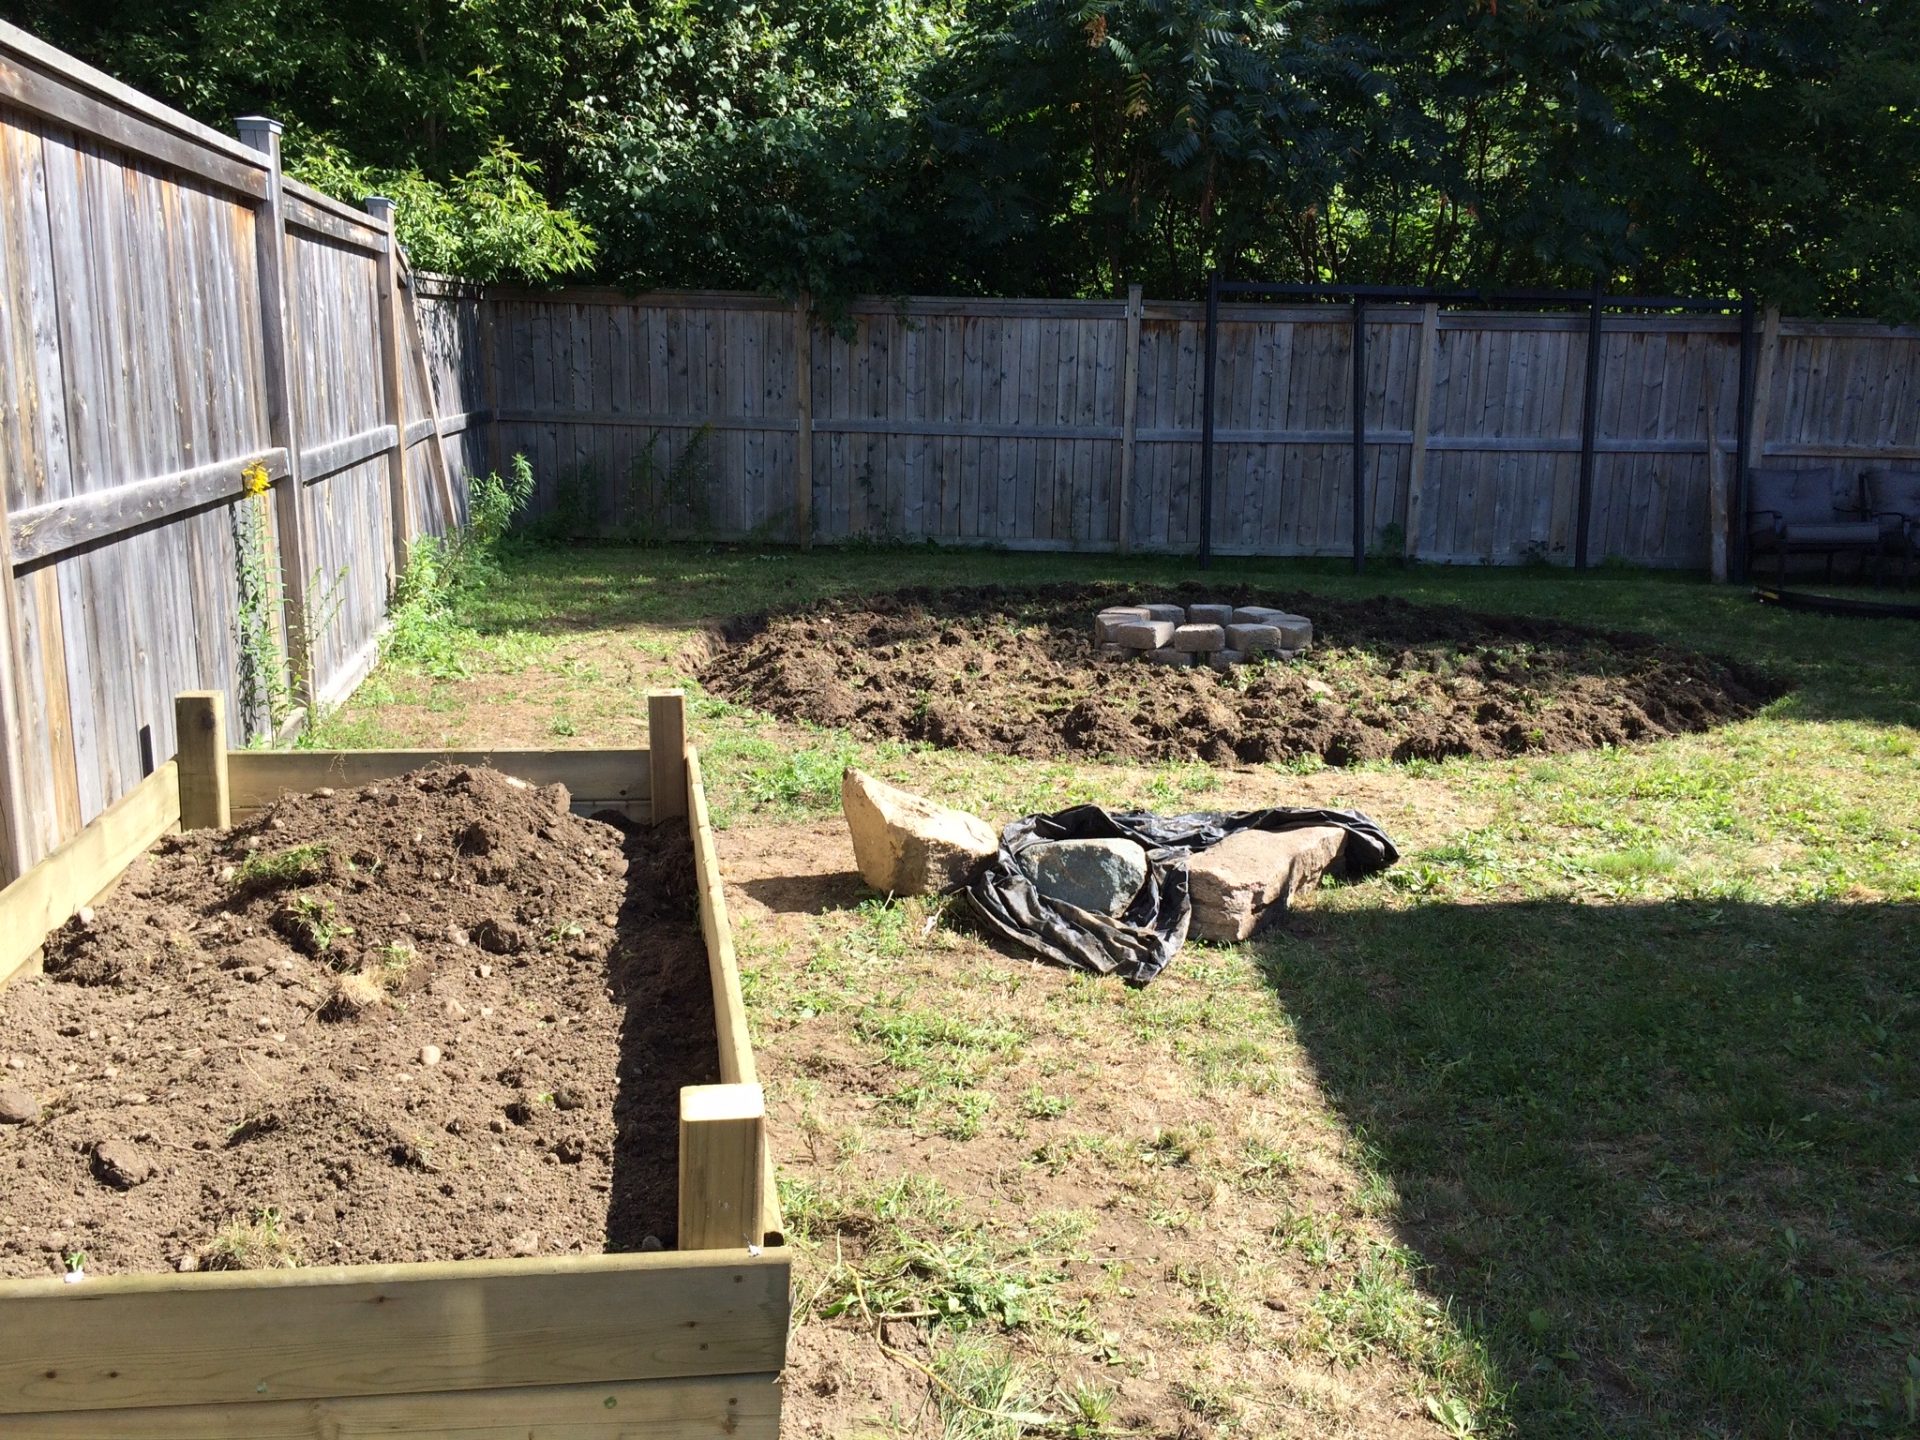
Use a rope or hose to mark the desired circle for your fire pit.
3. Prepare the Ground
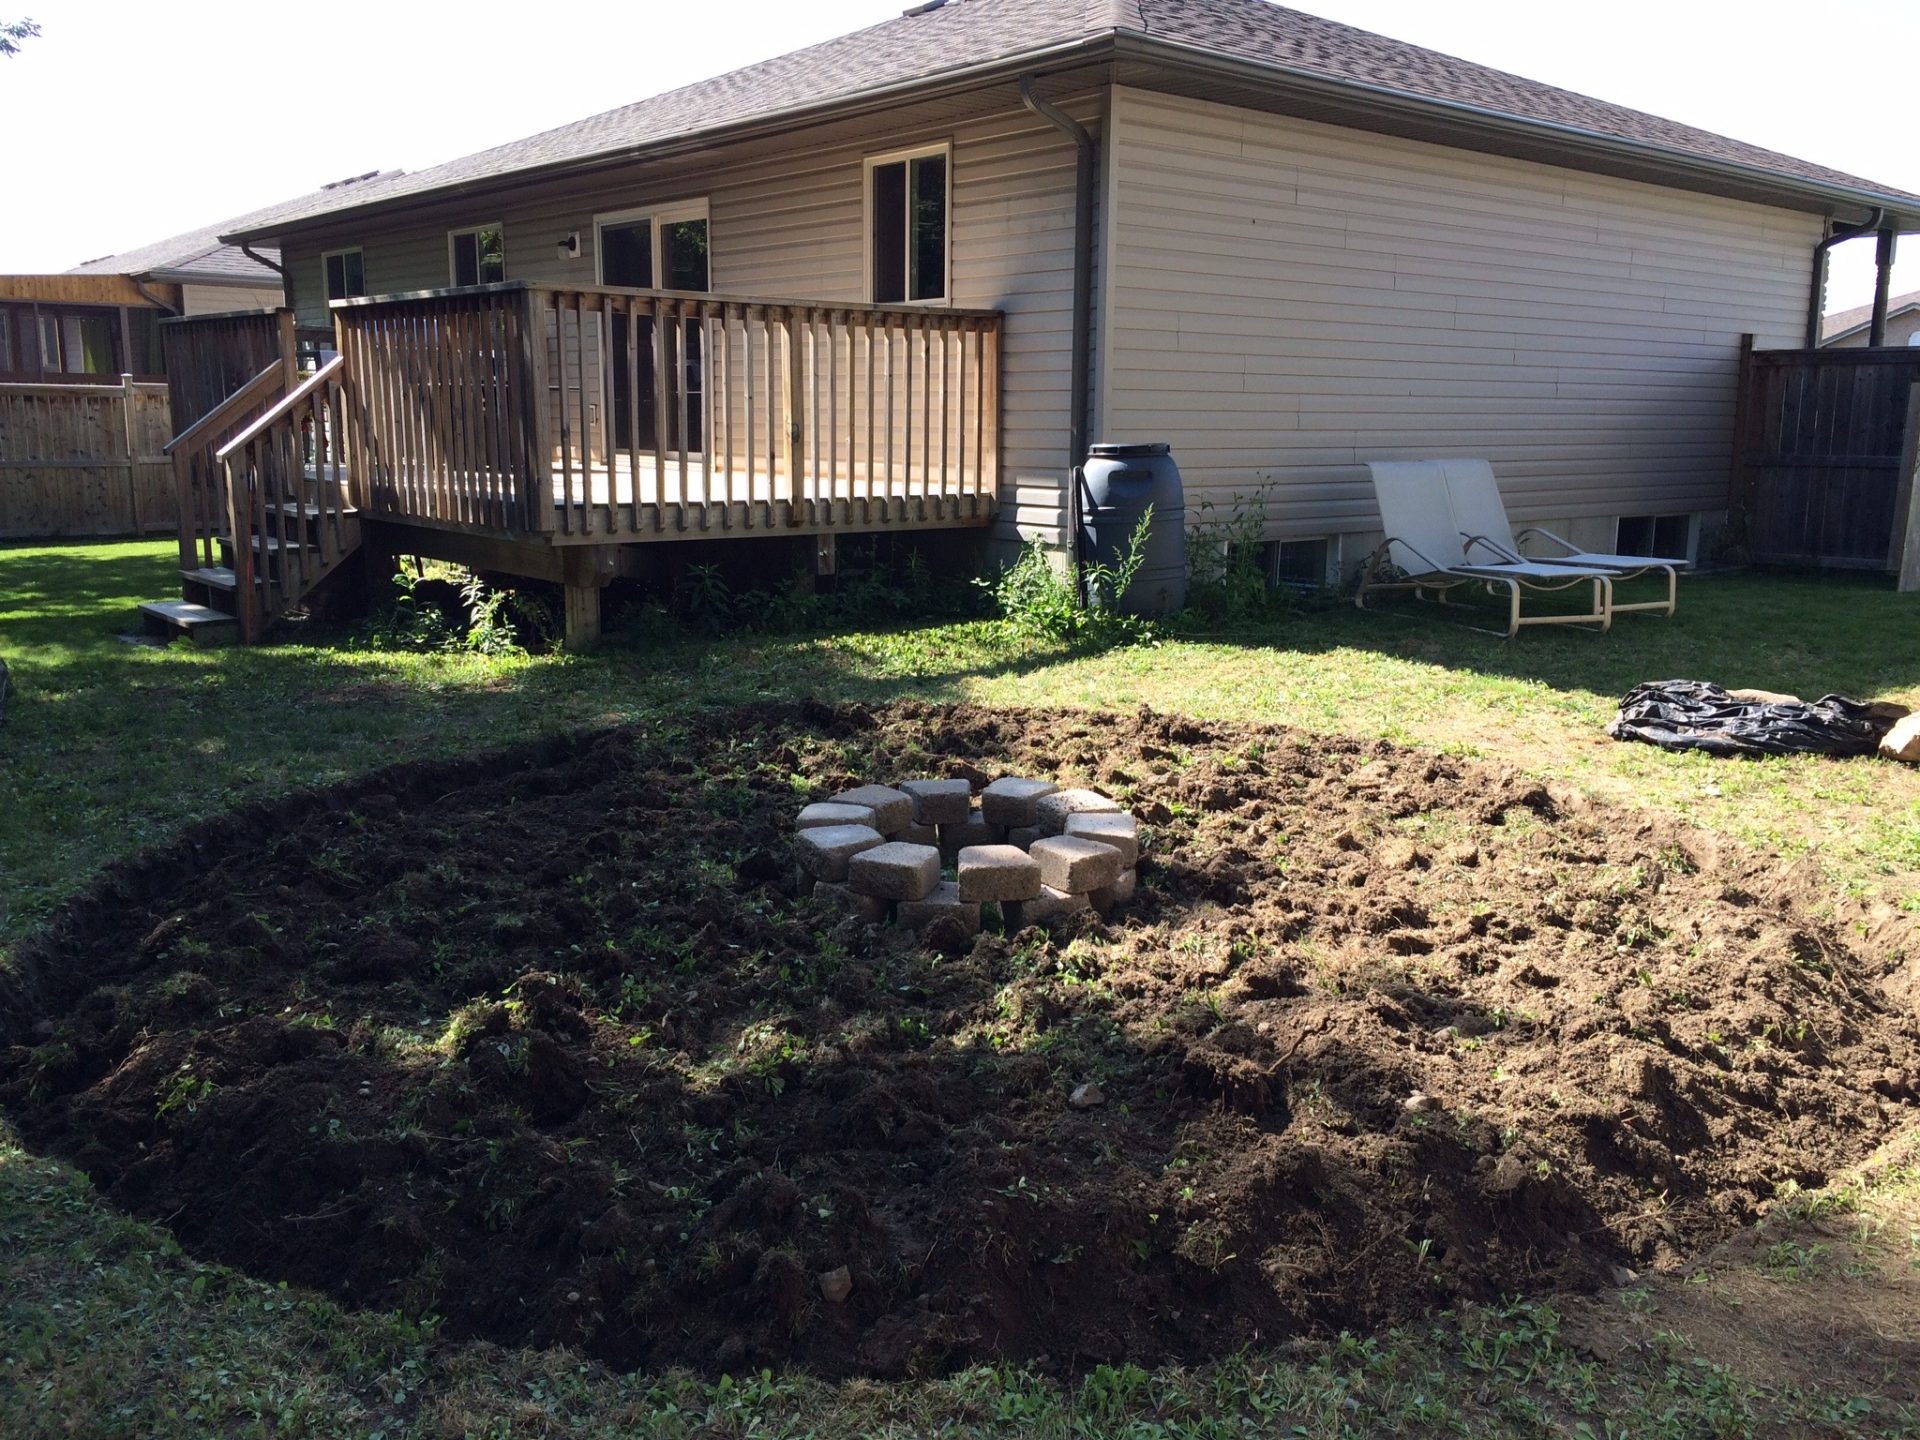
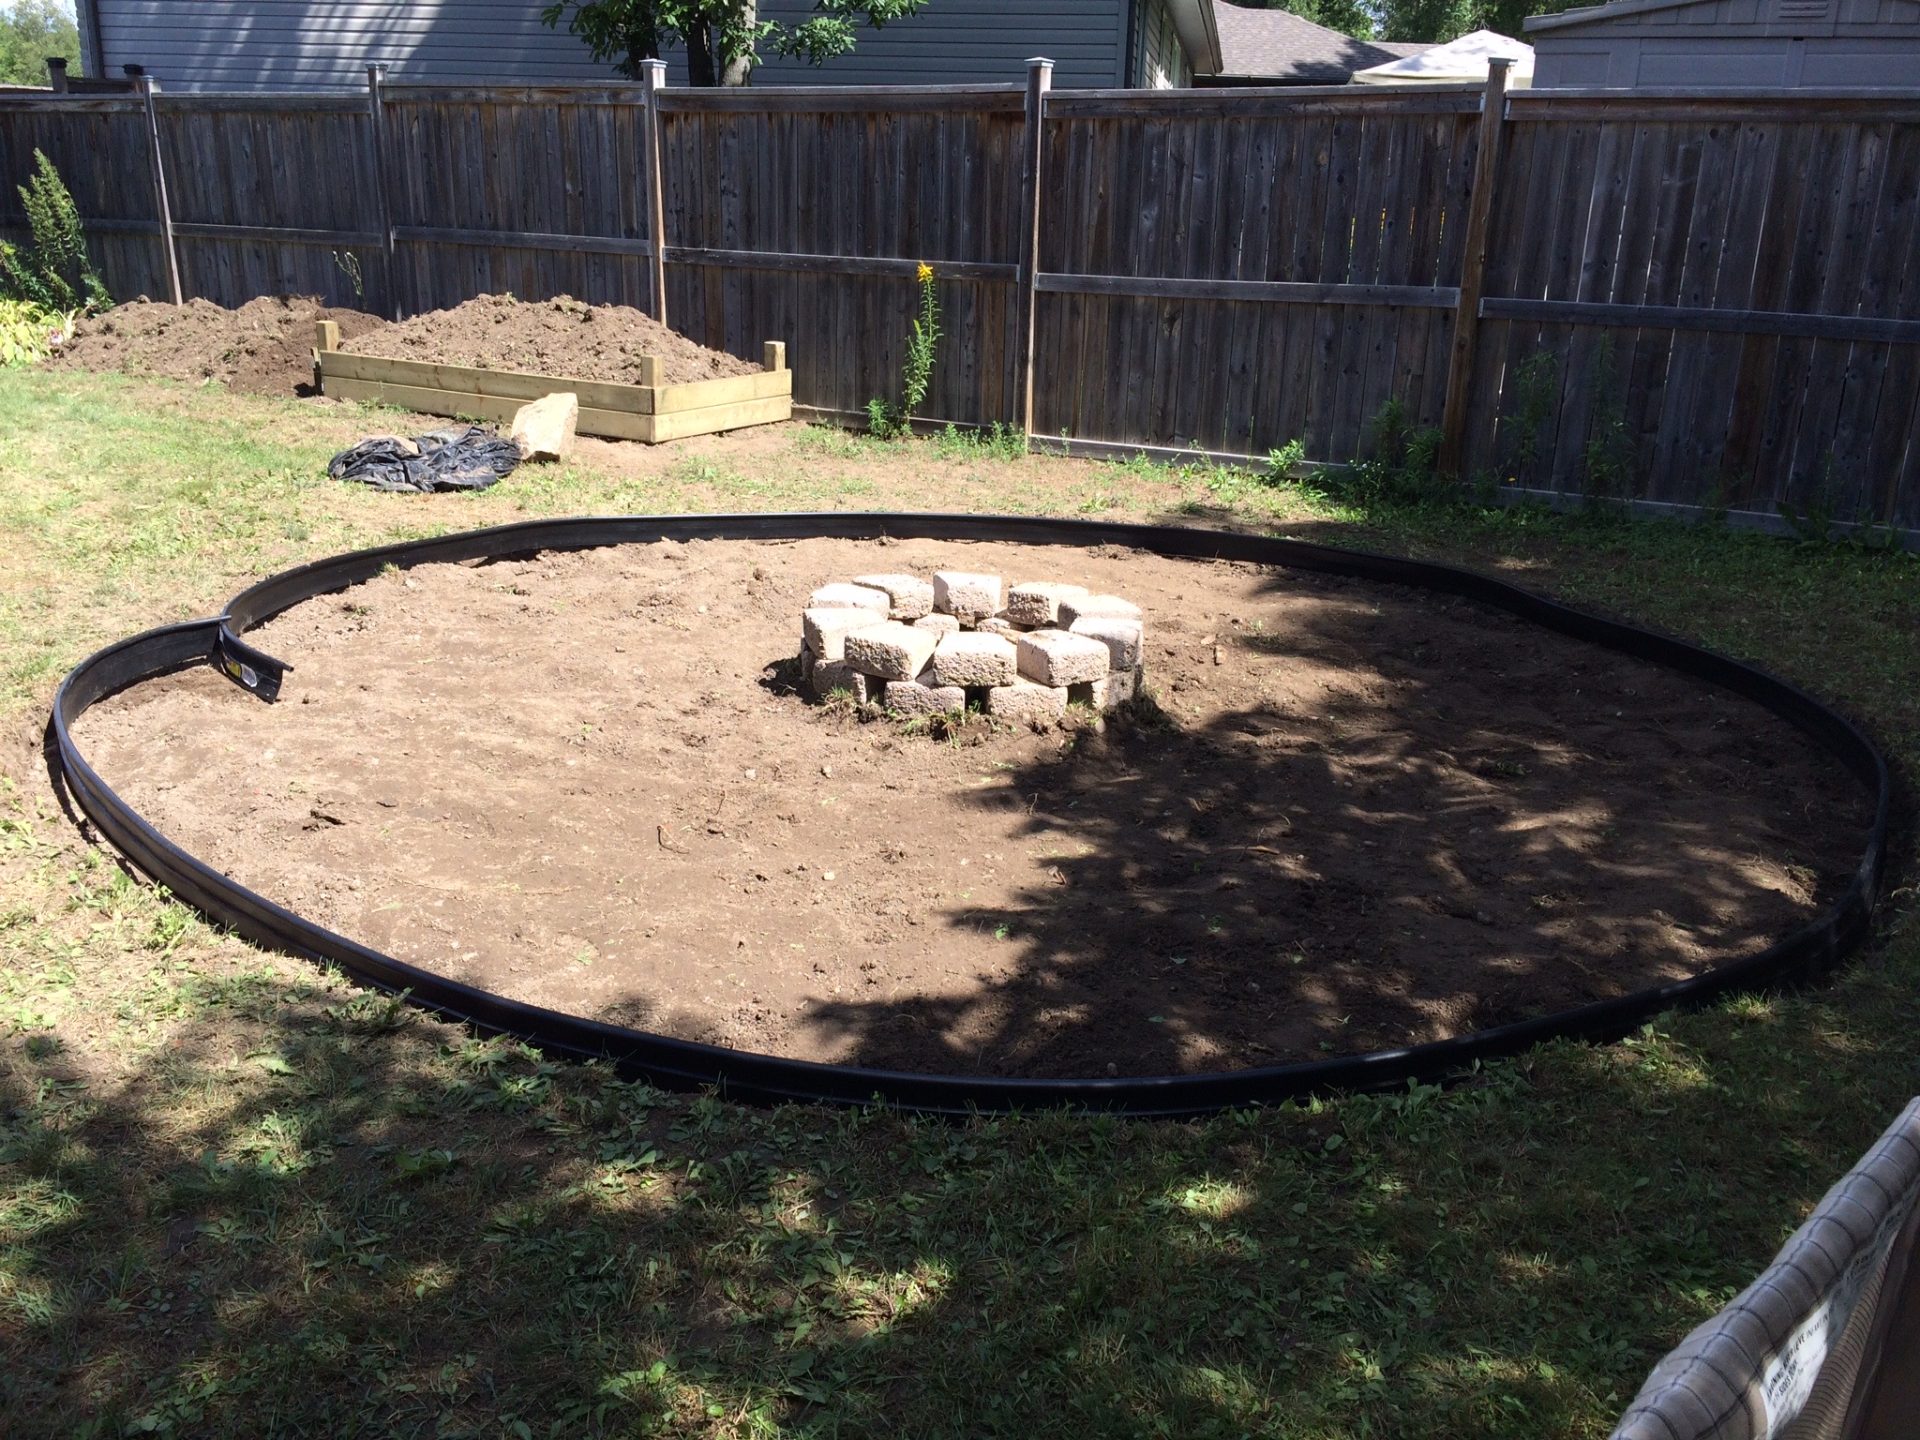
Cut out the grass and remove soil to a depth of 4 inches.
4. Create a Stable Edge
Cut a deep indent line for the garden edging to sit below the soil surface.
5. Install Garden Edging
Insert garden edging around the circle to separate gravel stones from the rest of the yard.
6. Level the Ground
Use a 2x4 to level the ground before laying landscaping fabric.
7. Lay Landscaping Fabric
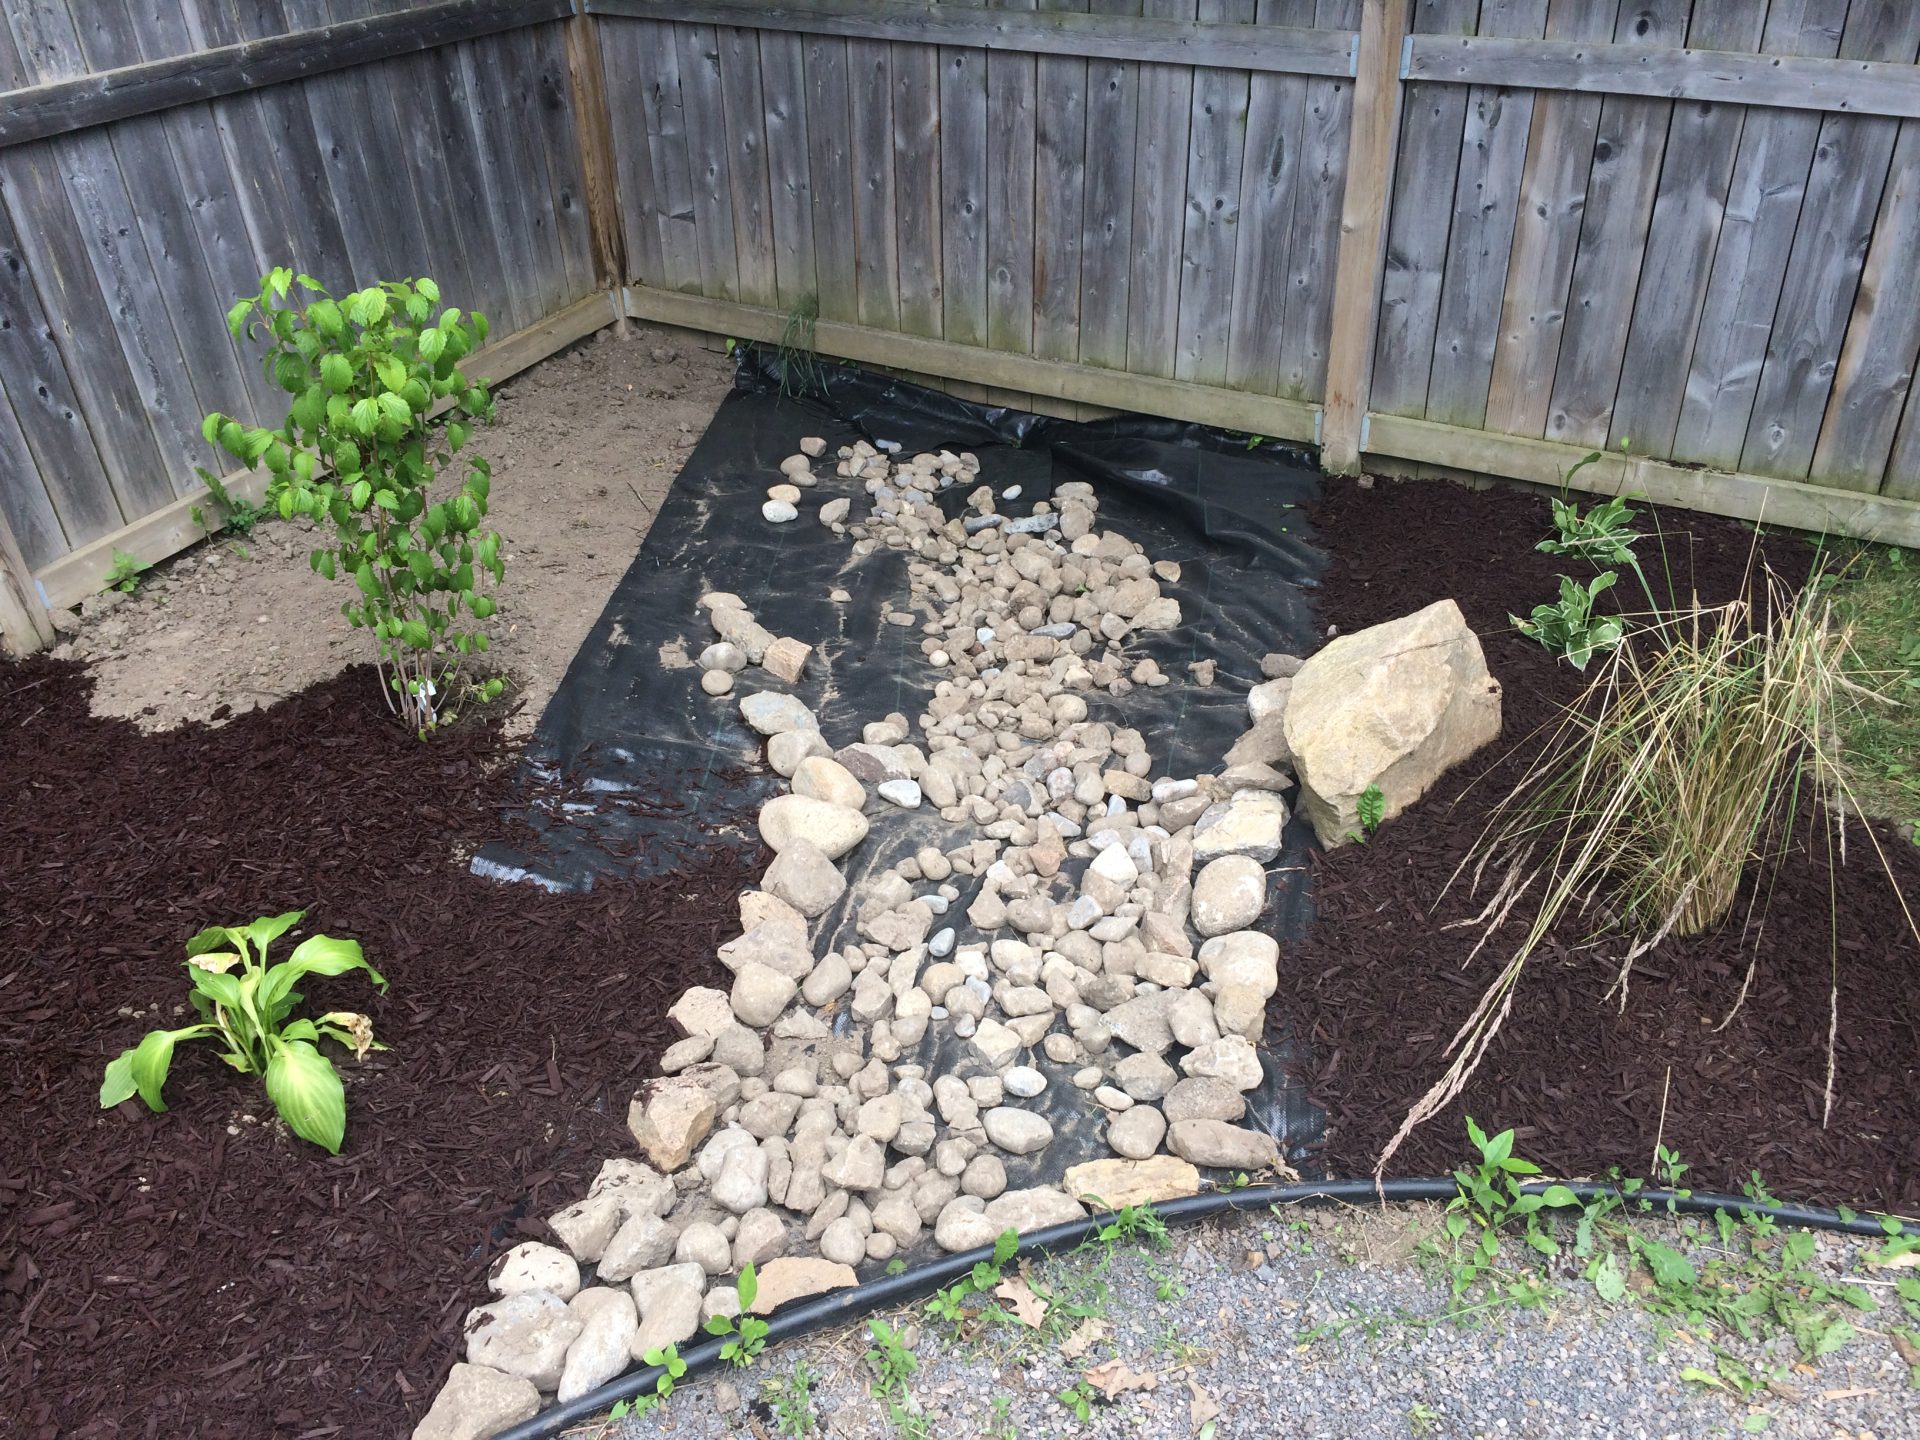
Prevent weed growth by placing landscaping fabric, cutting a hole for the fire pit area.
8. Build the Fire Pit
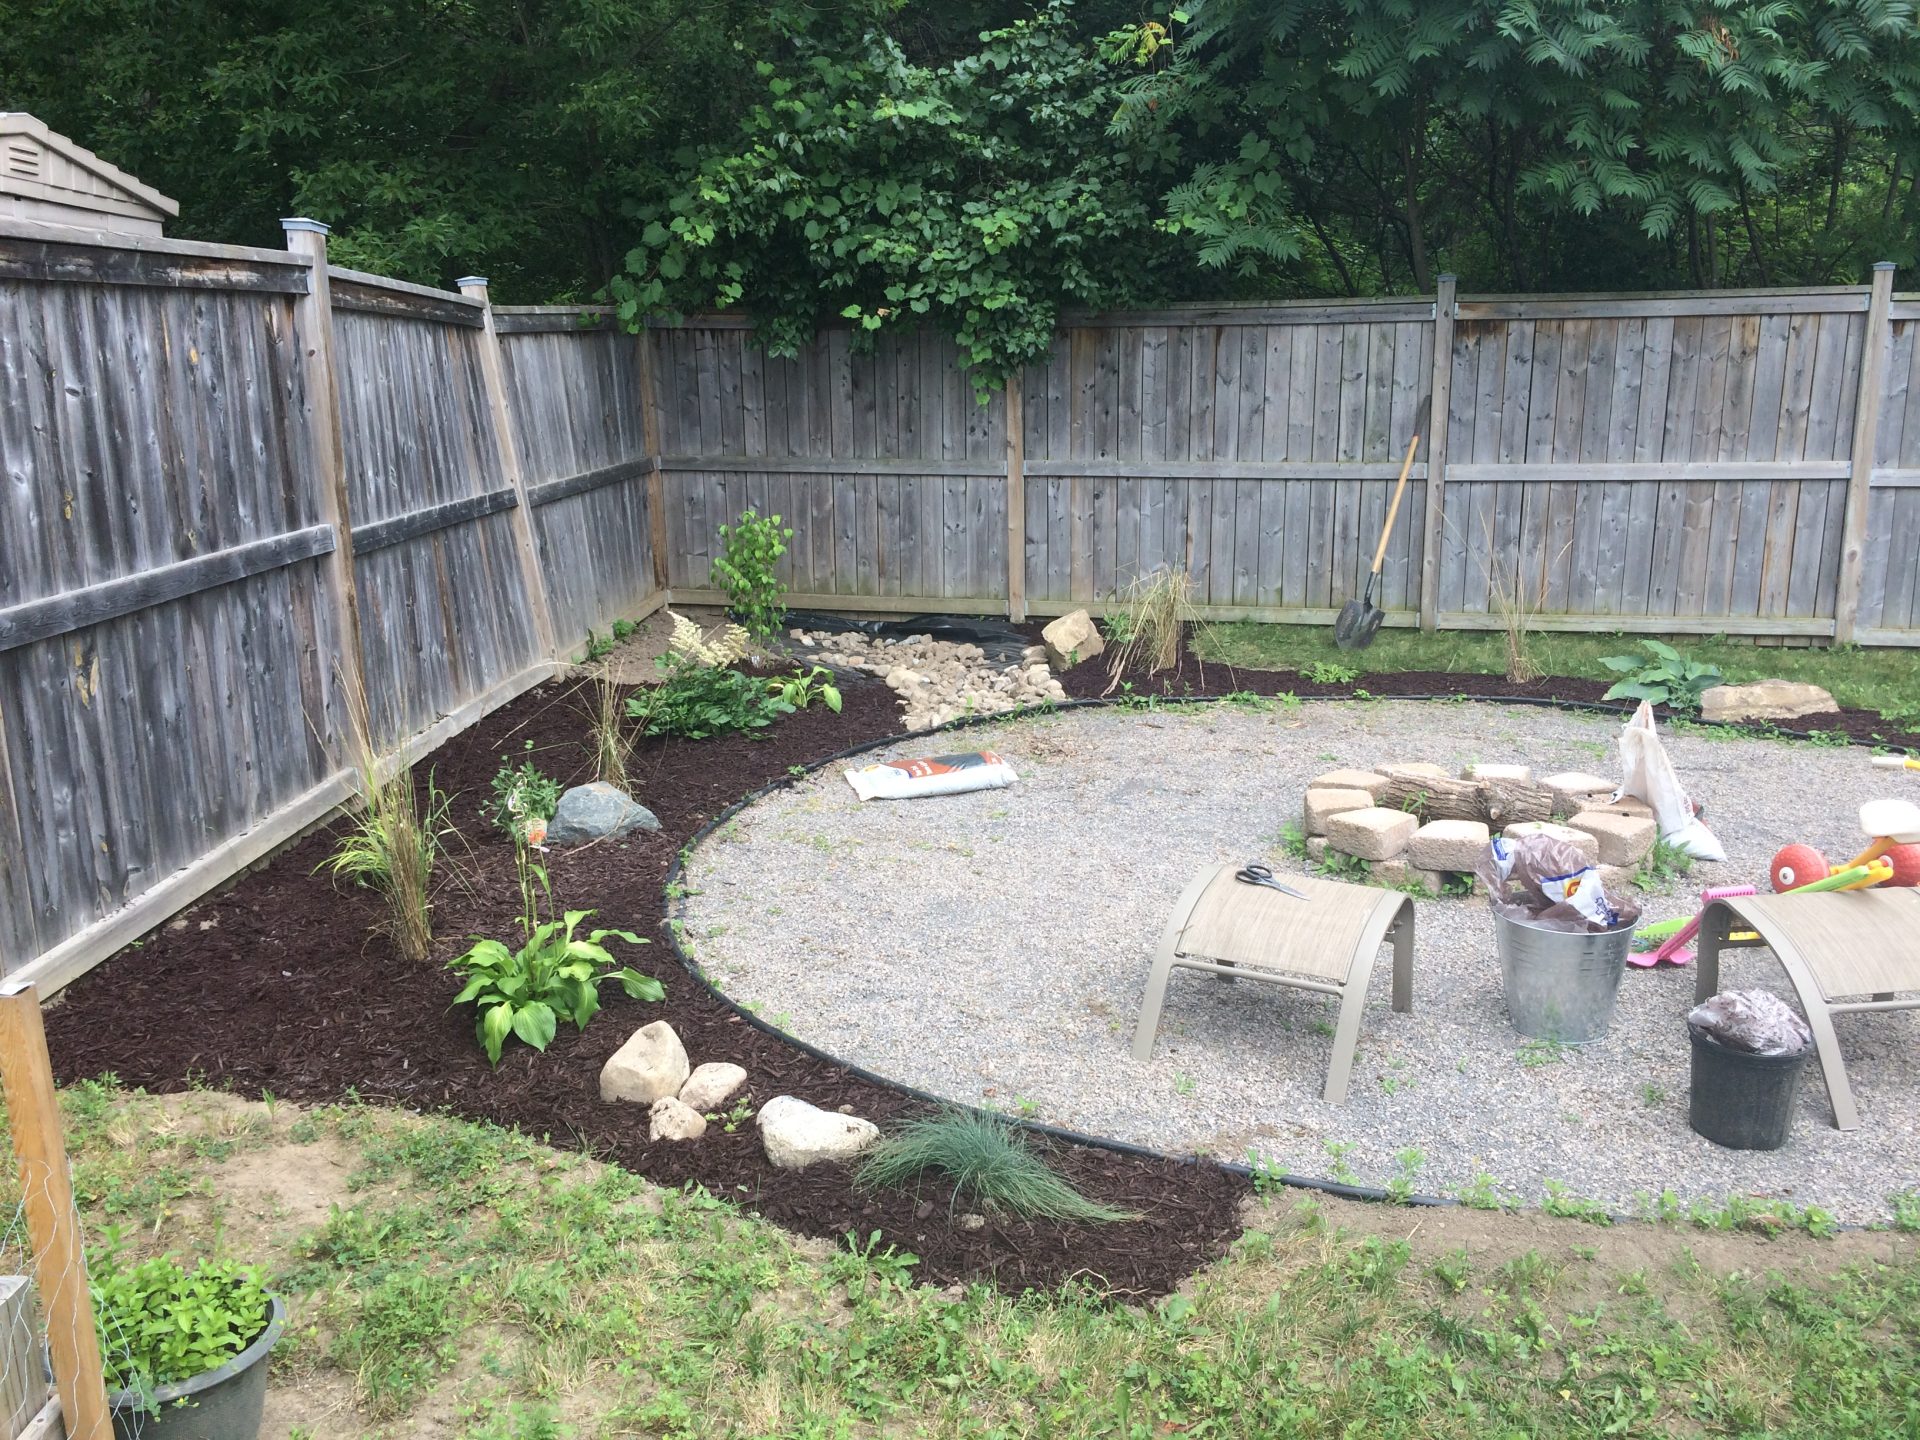
Arrange landscaping stones in a circular pattern, 2-3 layers high, leaving gaps for airflow.
9. Add Finishing Touches
Cover the fabric with gravel or pebbles for a polished look.
Other Tips:
If You’re On A Budget
Aim for the minimum number of stones and gravel. Cut down the soil to a depth of 3 inches, and don't discard it. Instead, repurpose it for a raised vegetable garden, like we did, adding both functionality and sustainability to your backyard.
Improvements I'd make if I did it again:
I would go a bit deeper and spend more on gravel, creating a thicker surface for the sitting area. I maybe would have done different layers of gravel, with a prettier stone as a top layer and what you see as a base layer. I would also make the fireplace with more stones by adding a third layer and making them fit tighter together with less gaps in between. But, it did the job and looks nice for being on a budget!
Creating your outdoor fire pit is a great weekend project that enhances your backyard living space. It is a simply project that can be completed with a partner, or even by yourself if you’re motivated!
