Personalize your Ikea Duktig Play Kitchen with easy steps and creative ideas. From paint to pretty papers, discover the simple makeover process to create a unique play kitchen any child would love.
Steps to Makeover an Ikea Play Kitchen
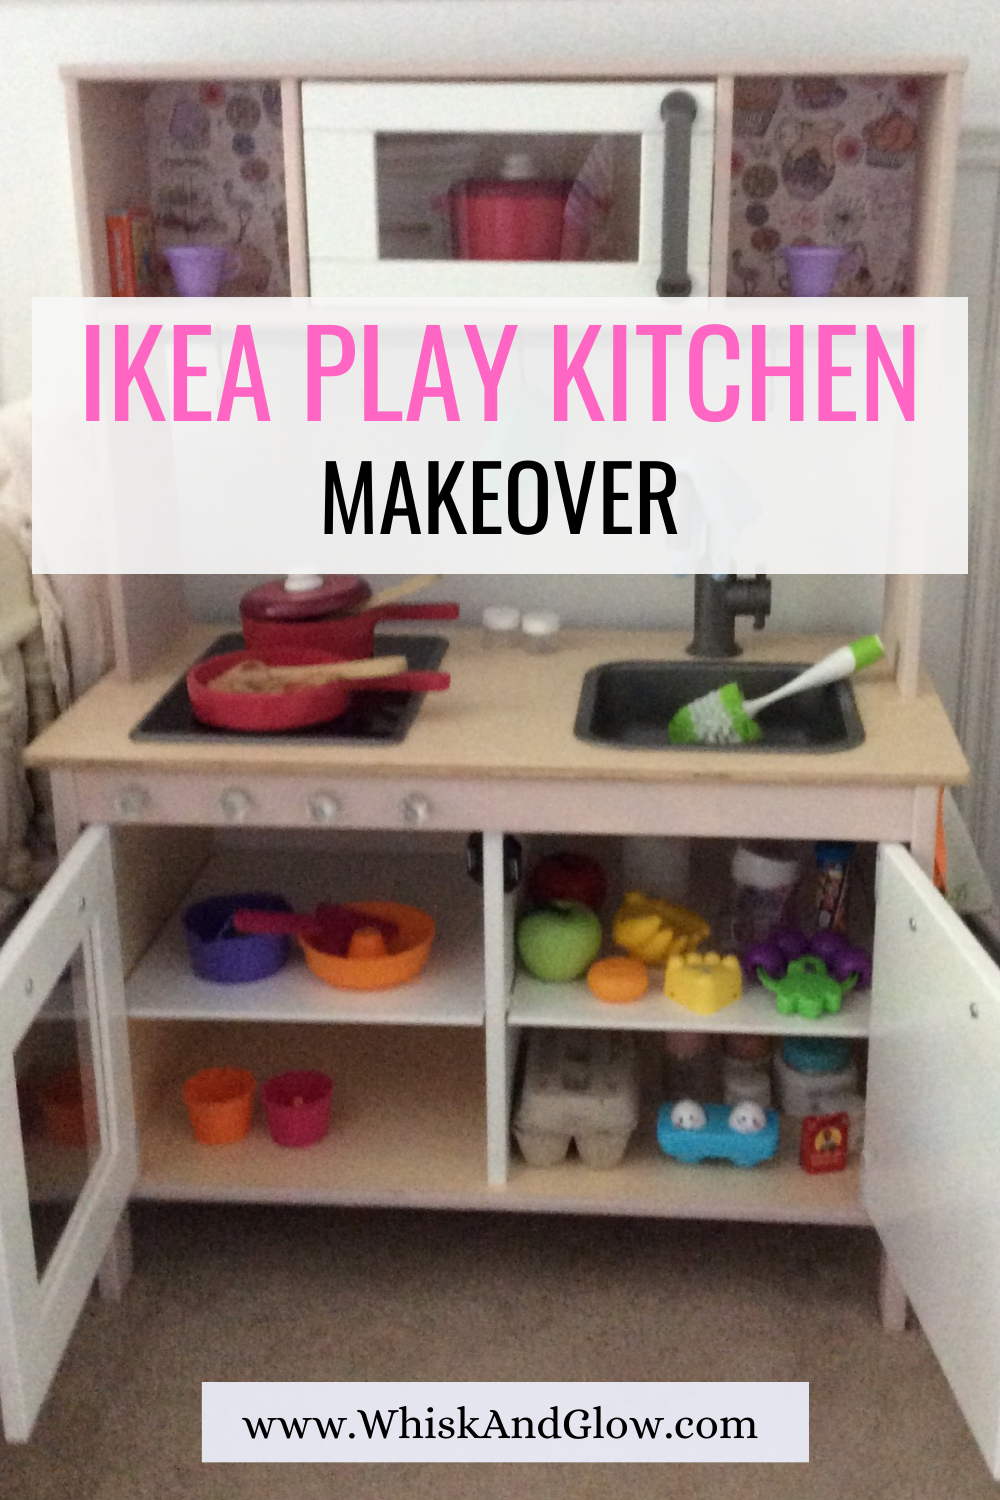
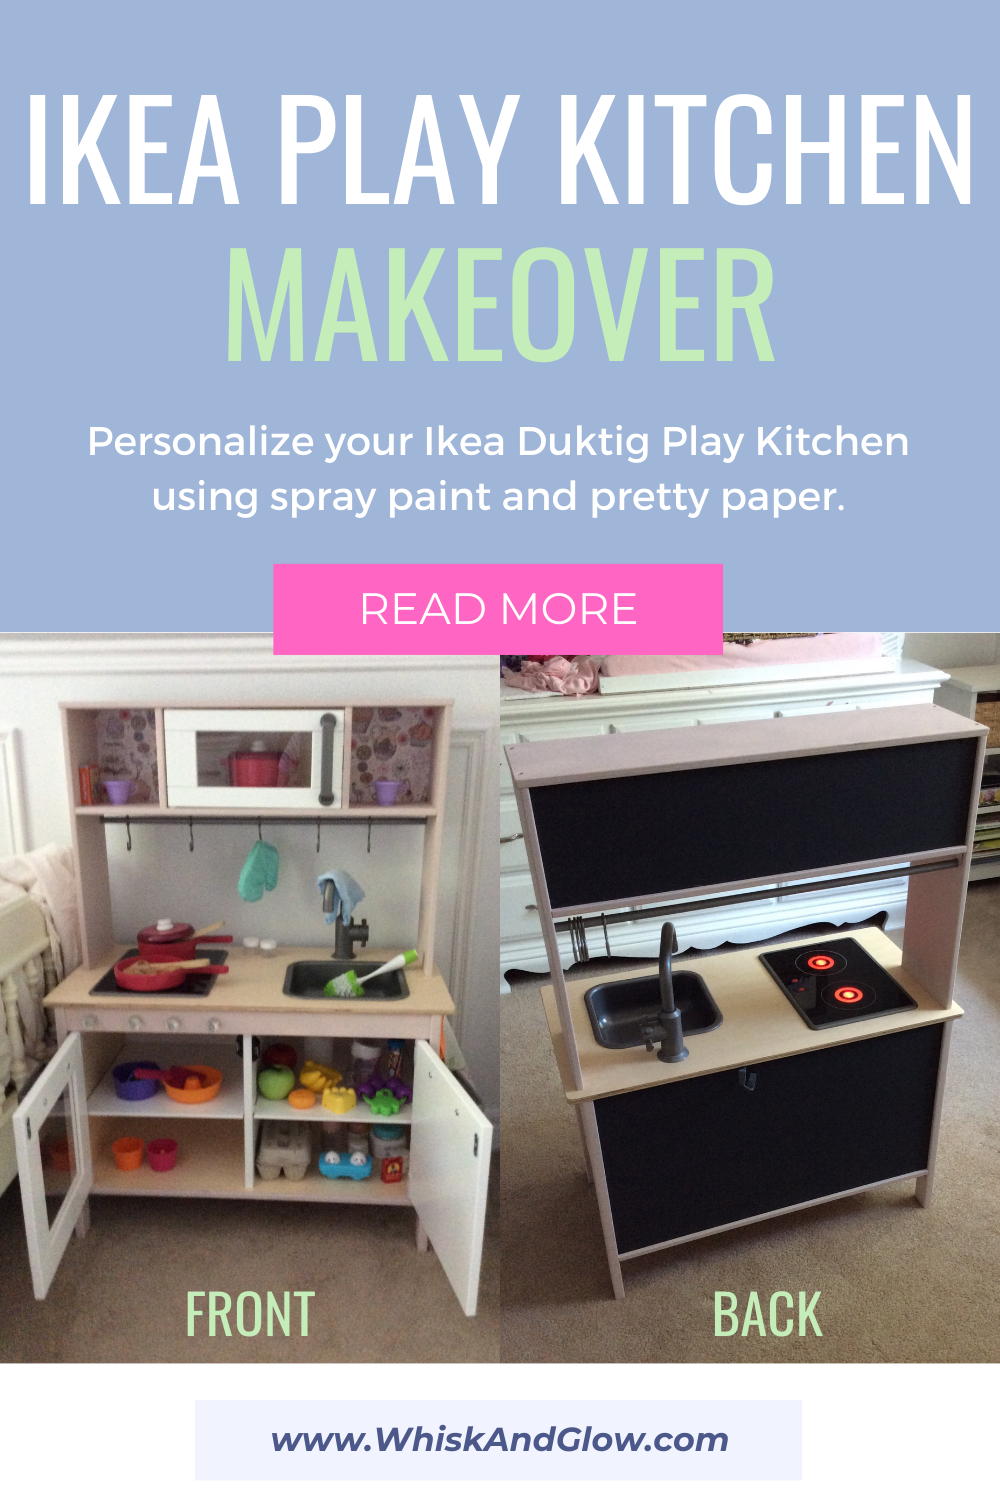
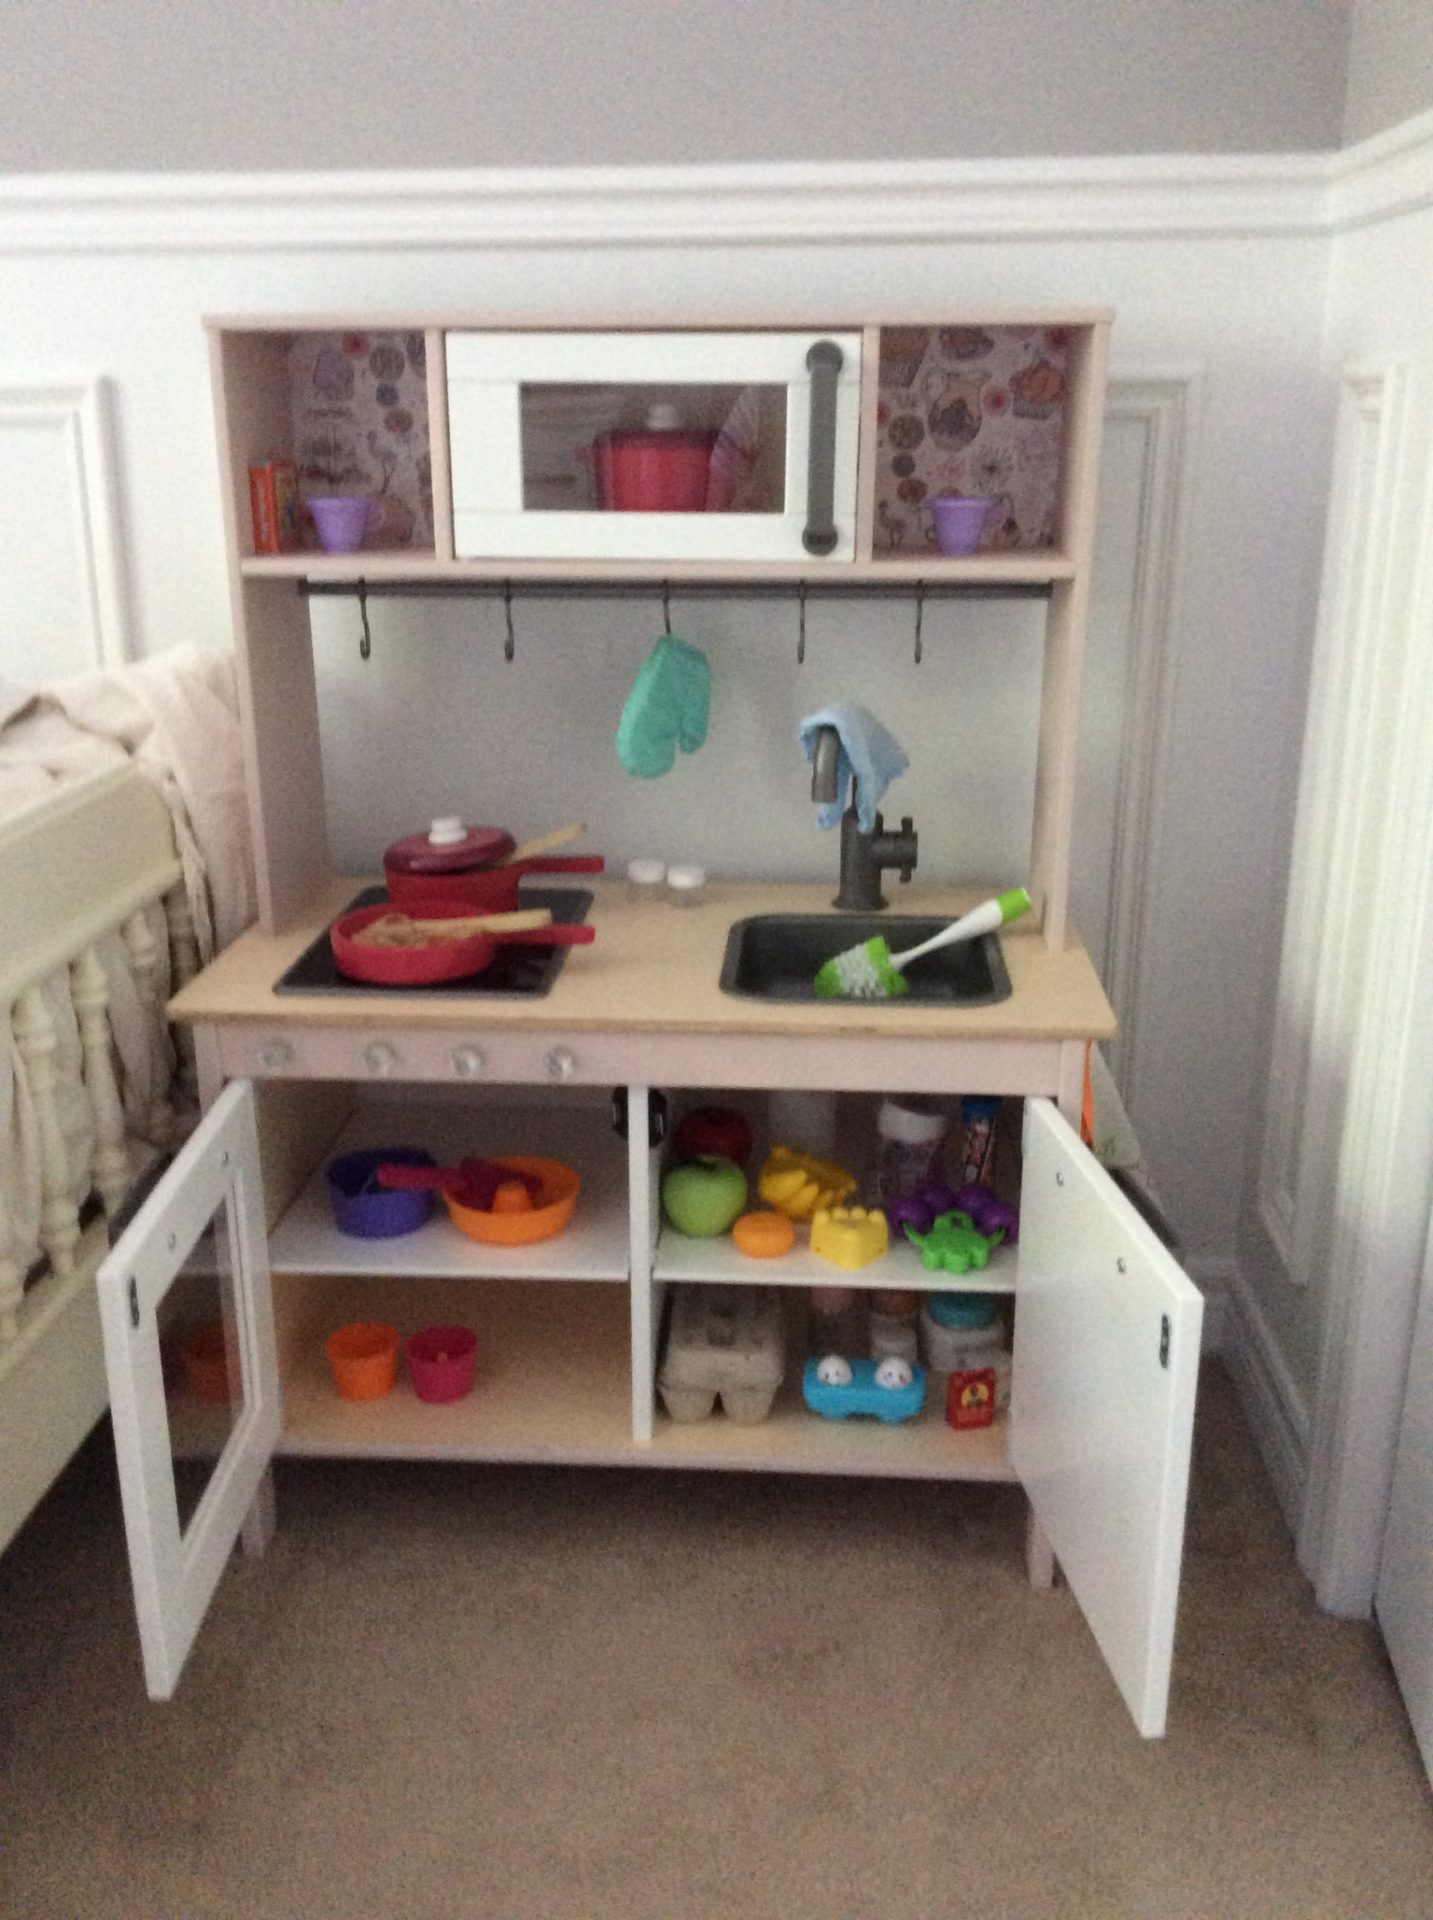
These are the steps I took to complete the project for my daughter’s Ikea Play Kitchen, as pictured below.

Step 1: Decide on your design
Buy the supplies! Depending on the design you have in mind, you might need the following items to complete your project:
- 100 grit sandpaper
- Paints that will adhere to wood surfaces or plastic surfaces. I used Rust-Oleum Chalked Ultra Matte Spray Paint.
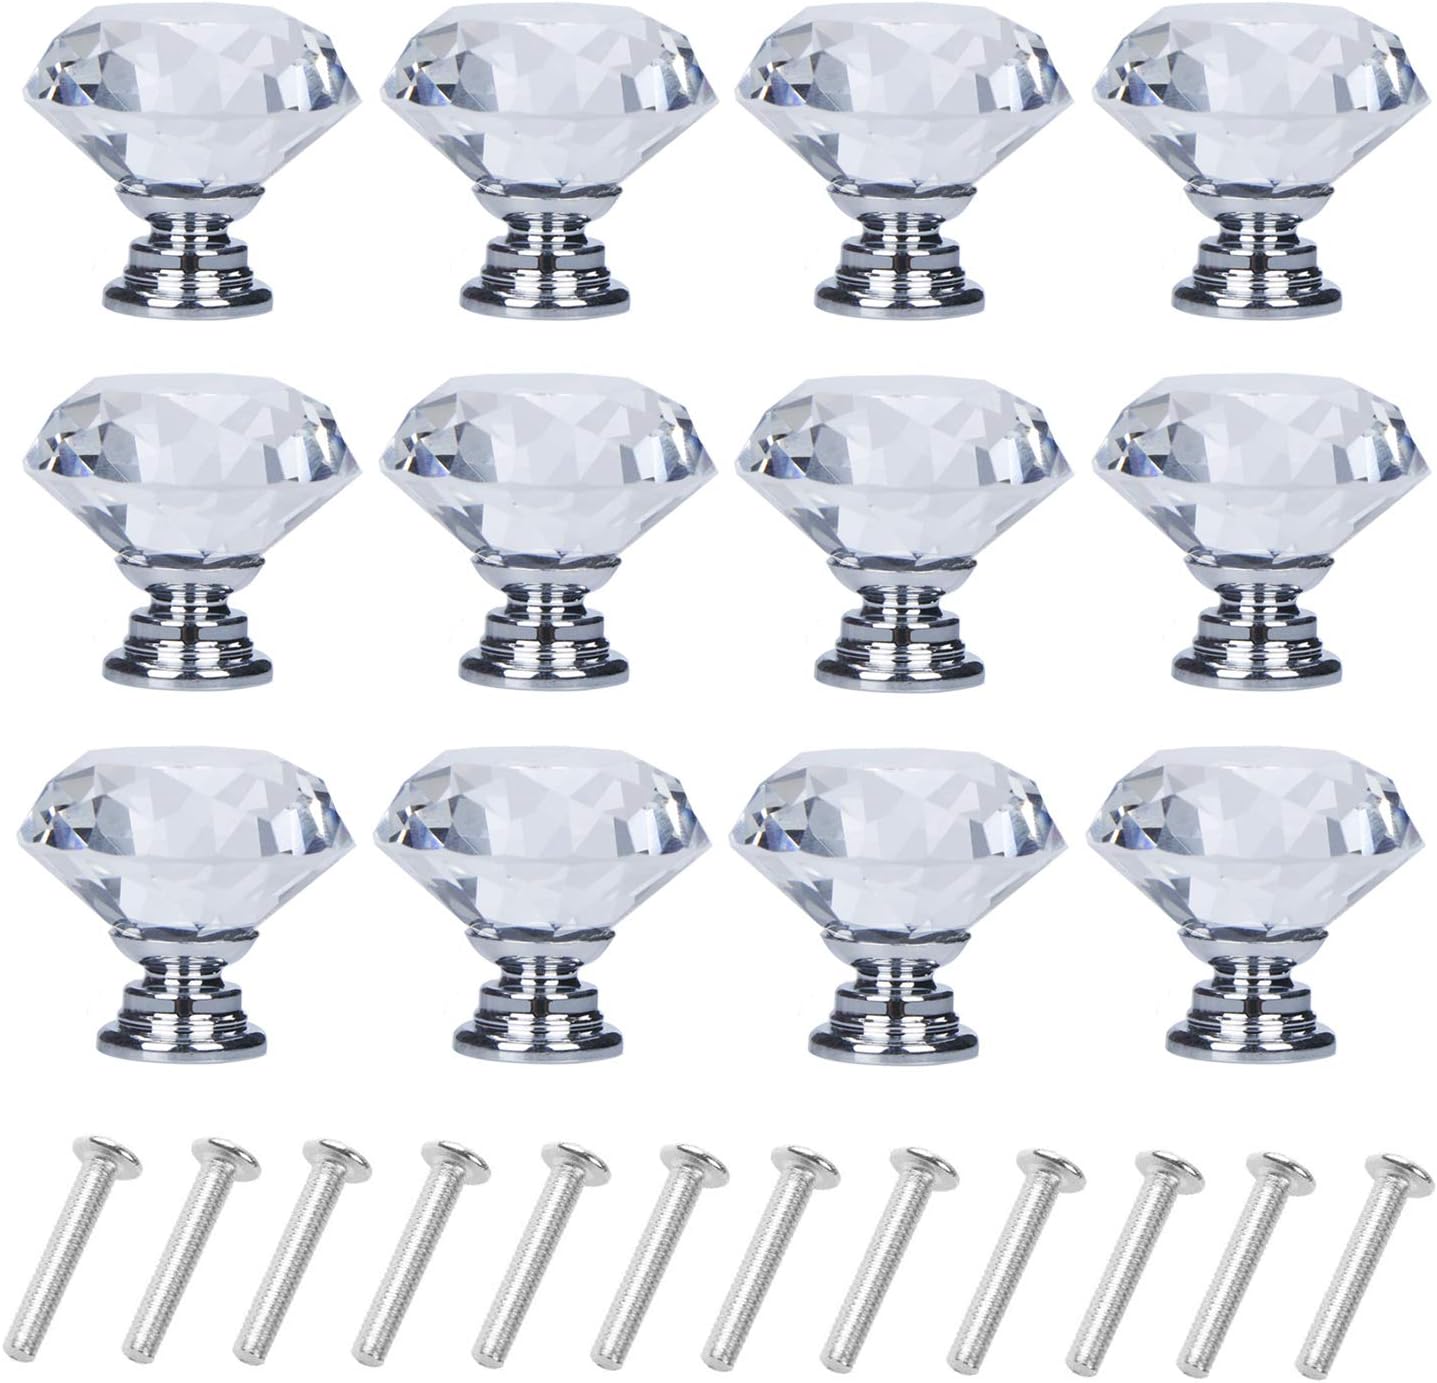
- Cabinetry knobs
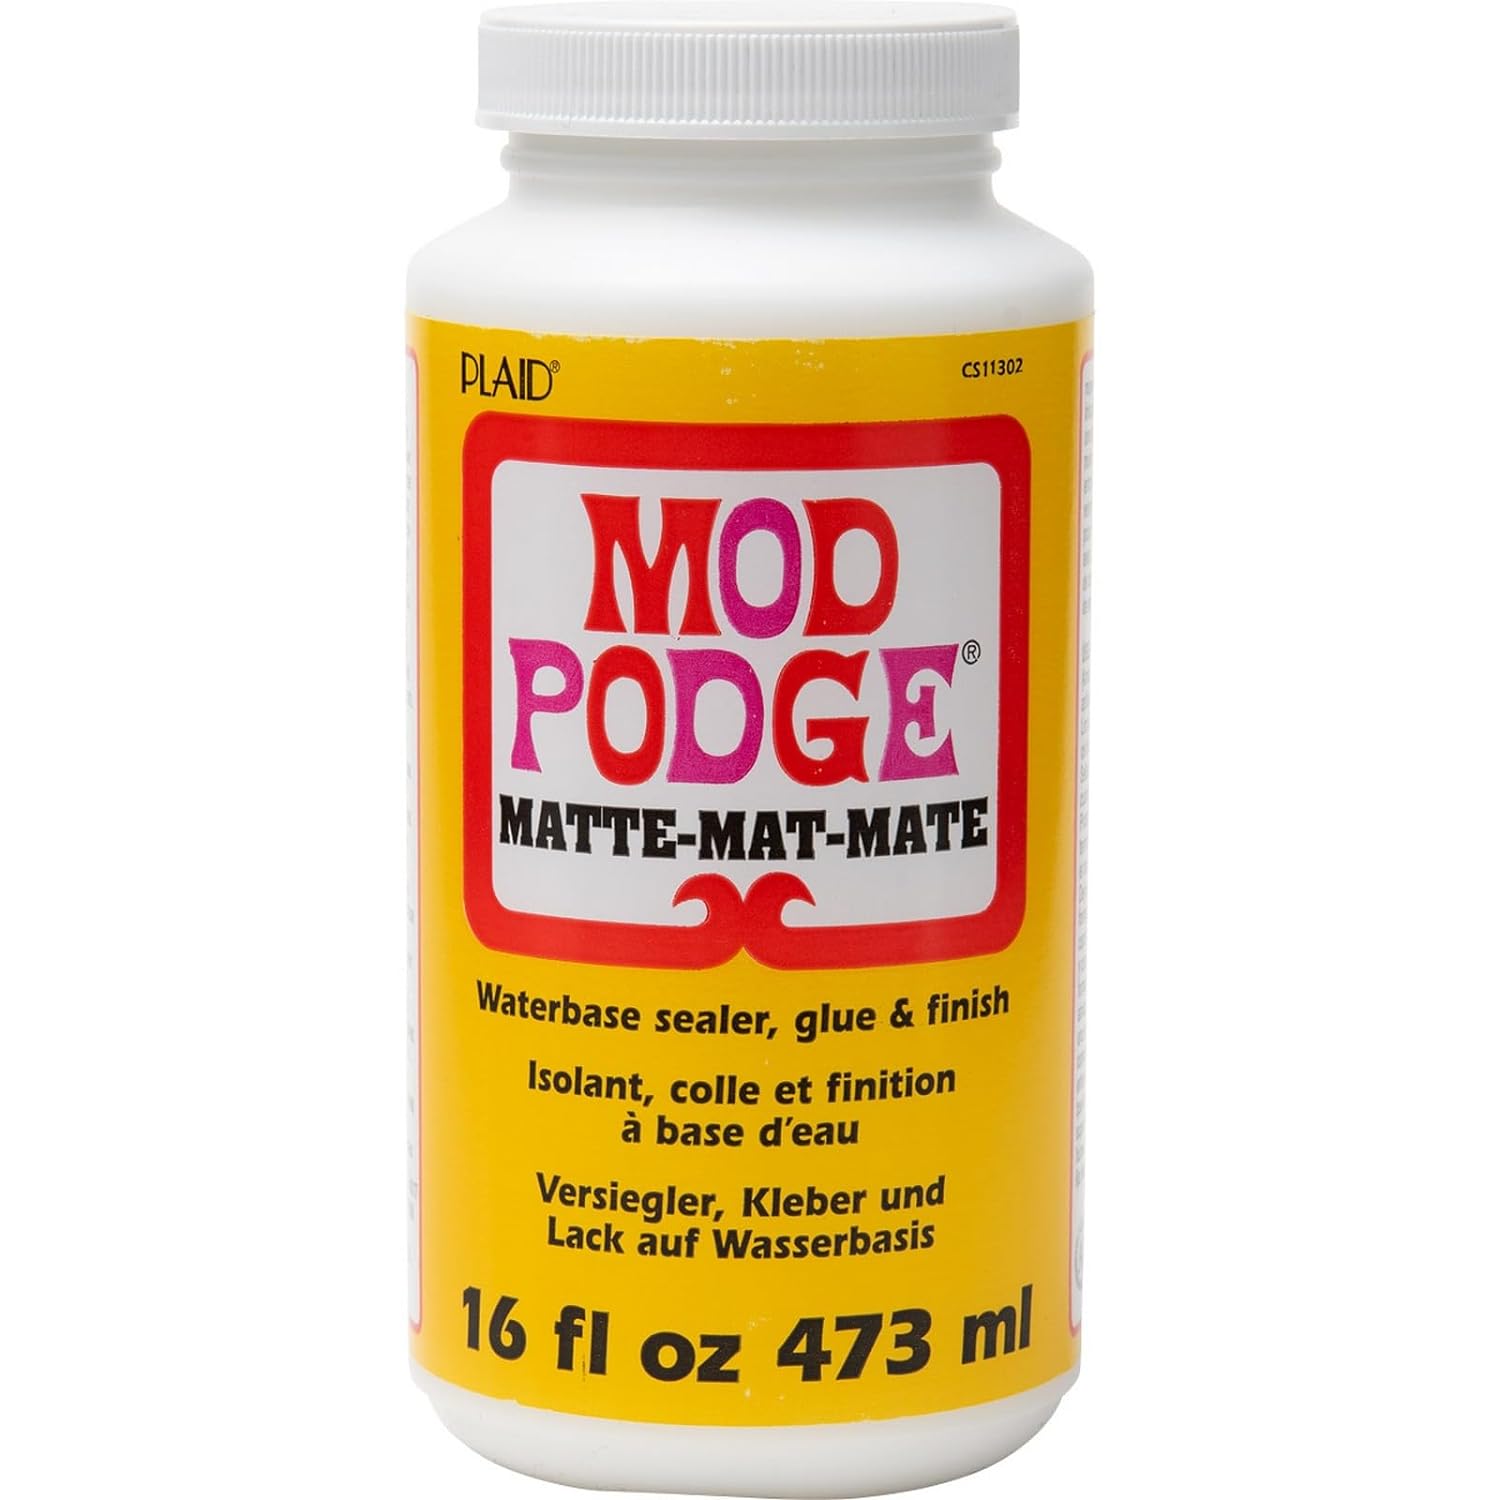
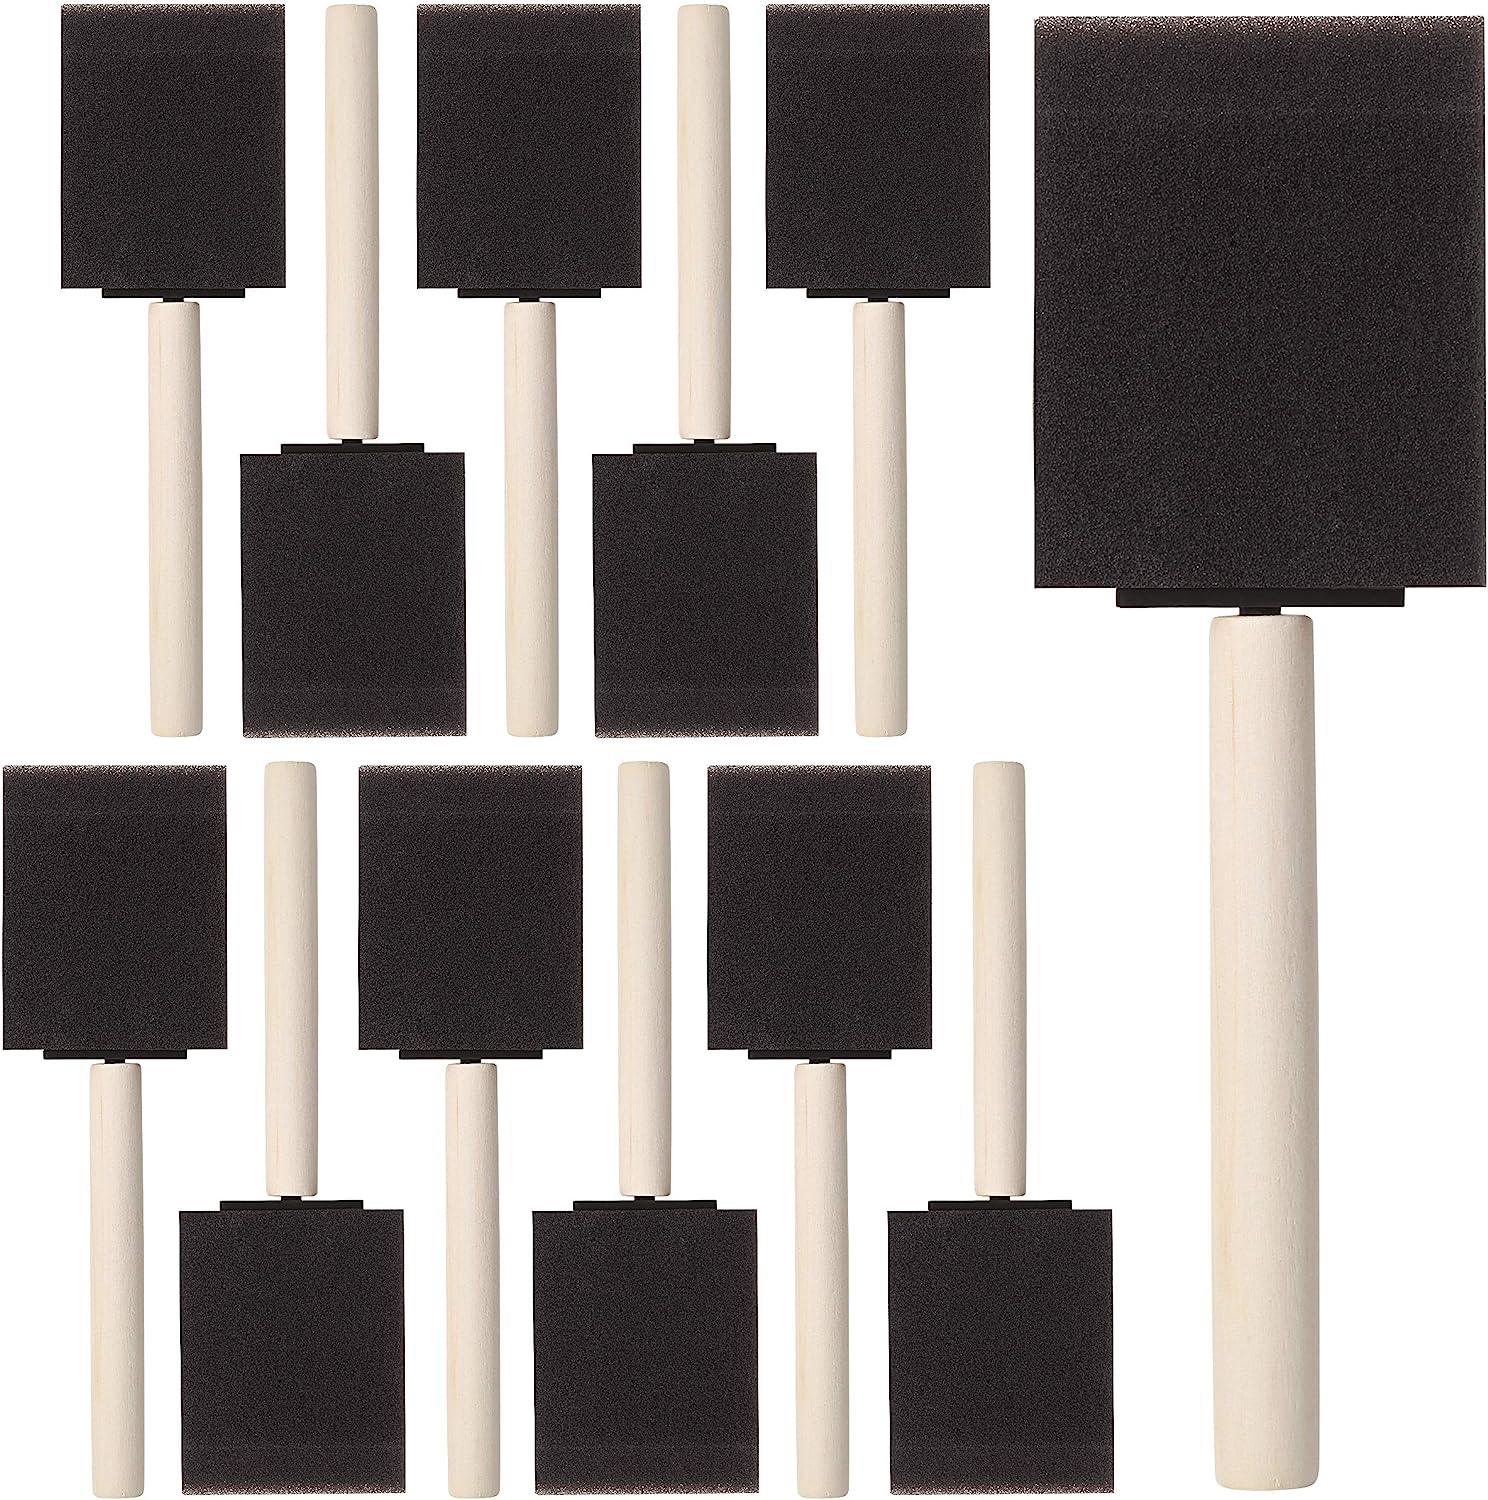
- Mod-Podge and paint brushes
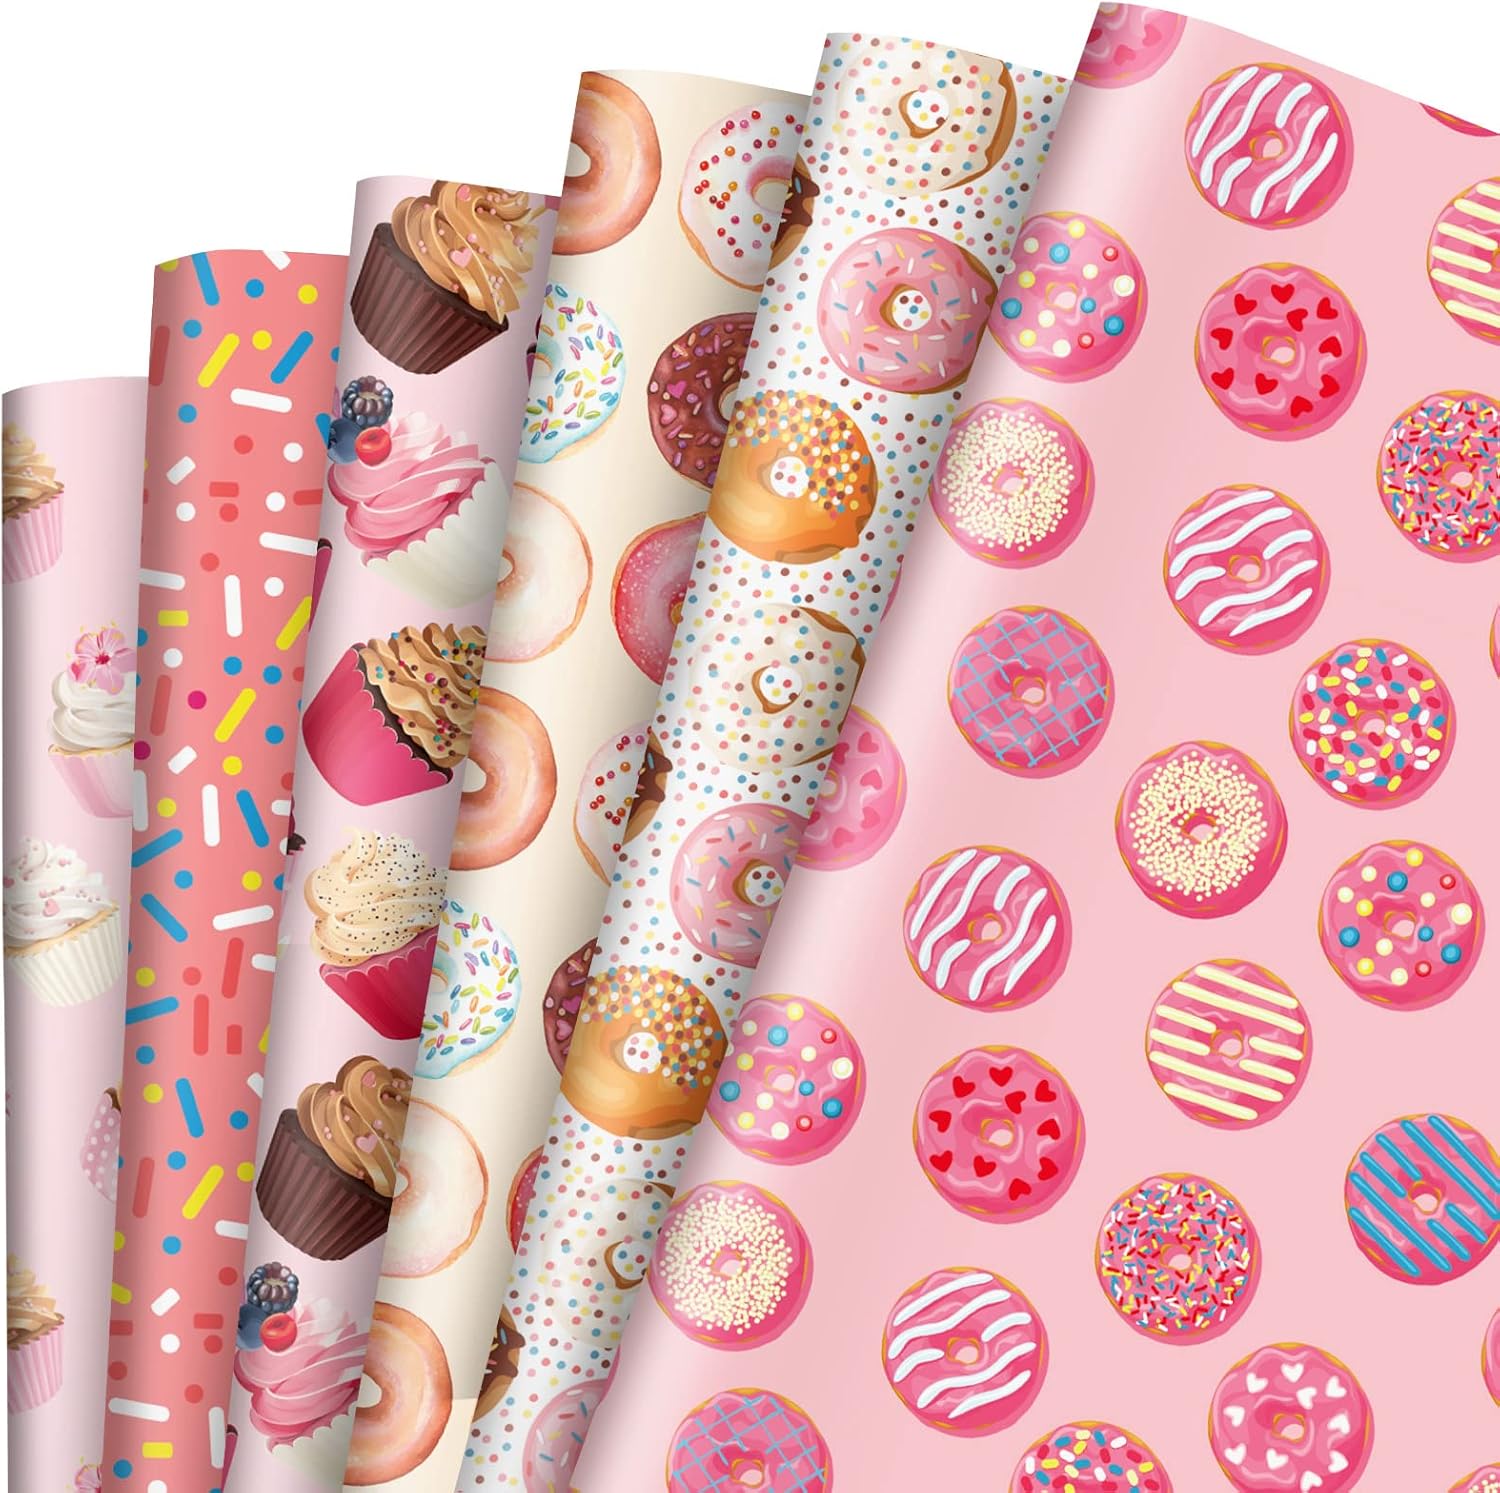
- Pretty papers (either wallpaper or giftwrap/wrapping paper work perfectly! I’ve also seen paper napkins used as well but these are more delicate, so you’ll need to be careful!),
- Cardboard to protect surfaces from paint or Mod-Podge
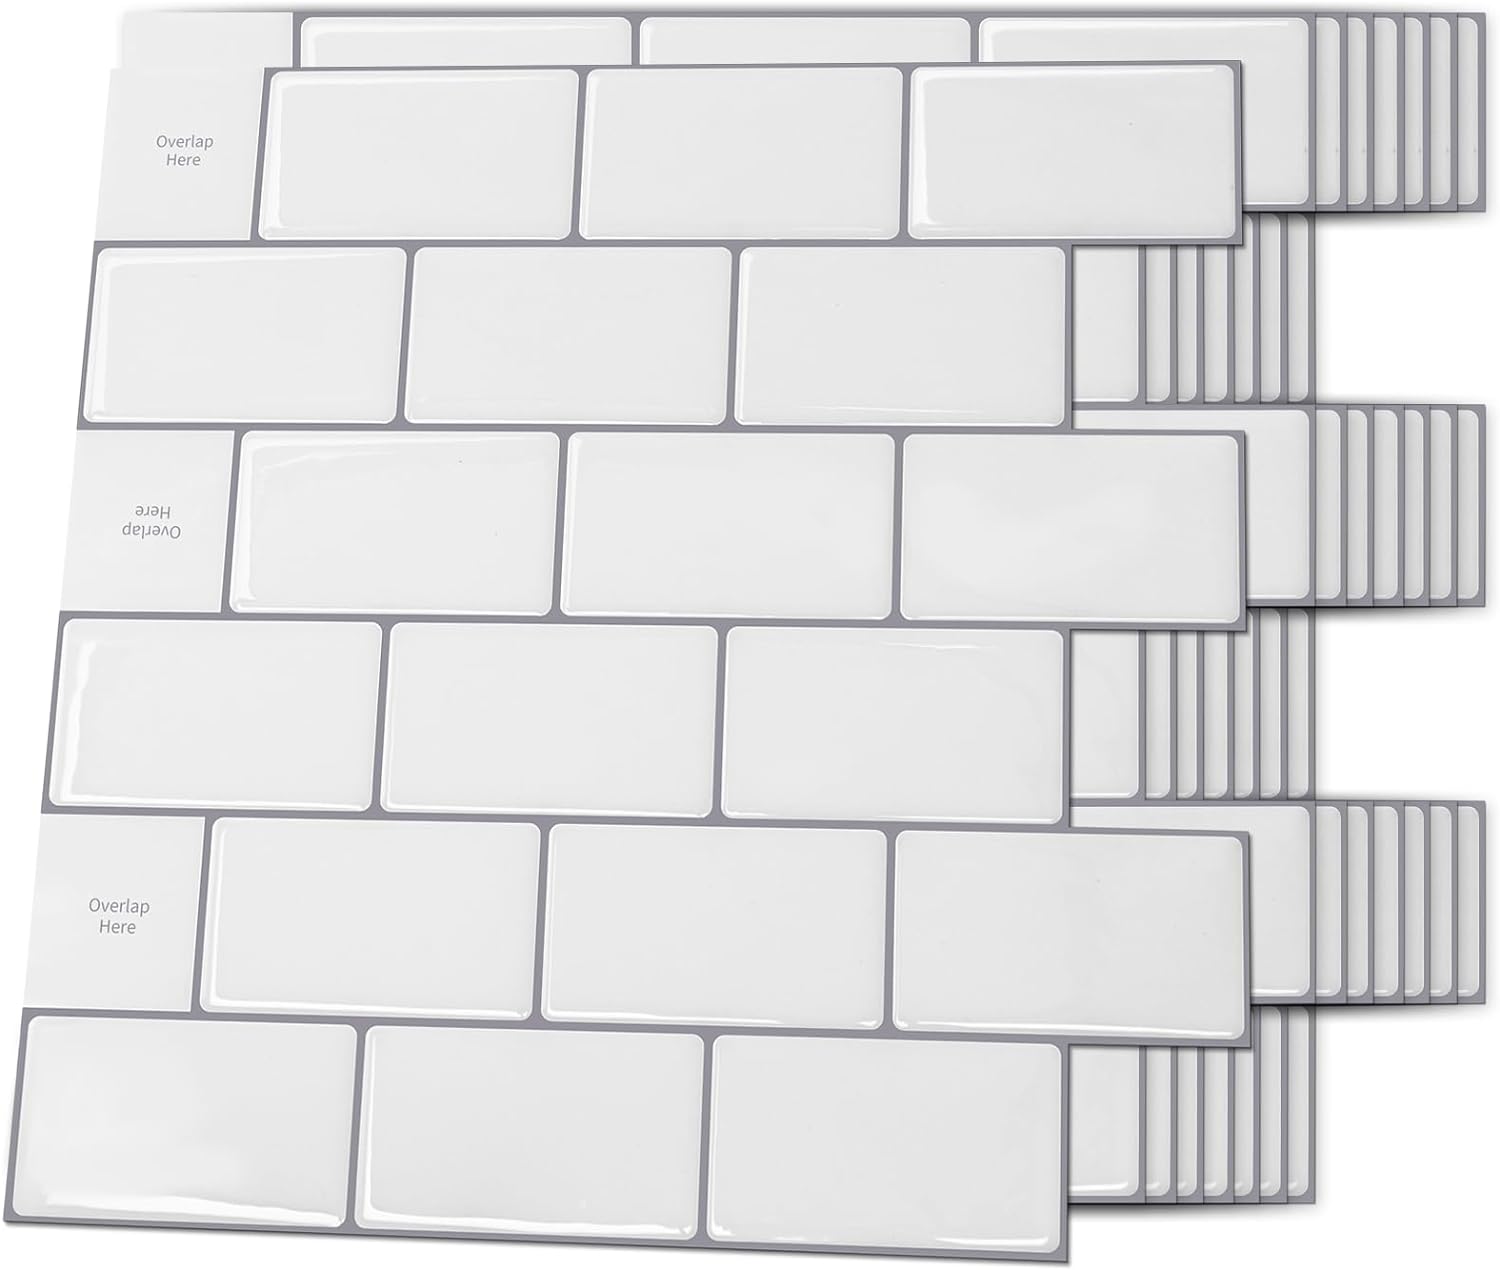
- Sticky tile backsplash sheets if you want a backsplash
- Wood MDF panel to fill area for backsplash (if desired)
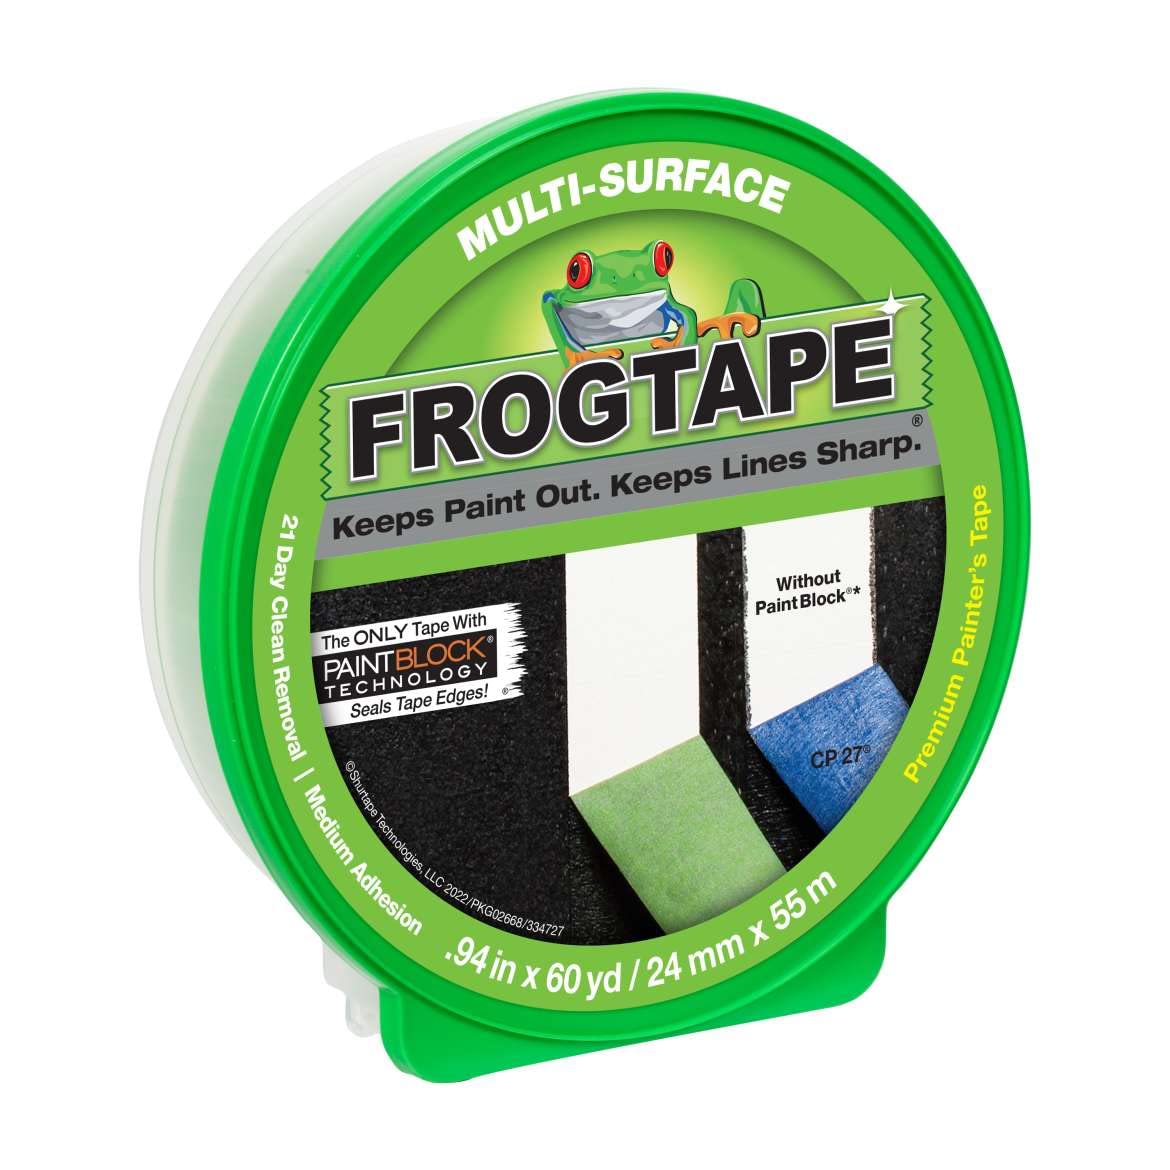
- Painters’ tape
- Batteries for the light-up cooktop (4 pcs AA batteries)
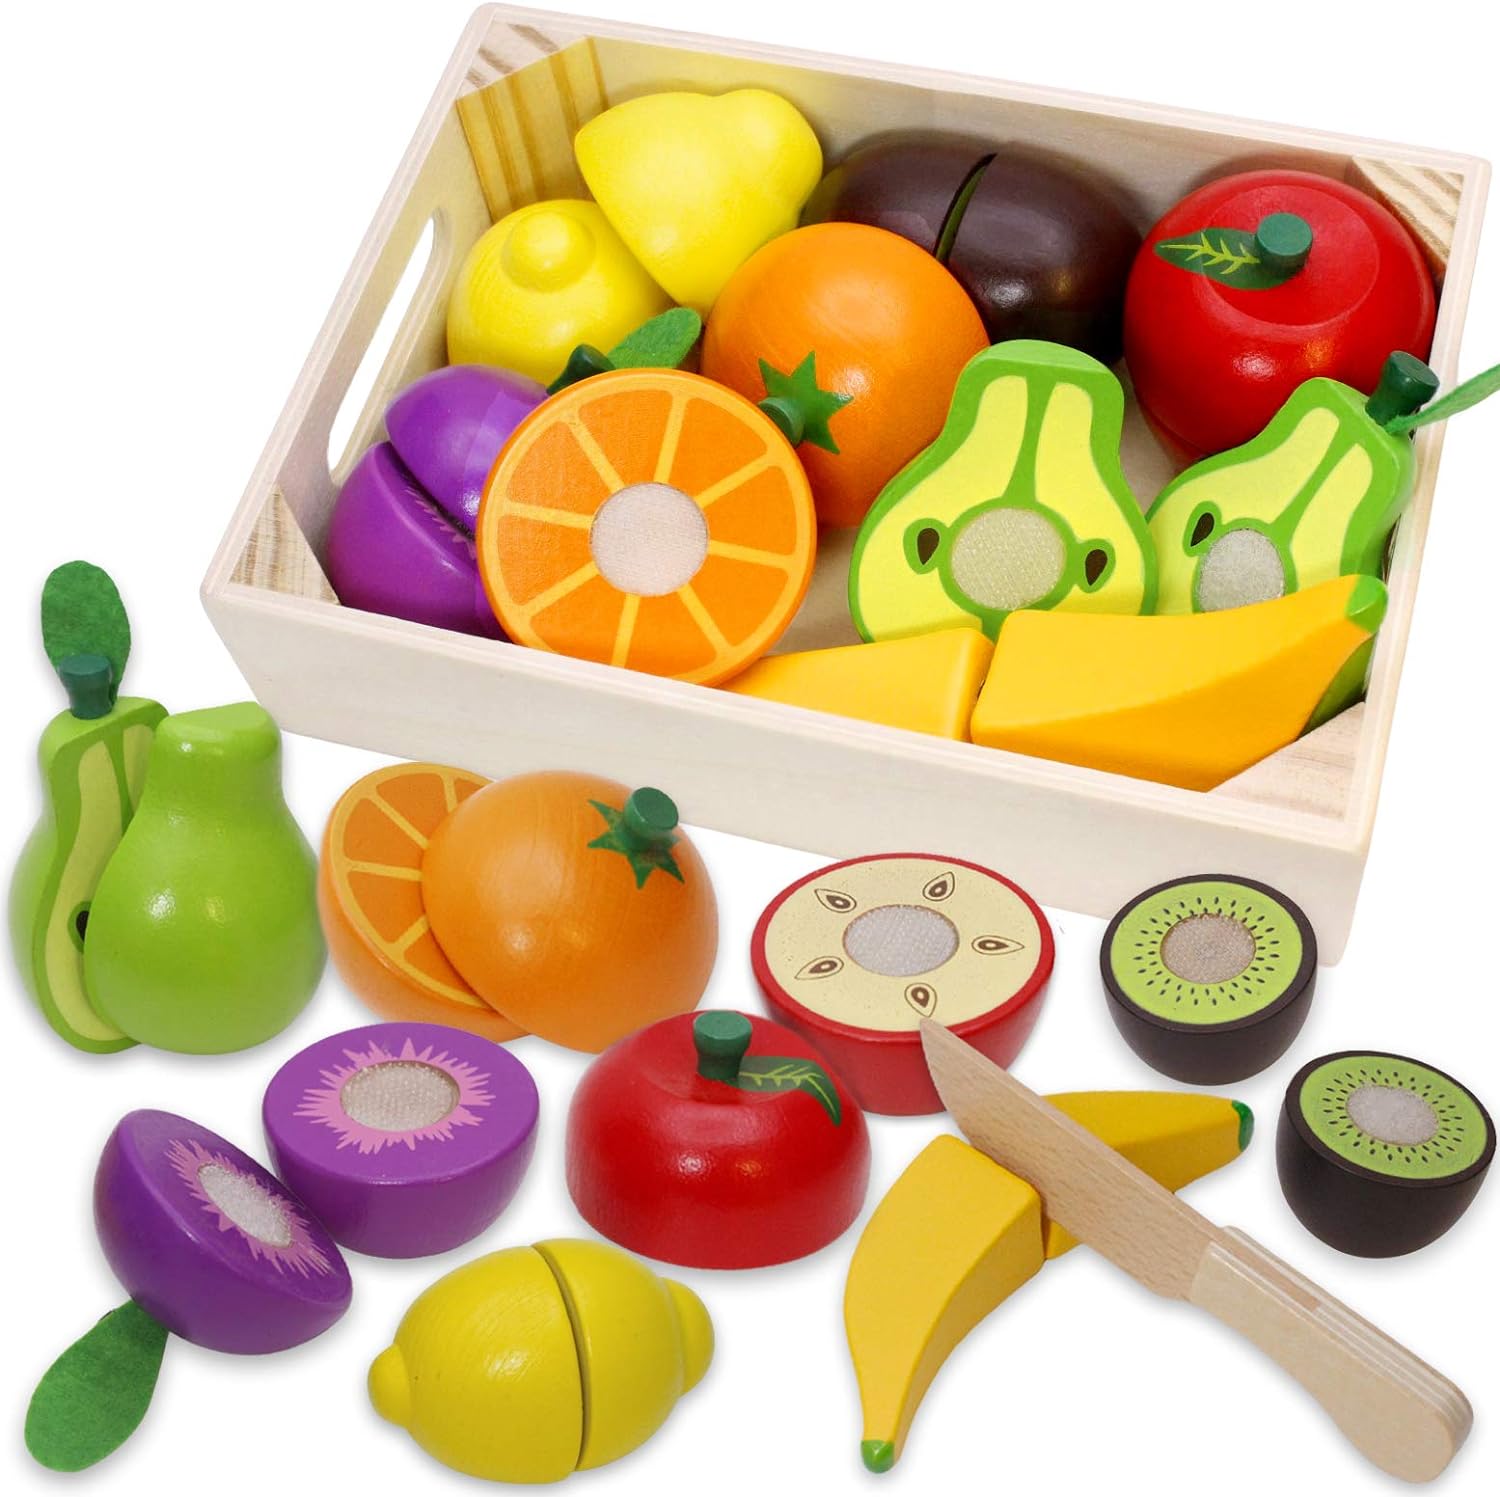
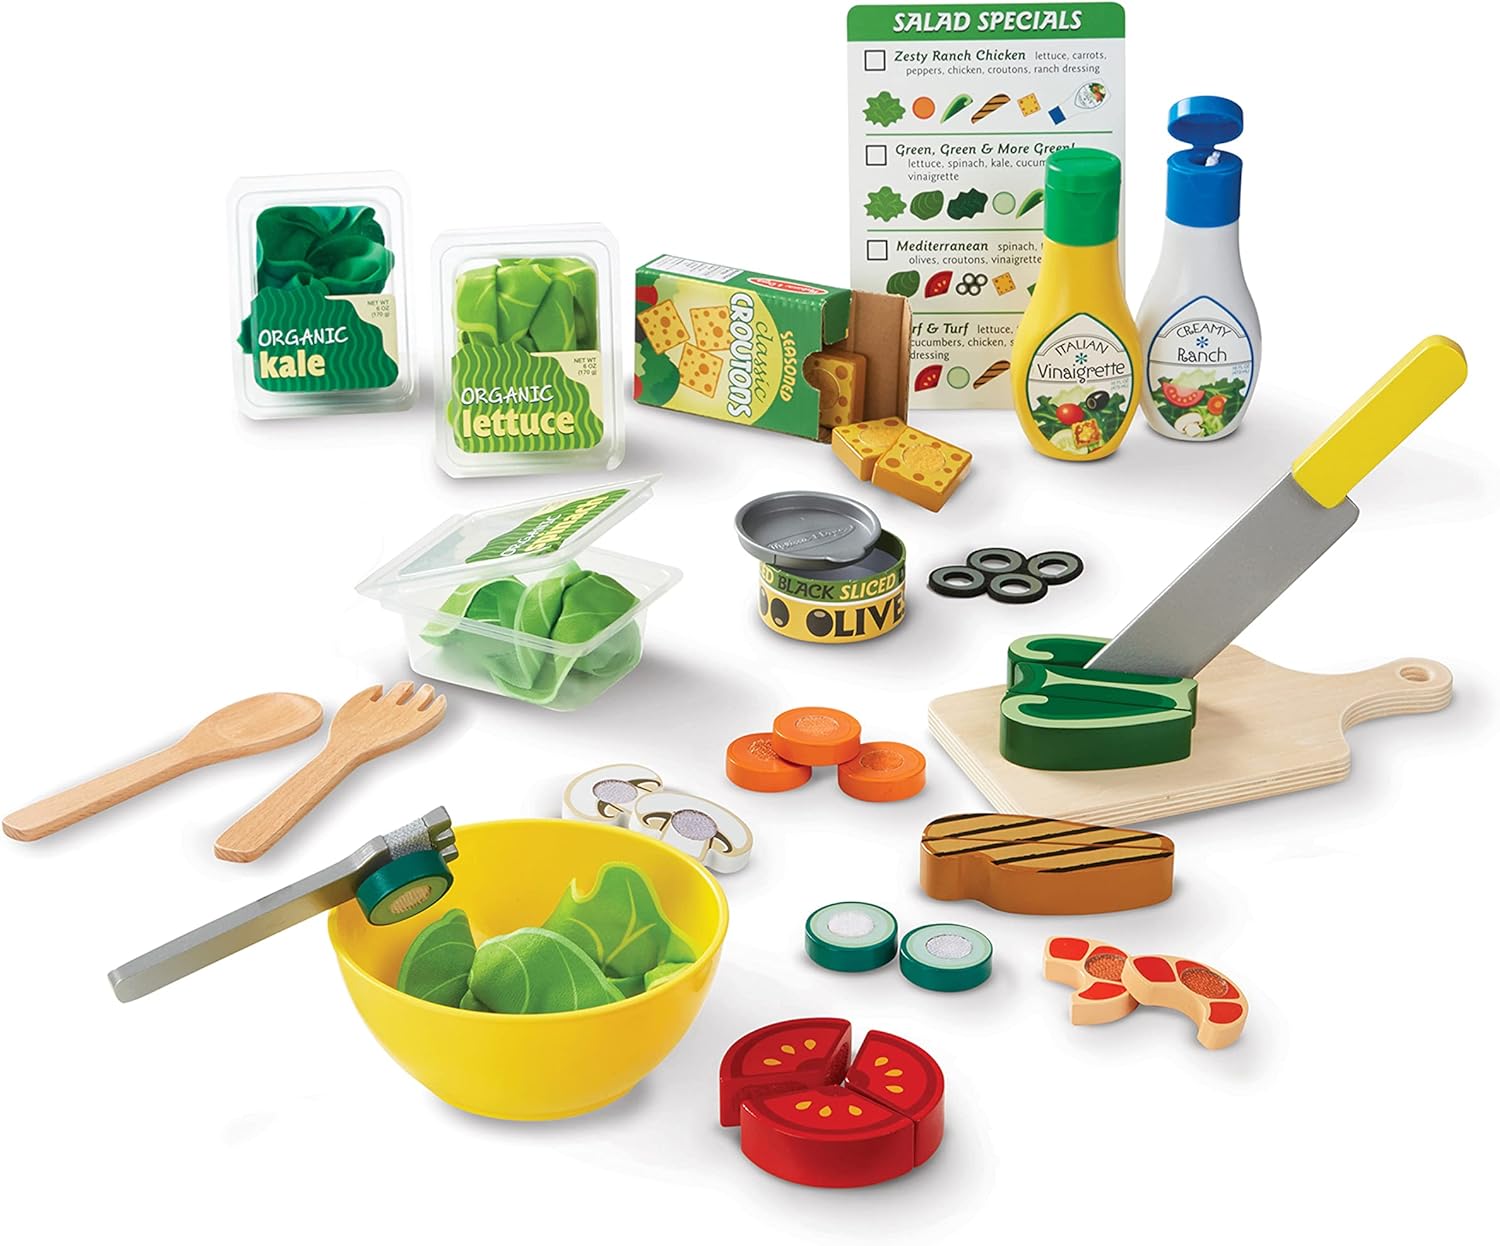
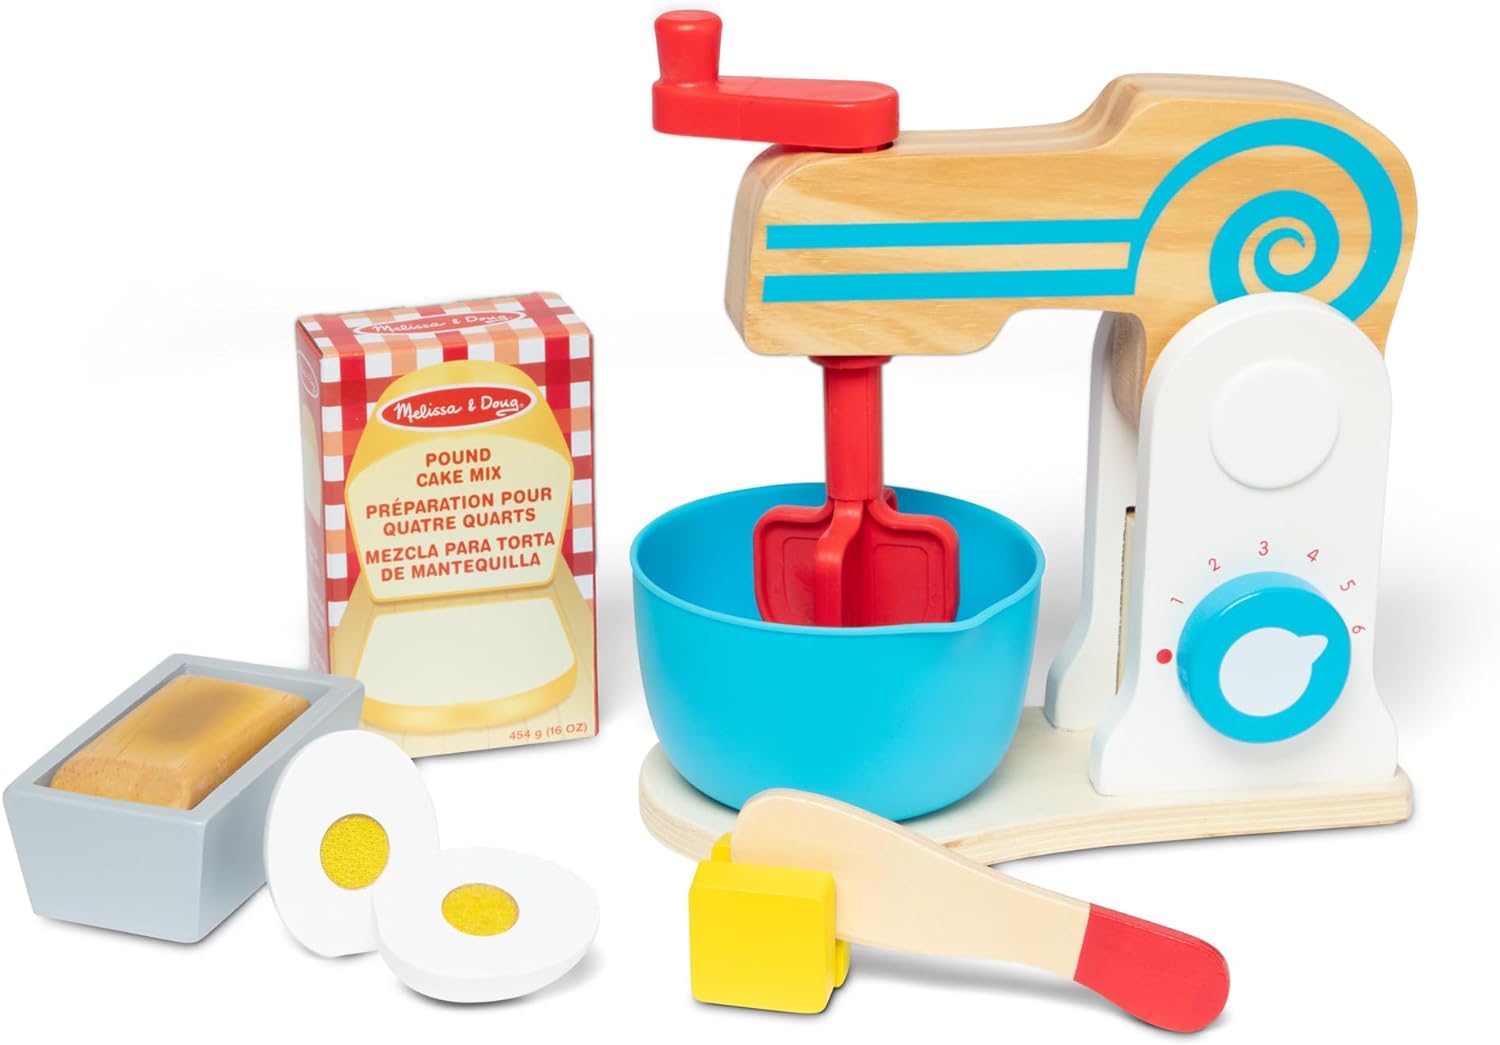
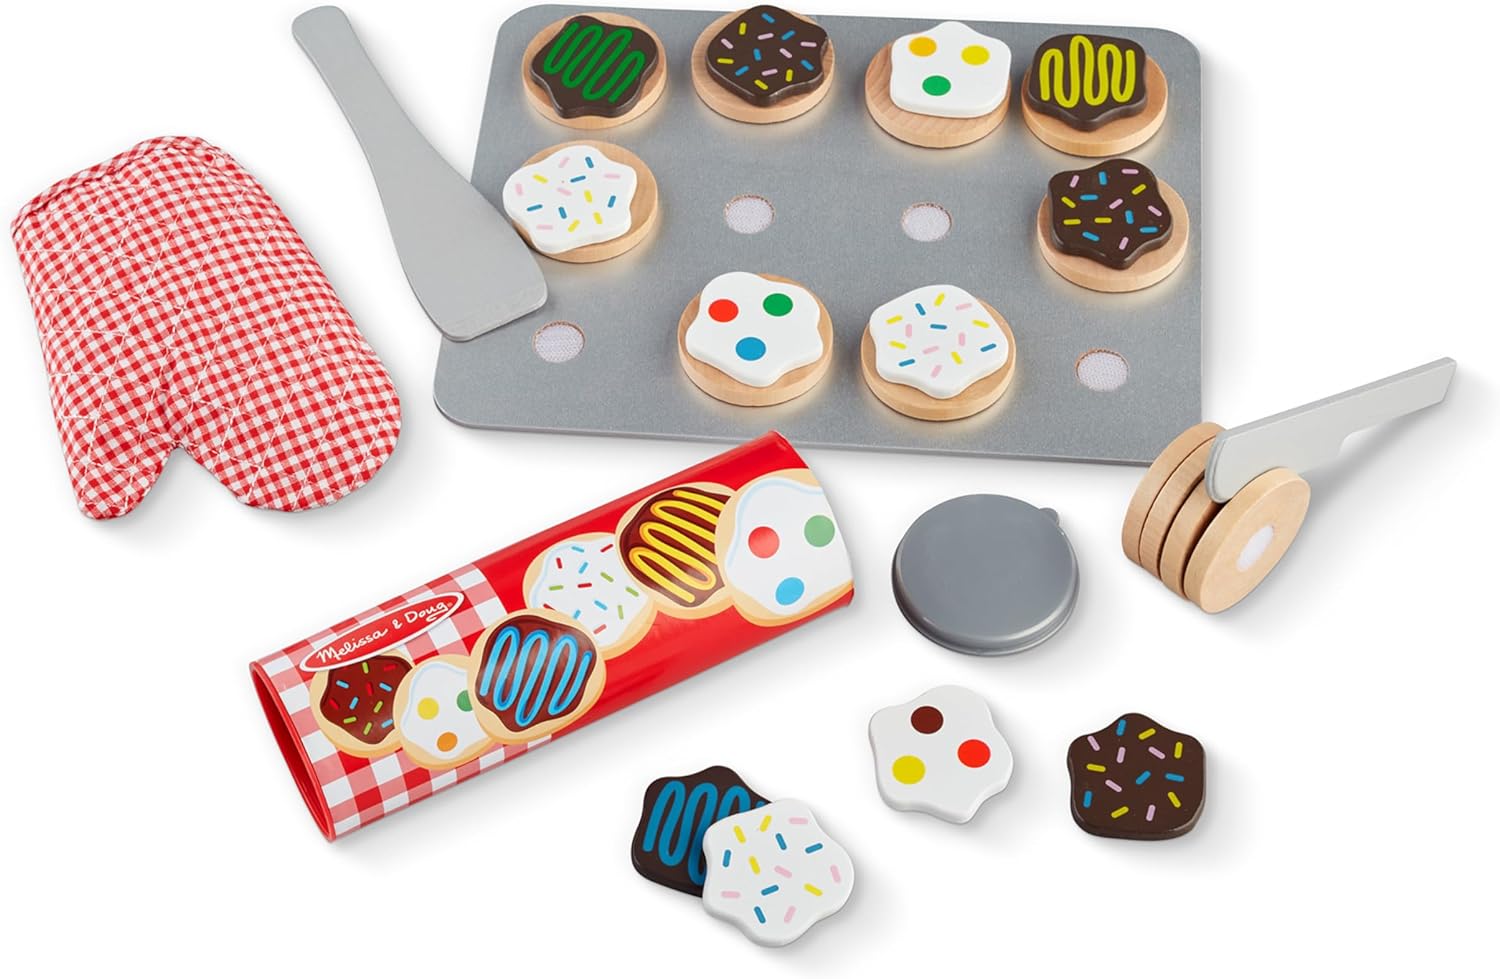
- Play food and kitchen-related children’s toys to accessorize
- Safety glasses, gloves, etc. as identified on the paint product labels.
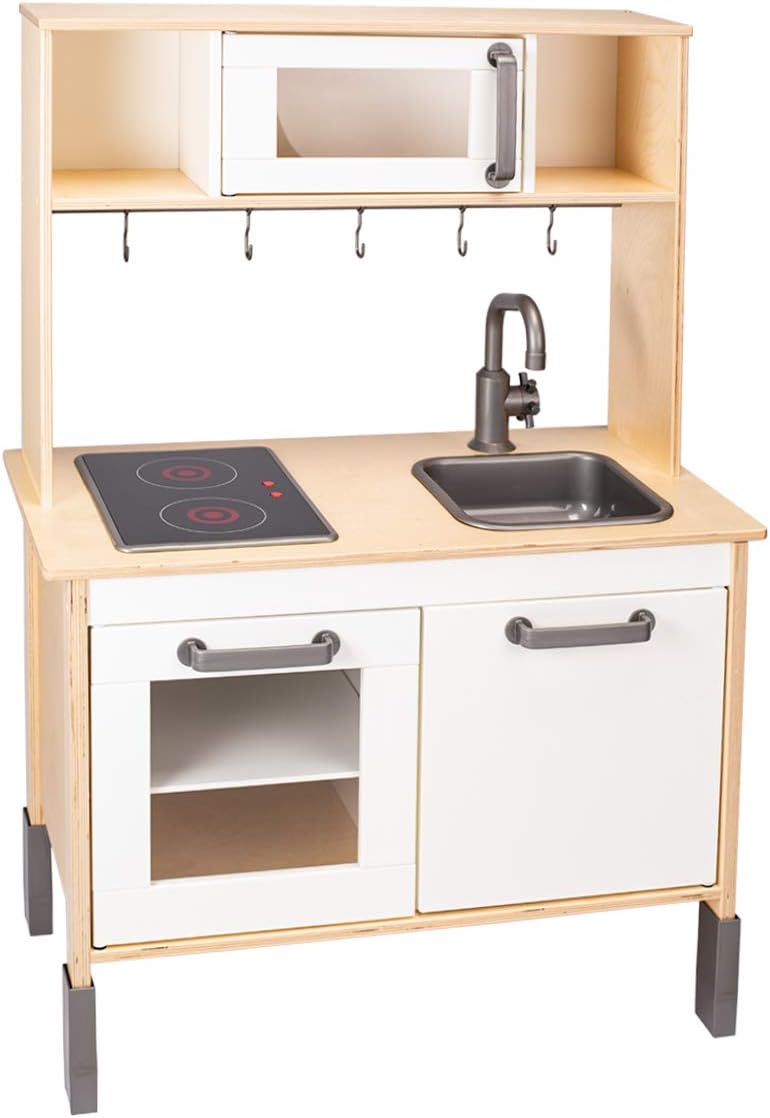
- Ikea Duktig Play Kitchen and any associated supplies noted in the instructions
Step 2: Prepare Surfaces for Paint
- Determine where you want and don’t want paint. You will need to apply tape to create clean lines that separate painted and non-painted surfaces. For example, I did not paint inside the cubbies or inside the bottom cupboards, so before painting, I added tape to make a defined paint line on the side panels.
- Next, scuff the areas that you will be painting using 100 grit sandpaper. It needs just a light sanding, but this will ensure that your paint has a better bond to the wood as there is a clear varnish on it already.
- Complete the painting outdoors and use cardboard panels to protect surfaces you don’t want any paint on. Follow any safety precautions that are identified on the paint product labels.
- Follow instructions on the paint product labels in terms of how much time to wait between coats of paint.
- Wait for everything to dry before moving to the next paint color.
- I wanted to utilize the back panels as chalk boards to be able to write on and use as a bake shop counter. For this, I used black chalk paint for the back sides of the panels.
- Wait for everything to dry before moving to the next step.
Step 3: Apply Pretty Paper
If desired, now is the time to stick on any pretty papers you have. I found a cute tea party-themed wrapping paper at the dollar store.
- Cut sections of paper that will fit the panels where you want the paper to be. I chose to add my paper to the back two cubbies, and only one of the bottom drawer fronts, as I wanted just a subtle hint of decoration.
- Use a paint brush to evenly distribute Mod-Podge to the area of the panel where you want it. I recommend applying the Mod-Podge to the wood surface and then press it down in place. I prefer this method rather than applying the Mod-Podge to the paper because it is more delicate.
- Wait for everything to dry before moving to the next step.
Step 4: Time to Assemble!
Assemble your Ikea Duktig Play Kitchen using the instructions provided.
Step 5: Add decorative Knobs
- I measured directly above the button left front cupboard panel and drew equally spaced apart dots to mark where I was going to drill holes for the 4 knobs I wanted to add.
- I laid down the kitchen on its back, so I had a sturdy surface to drill the holes. Be sure to choose a drill bit size that will allow your knobs through.
- Vacuum up and saw dust or wood bits.
- Insert and screw in your pretty knobs.
- Return kitchen to upright position.
Step 6: Insert Batteries and Accessorize!
You’re almost done!
- First, you’ll want to insert batteries into your battery-operated cook-top surface. It will allow the burners to light up when someone presses the button! Don’t worry, they will turn off on their own after a few minutes.
- Add cute food and kitchen-related toys.
- The more things you can add that are like a real kitchen, the cuter it will be. I suggest a cute kitchen towel and child-sized oven mitts!! I even added a cute wash towel on top of the tap, just like my own kitchen!
And that’s it folks! It’s a pretty simple project that I was able to complete in one day. The dry time and easy-t-use spray paint made all the difference!
Other Ideas to jazz up an Ikea Toy kitchen:
- Add a back panel behind the countertop area, which will allow you to also also add wallpaper or sticky tile backsplash to.
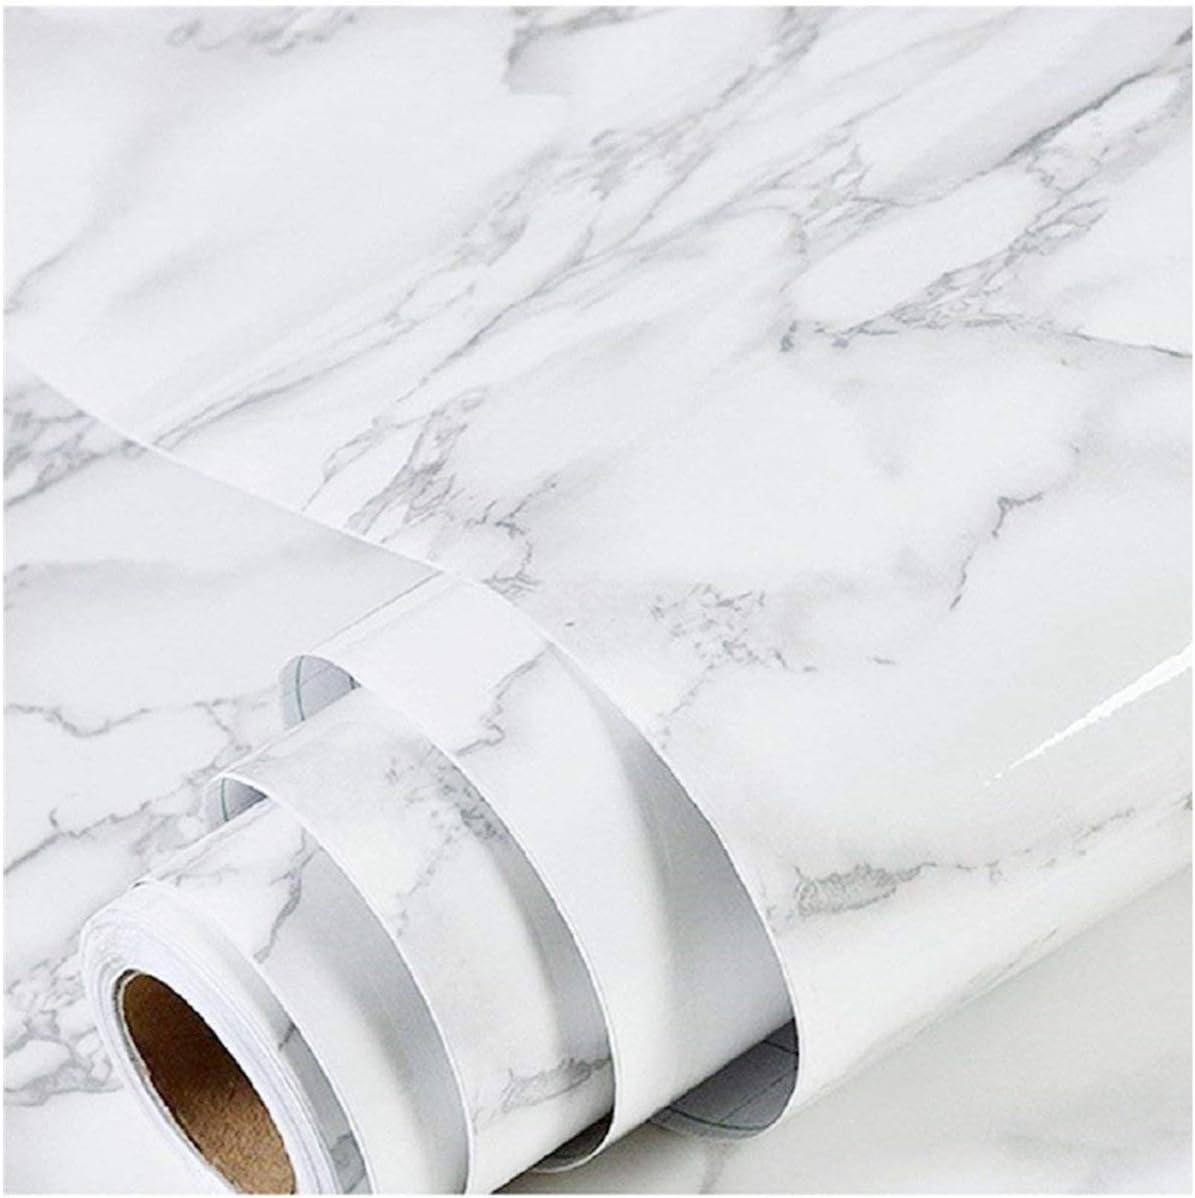
- Stain or cover the countertop with marble contact paper.
- Sew and hang a fabric curtain behind the sink. Just hang it on the rod before installing it.
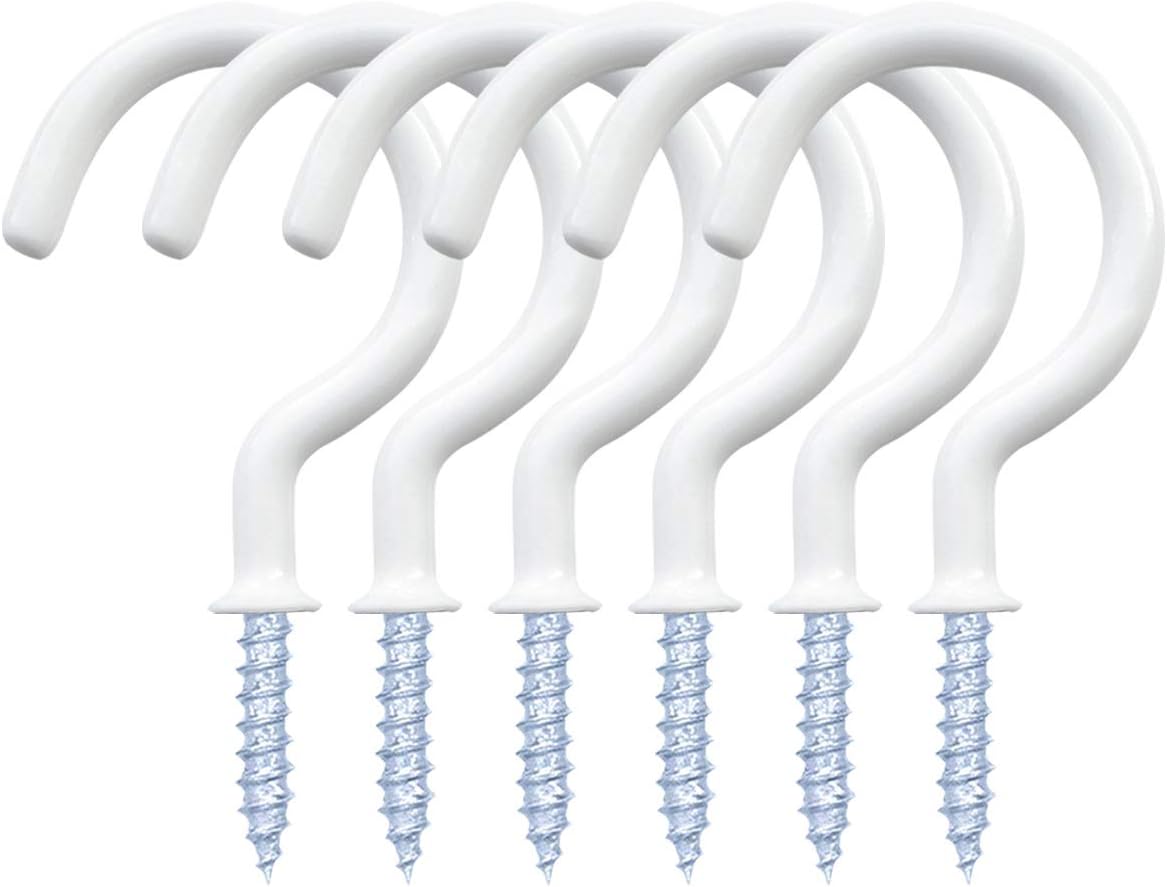
- Add screw-in hooks to the side for hanging items like towels or an apron.
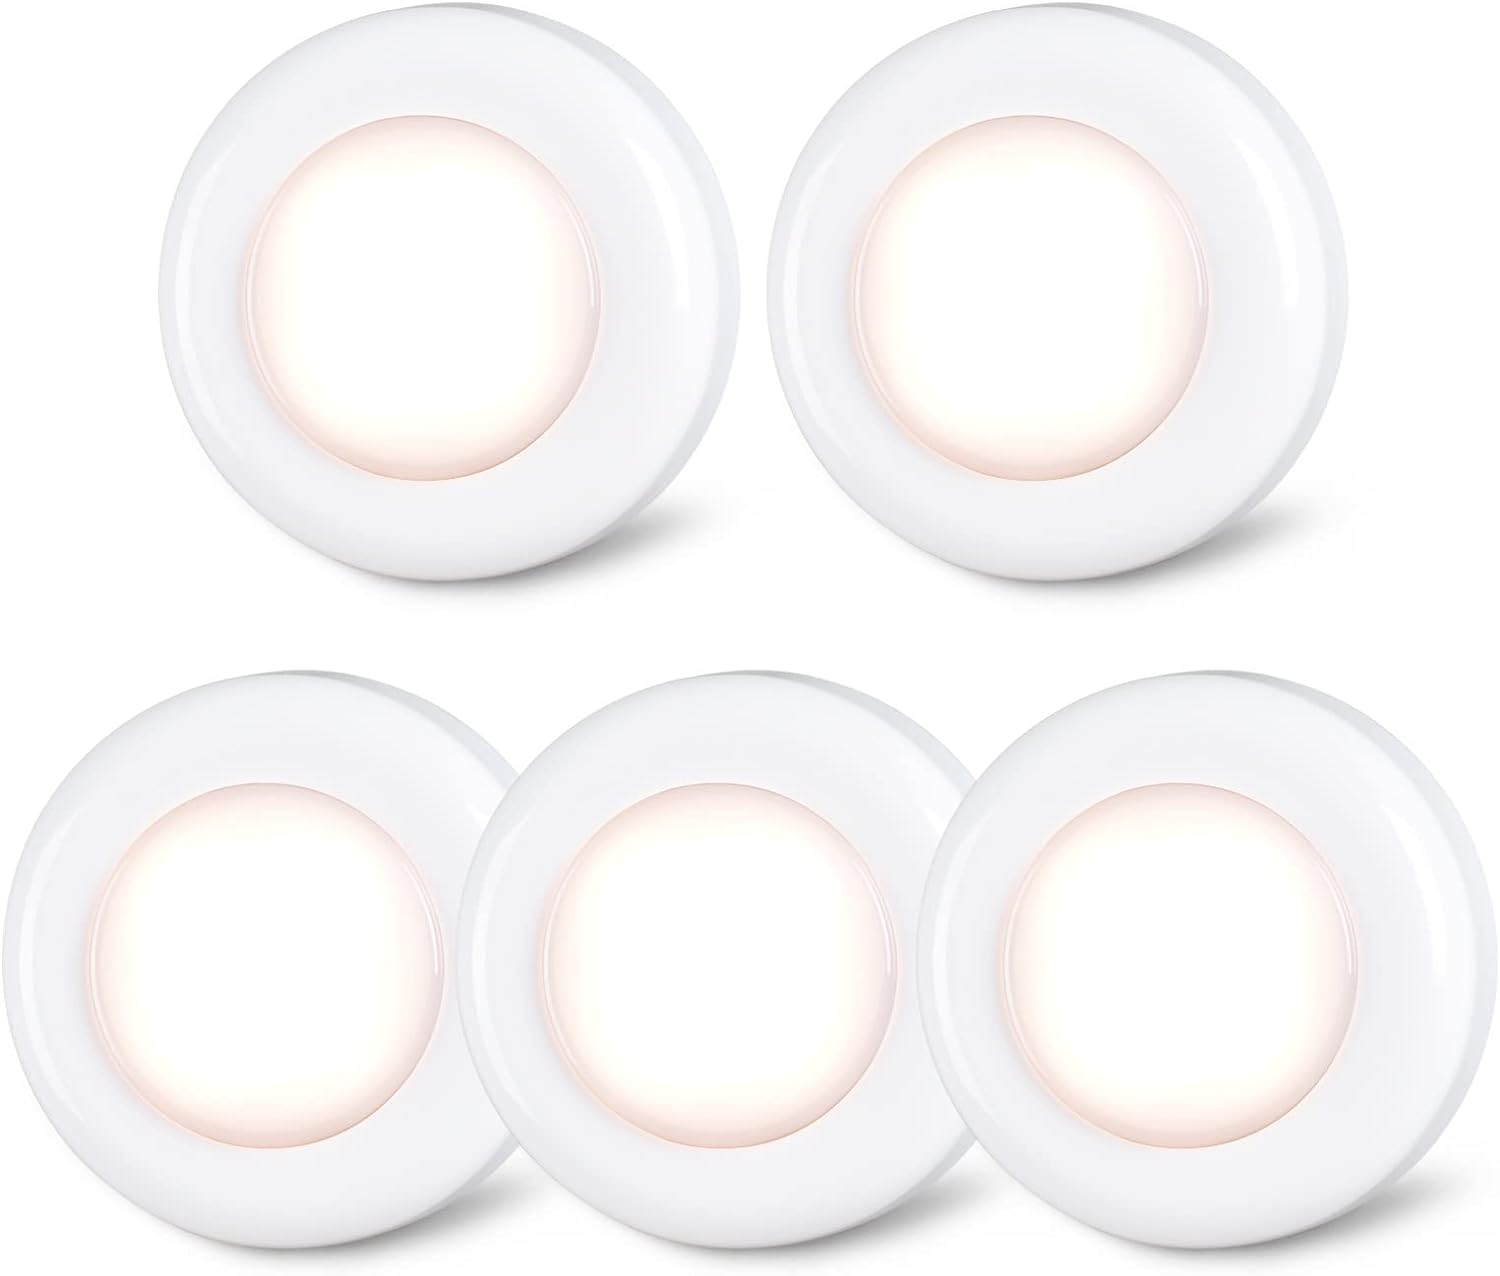
- Add battery-operated lights under the microwave panel.
Frequently Asked Questions
Can you paint Ikea Duktig Play kitchen?
Yes! You can absolutely paint the Ikea Duktig kitchen. For a quick and easy job, just give a light sanding to rough up the surface of where you intend to paint, give a gentle wipe, let dry and use spray paint. If there are any areas where you need a clean line between paint and the wood finish, be sure to use painters’ tape.
How do I make my Ikea play kitchen cute?
The Ikea Duktig Play kitchen straight from the store can be very plain. But that is the benefit of it! It’s a blank slate that you can easily make it into a super cute kitchen any child can enjoy.
- Try adding color with paint.
- Use wallpaper or wrapping paper to decorate any of the panels.
- Add a back panel with sticky tiles or leave open and add a curtain.
- Use a metallic spray paint to paint the microwave handle, cupboard door handles, kitchen sink and/or tap. The copper or rose gold tone is really in right now!
- Add pretty knobs under the stovetop area by drilling holes and screwing them in place.
- Hang cute kitchen towels in a pretty pattern.
- Accessorize, accessorize, accessorize! Cute toys like a toaster, tea pot, oven mitts are so cute! Hanging utensils on the back rod adds a little something special too!
How do you revamp an Ikea kitchen?
There are so many ways to revamp an Ikea Duktig play kitchen. Whether you’ve got a new one or old one, you can revamp it and make it unique.
If you’ve got an older Ikea Duktig play kitchen, I recommend cleaning it up with a wet cloth and soapy water. You can try using a magic eraser to take off any scuff marks.
Once it’s all cleaned up, I suggest revamping with a chalky spray paint and a beautiful wallpaper or wrapping paper. To adhere the wrapping paper, I used Mod-Podge to stick it down. I didn’t bother to seal it with more Mod-Podge.
What kind of paint do you use for Ikea play kitchen?
I suggest using a chalky finish spray paint because I had such a great experience using it. I bought one can of spray paint and did two coats and just had enough to finish the job. If you have a heavy hand, or plan to spray paint more of the areas than I did, I suggest 2 cans to ensure you have enough.
Spray paint is great for the wood and plastic surfaces, but you will want to check the spray paint label to know which surfaces your paint will adhere to.
I also suggest chalk-paint. It works great but there will be more mess compared to using a spray paint. I painted everything outside on my lawn and put down carboard boxes underneath to protect the grass.
