
Learn how to make homemade butter with whipping cream and sea salt. This simple method also gives you fresh buttermilk to save for other recipes.
Making your own butter at home is surprisingly easy, and you only need one main ingredient: whipping cream.
I started making homemade butter because I love knowing exactly what is going into the foods I make. There’s something really satisfying about taking a carton of cream and turning it into fresh, creamy butter right in your own kitchen.
And the taste? So good. Homemade butter is especially delicious spread over fresh bread or served alongside a warm bowl of homemade beef stew or mushroom soup.
The best part is that you also end up with buttermilk, which you can save and use in other recipes.
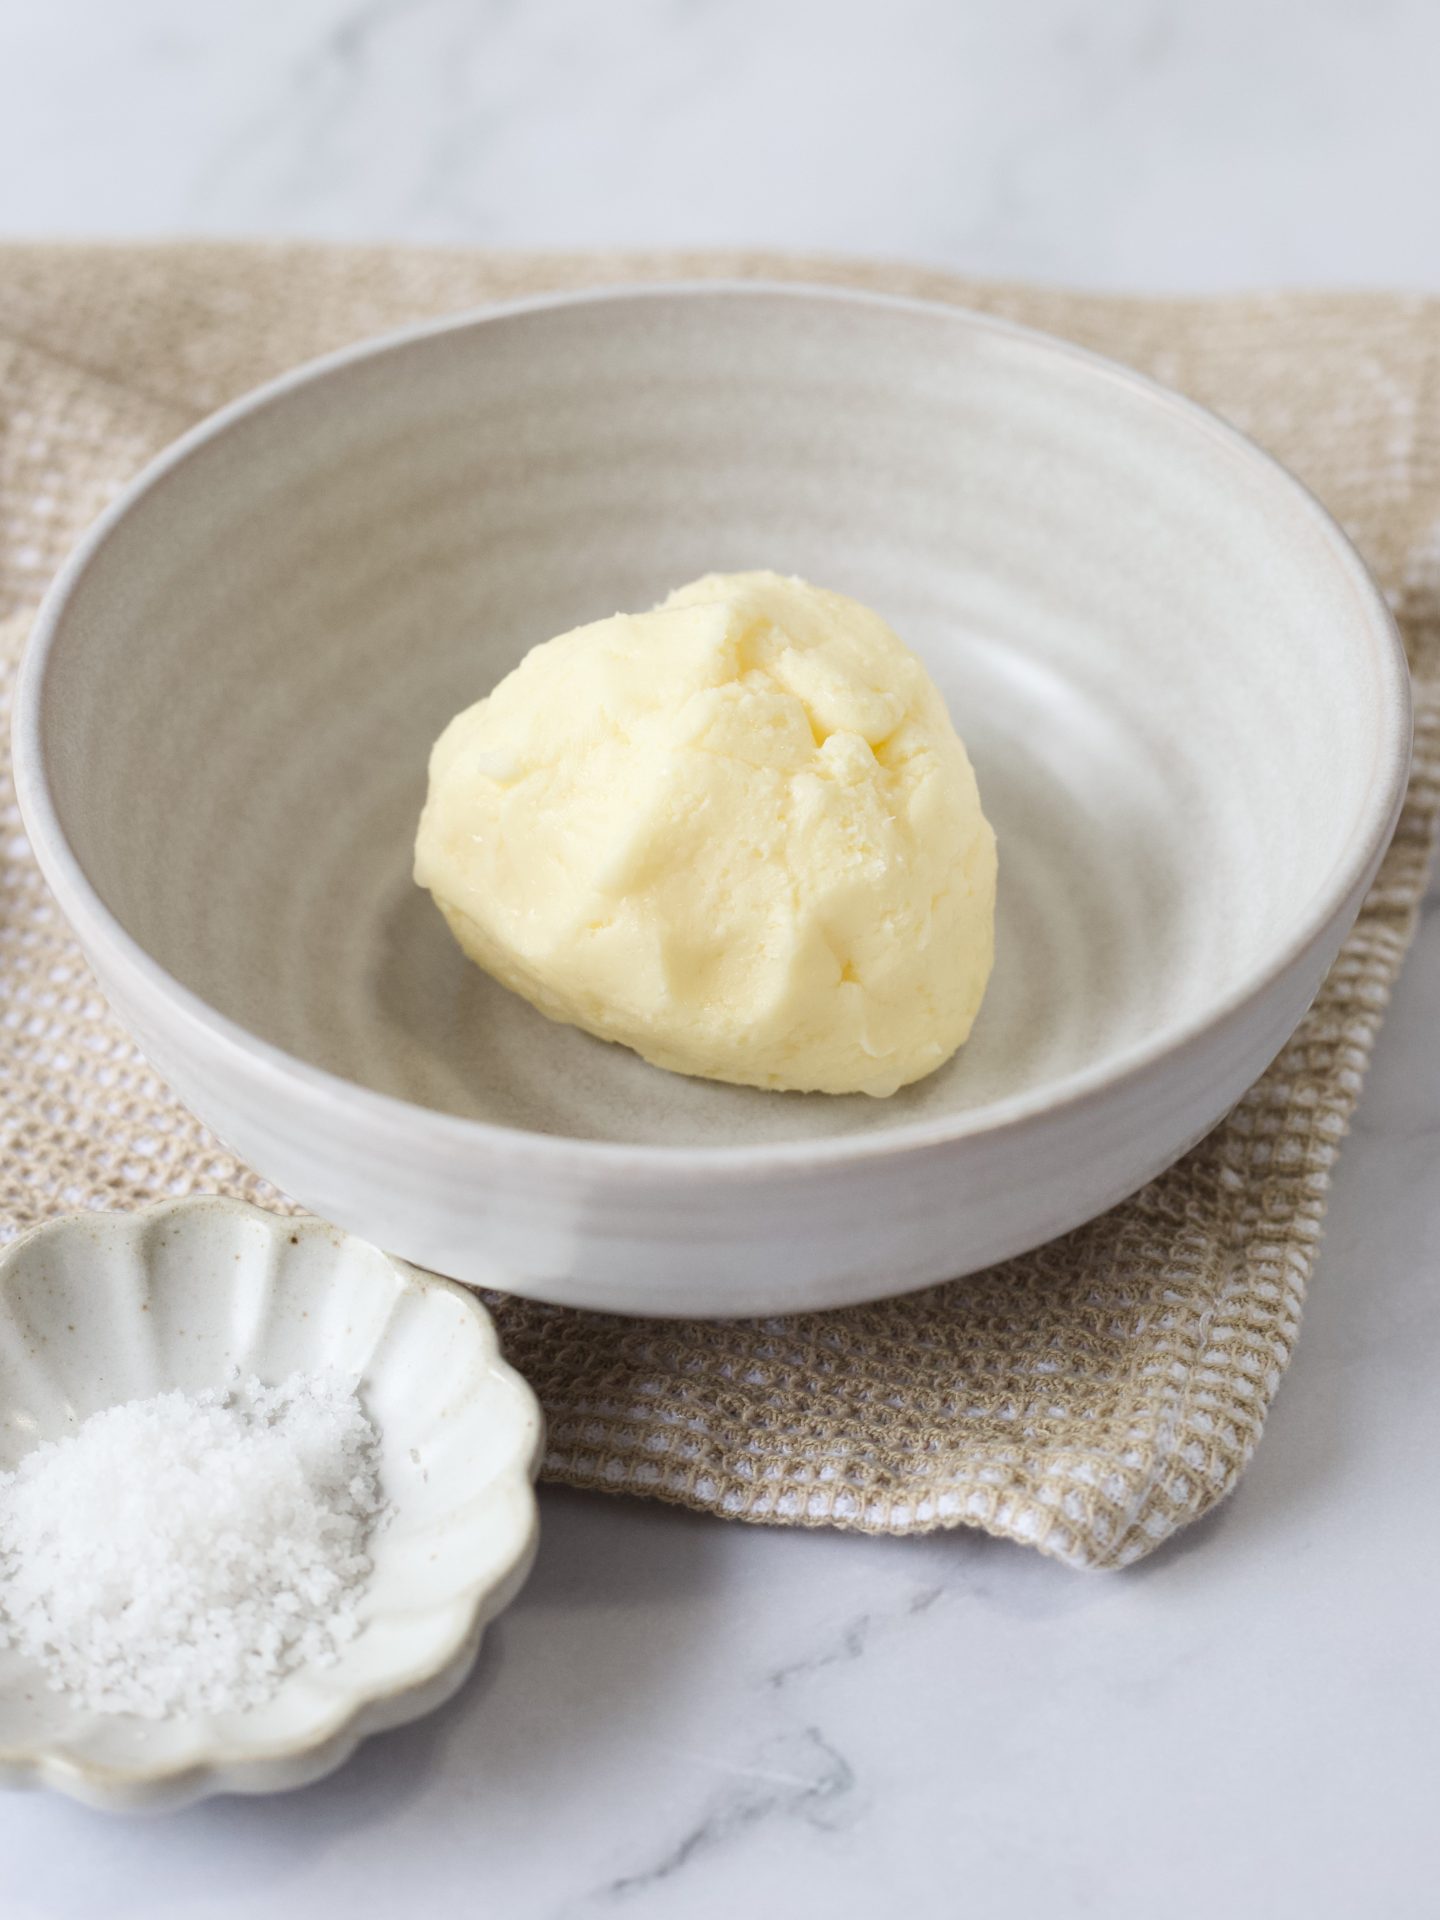
What You Need
- 1 quart (946 mL) carton of whipping cream (33% minimum)
- ½ teaspoon sea salt, optional
- Large Mason jar
- Electric whisk
- Fine-mesh sieve
- Bowl
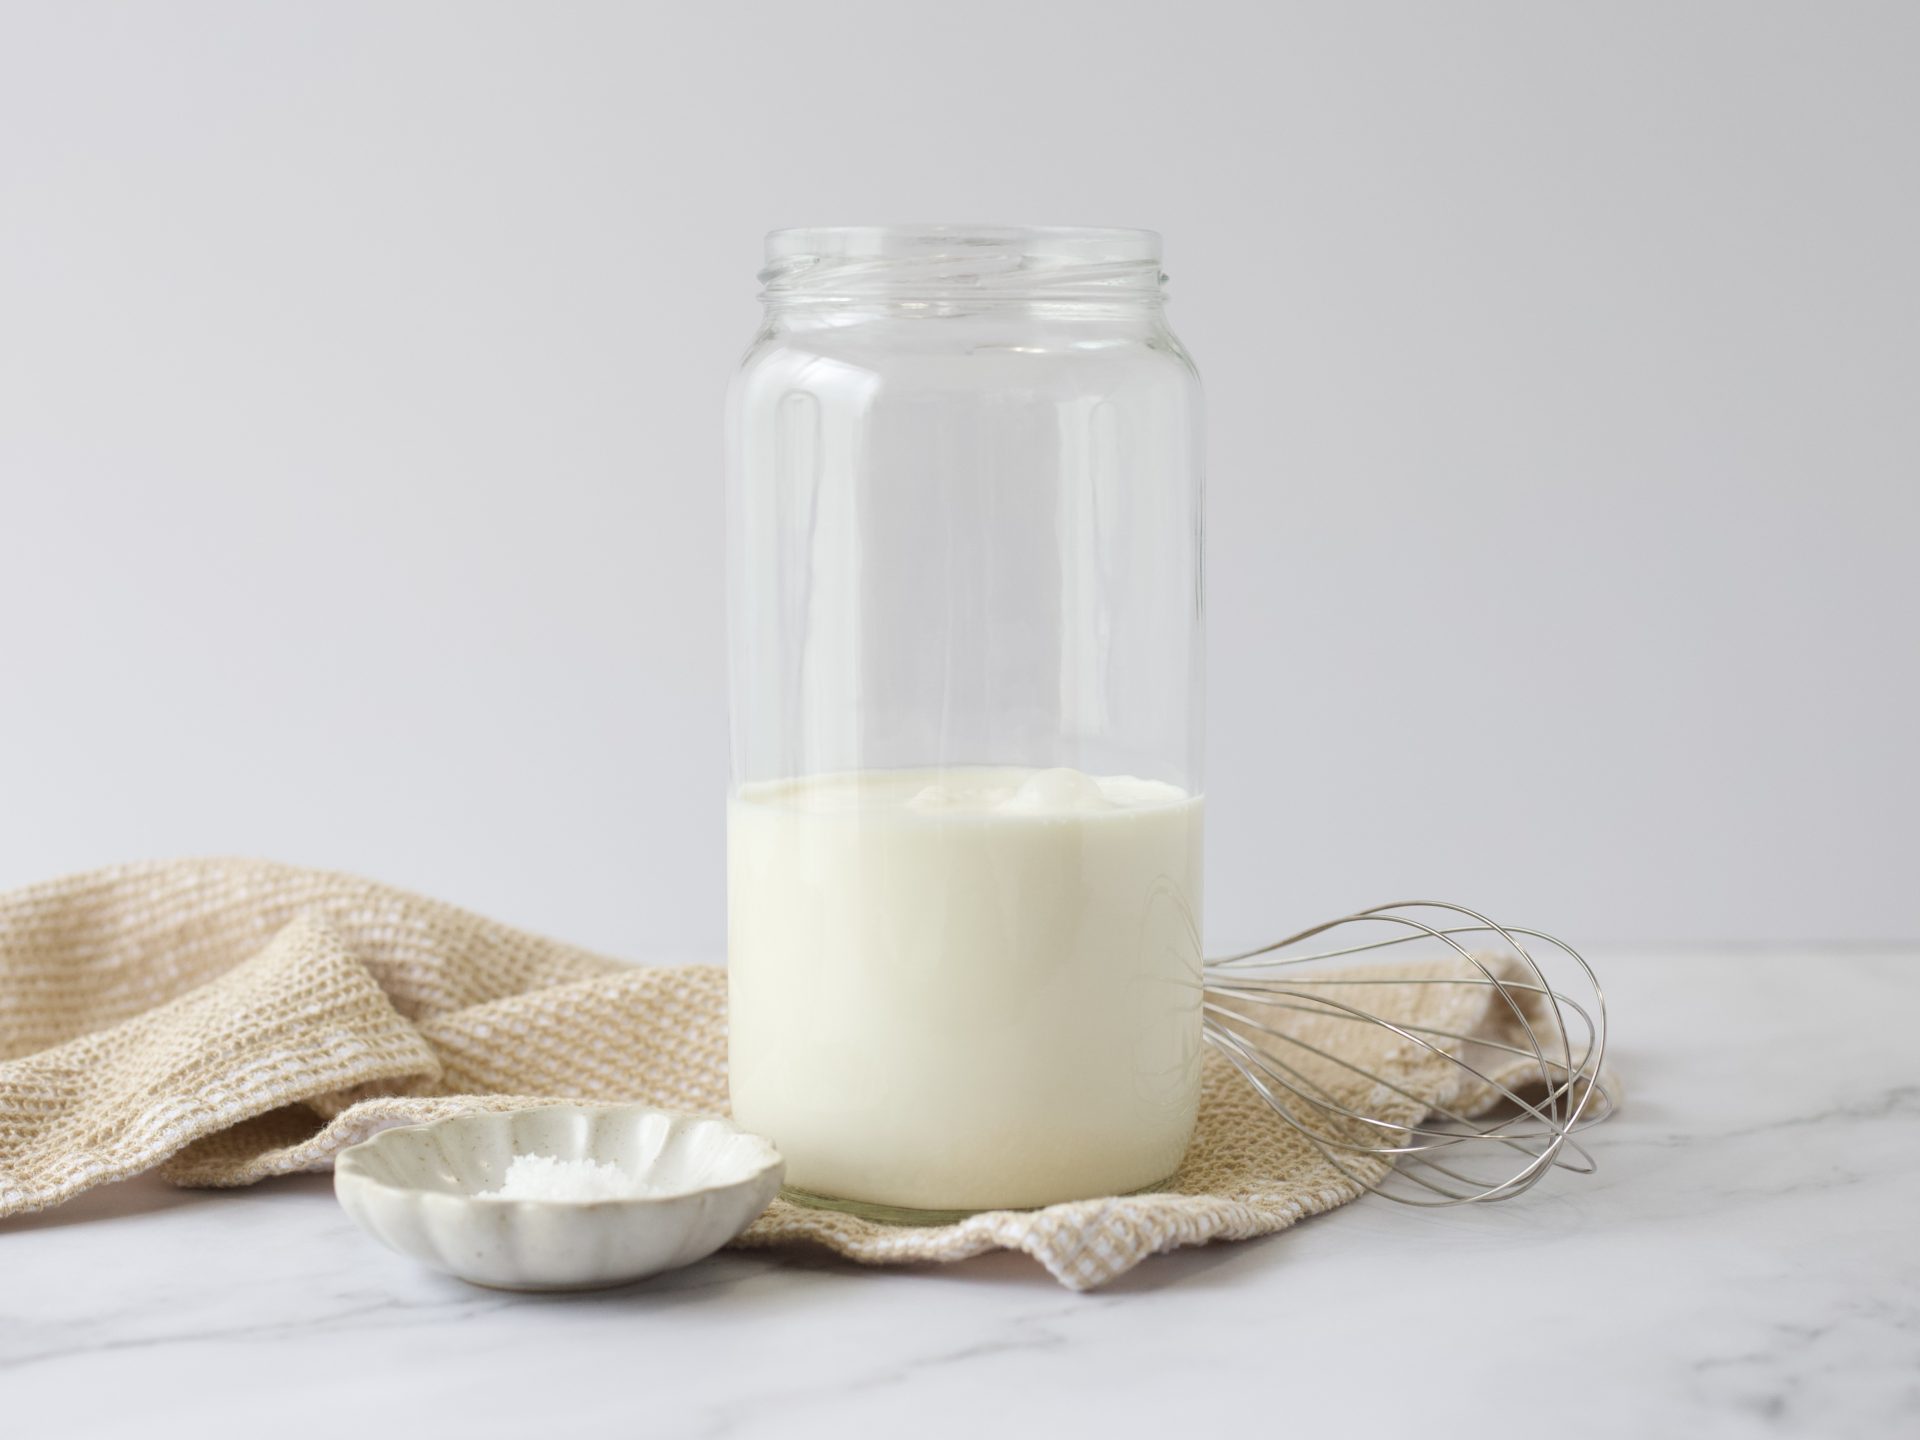
I recommend using a really large Mason jar because the cream will expand as you whisk it. You don't want to fill the jar too much or you'll end up with cream splashing everywhere.
If you only have a smaller jar, you can simply work with half the cream at a time.
How to Make Homemade Butter
Step 1. Bring the cream to room temperature
Pour the whipping cream into a large Mason jar, being careful not to overfill it.
Let the cream sit on the counter for about 45 minutes to take the chill off and come closer to room temperature.
Step 2. Whisk the cream
Place your electric whisk into the jar and whisk on high.
After a few minutes, the cream will thicken and turn into whipped cream. Don't stop here! Keep whisking.
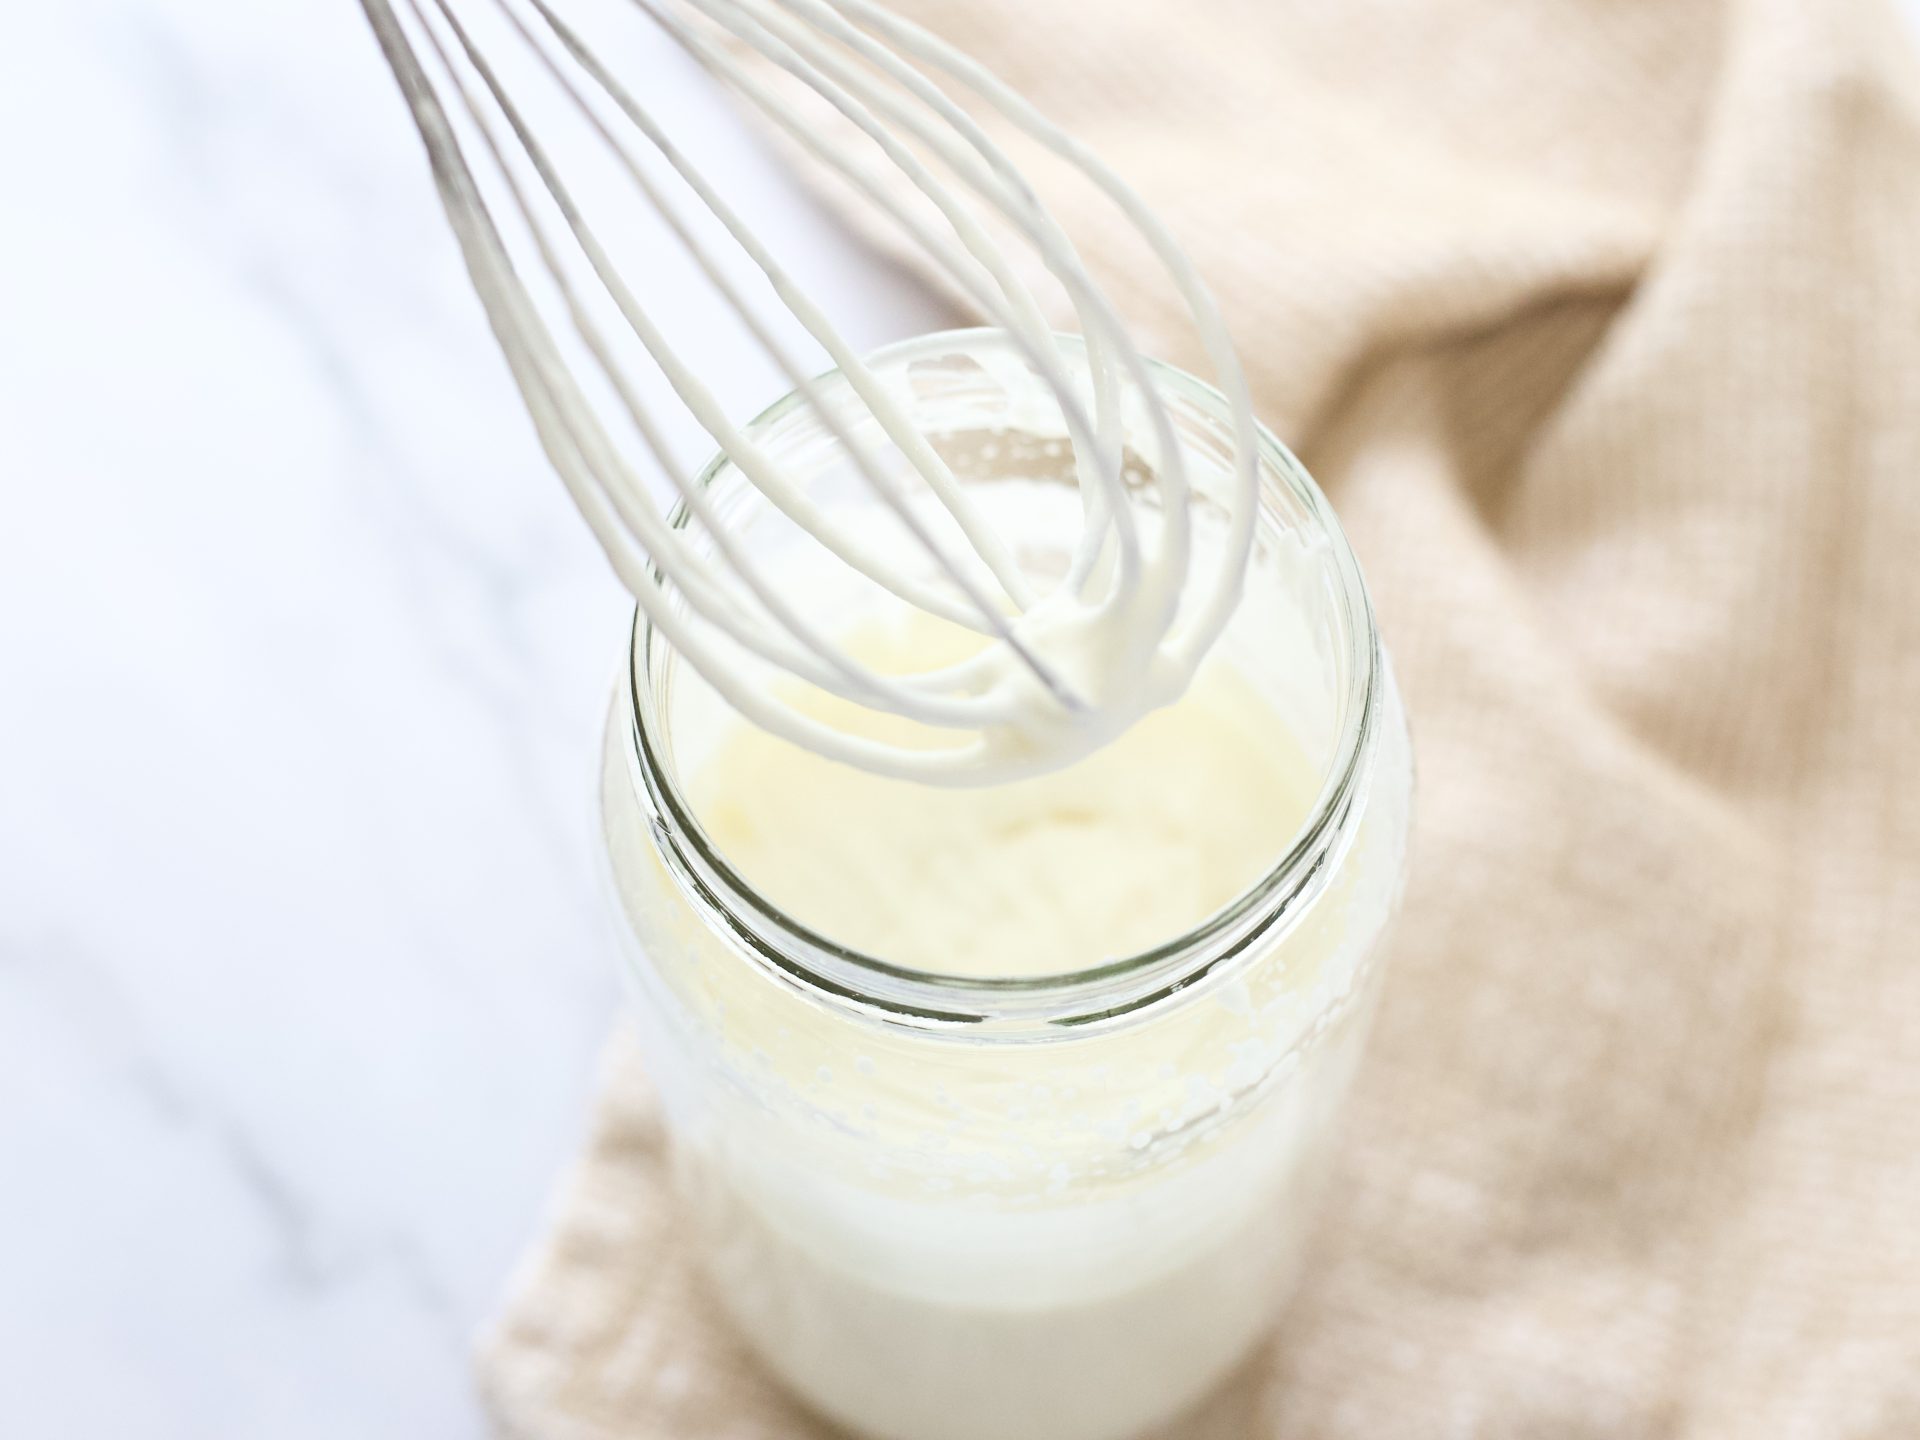
As you continue, you'll notice small droplets of liquid beginning to form. The mixture will start looking watery again as the butter separates from the liquid.
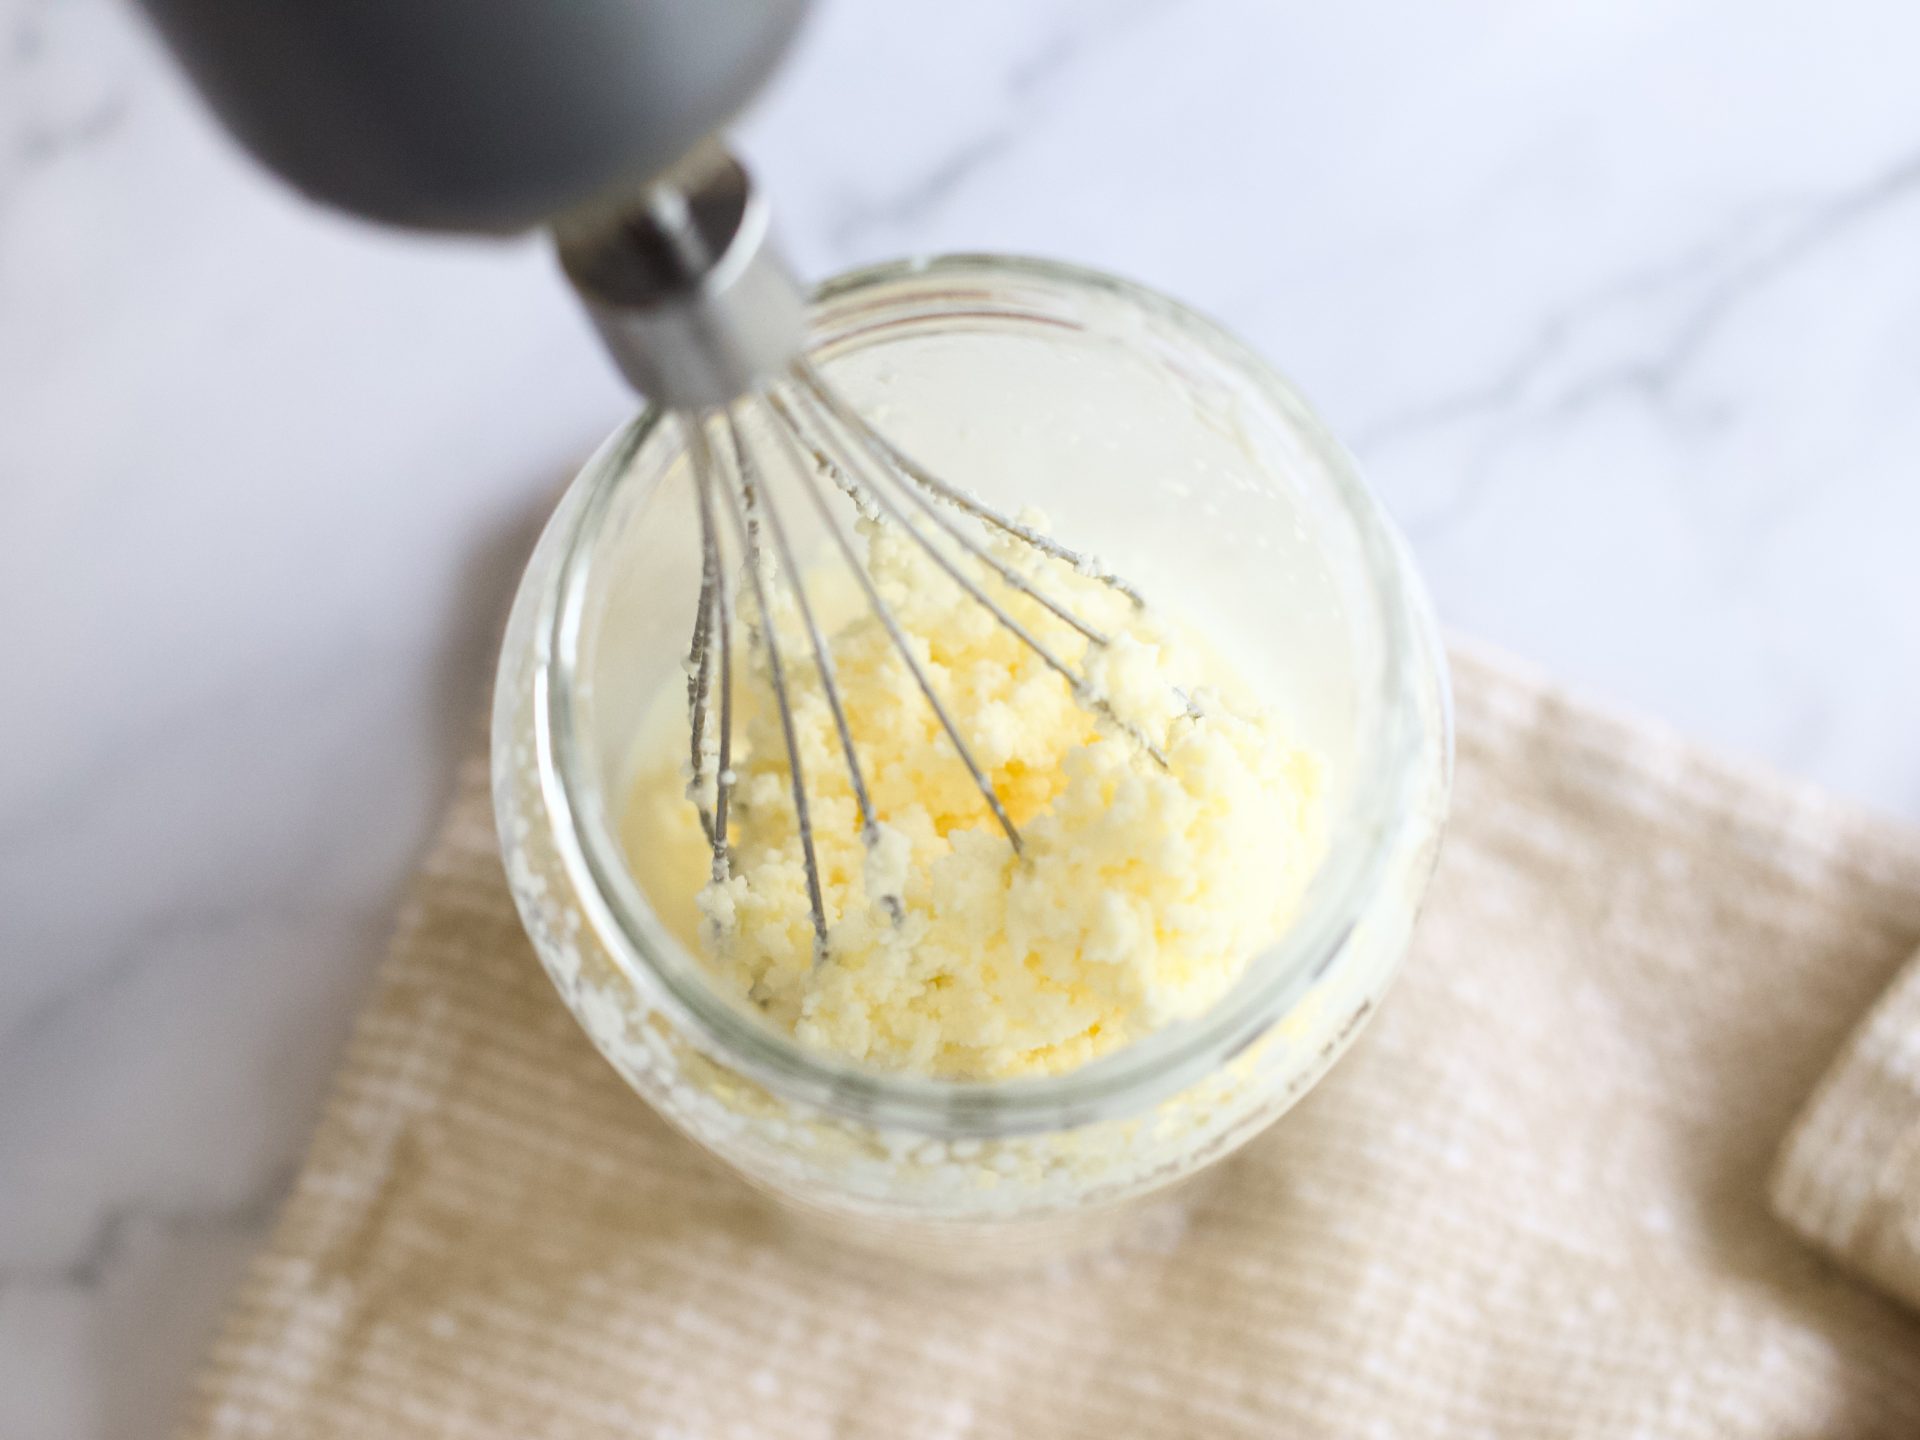
Keep going until you have lots of large clumps of butter and the buttermilk has completely separated. At this point, the mixture will look quite splashy and the butter will be clearly separated from the liquid.
Step 3. Strain the butter
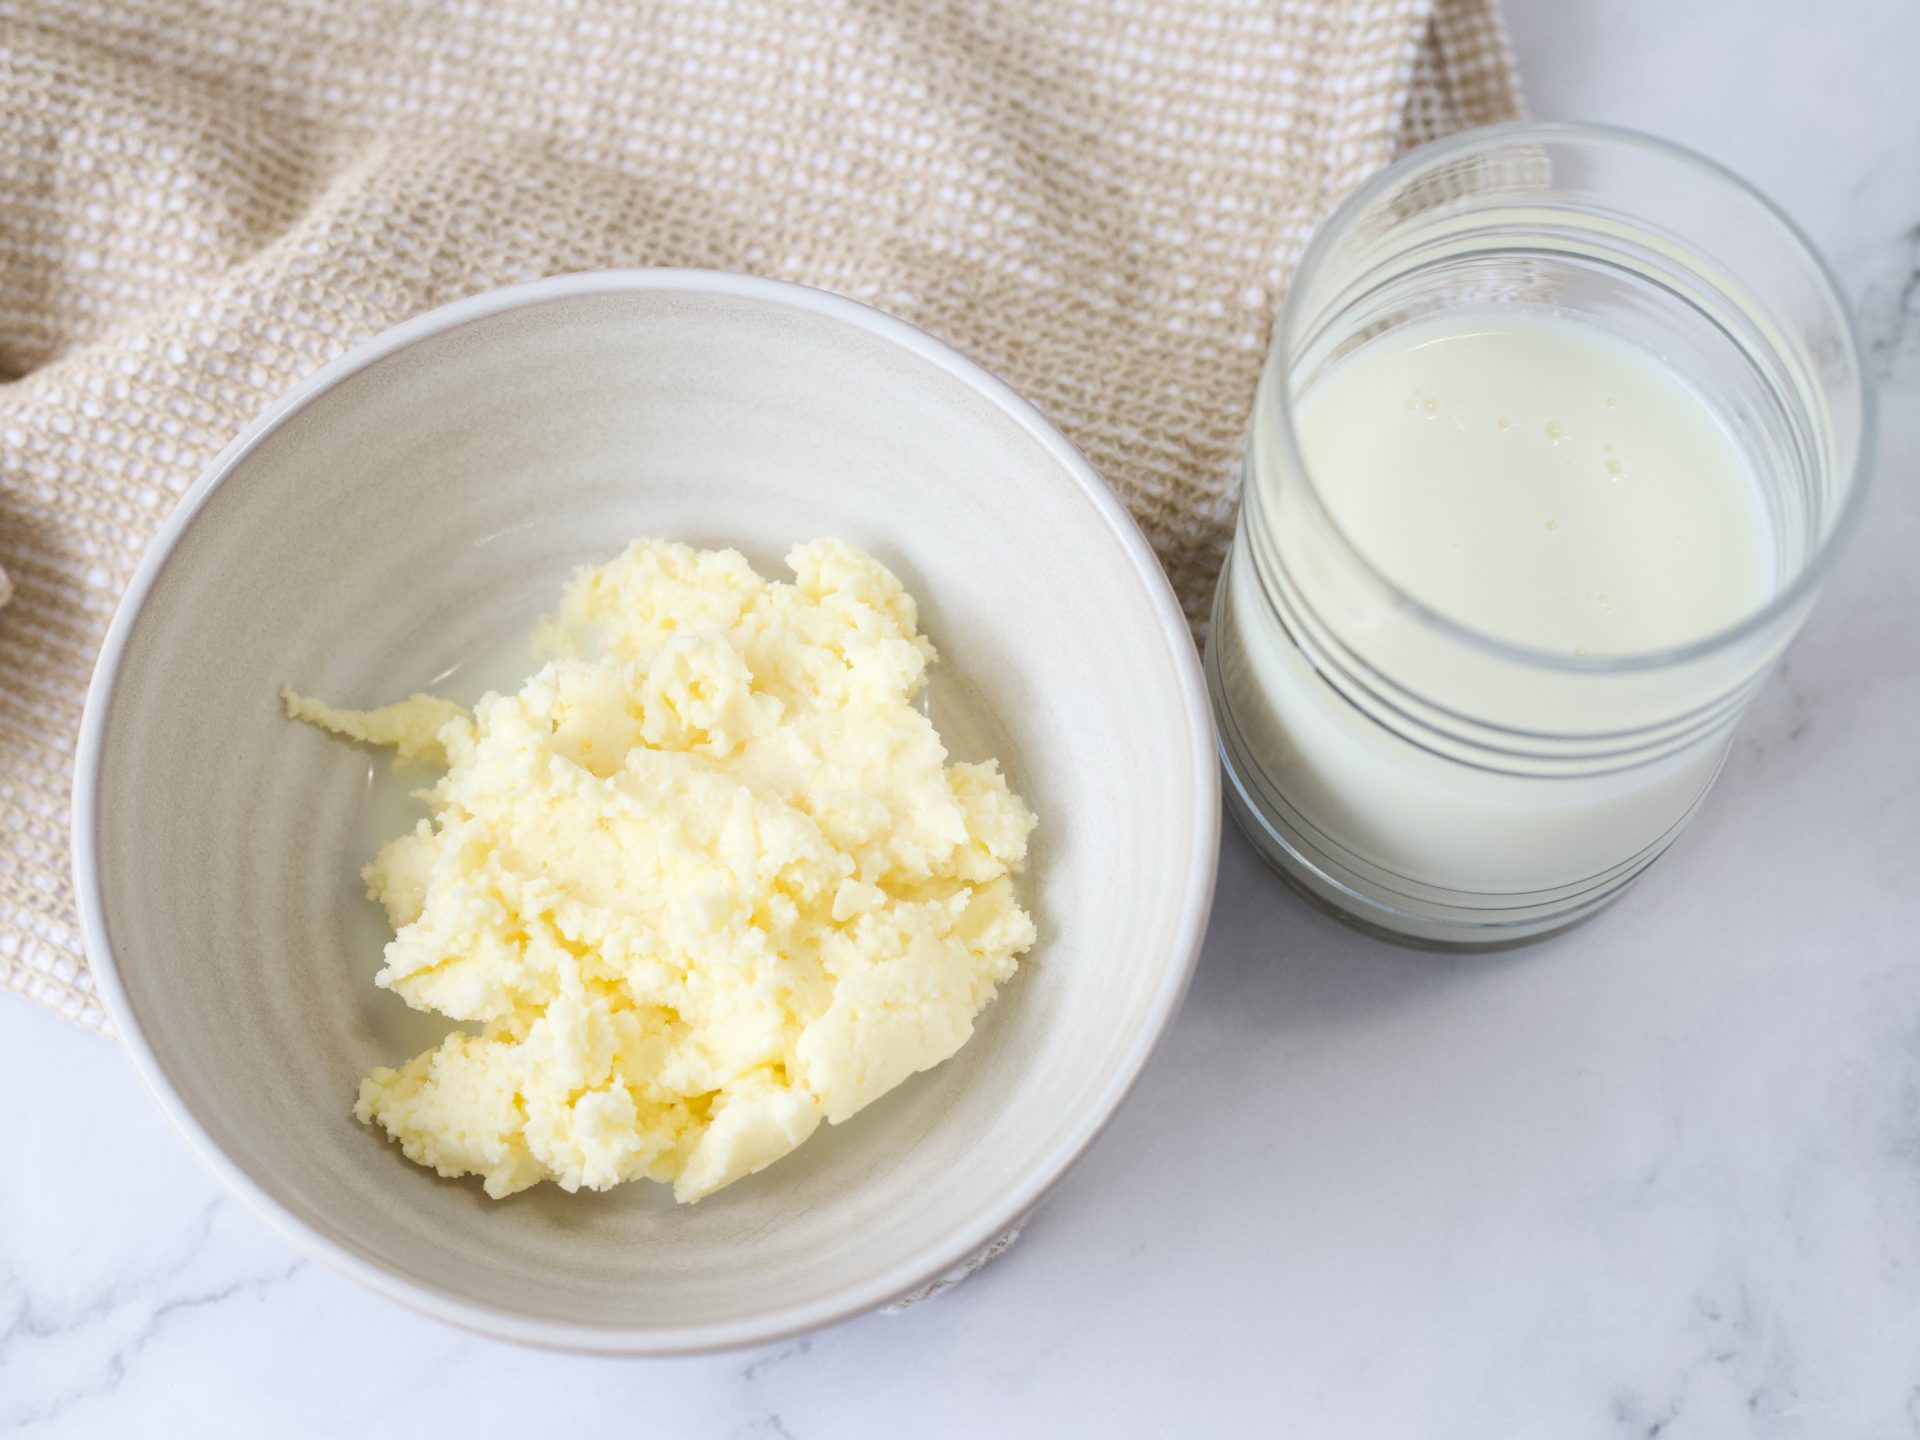
Pour the mixture through a sieve into a bowl. This separates the butter from the buttermilk.
I like to save the buttermilk because it can be used in other recipes, so don't pour it down the drain!
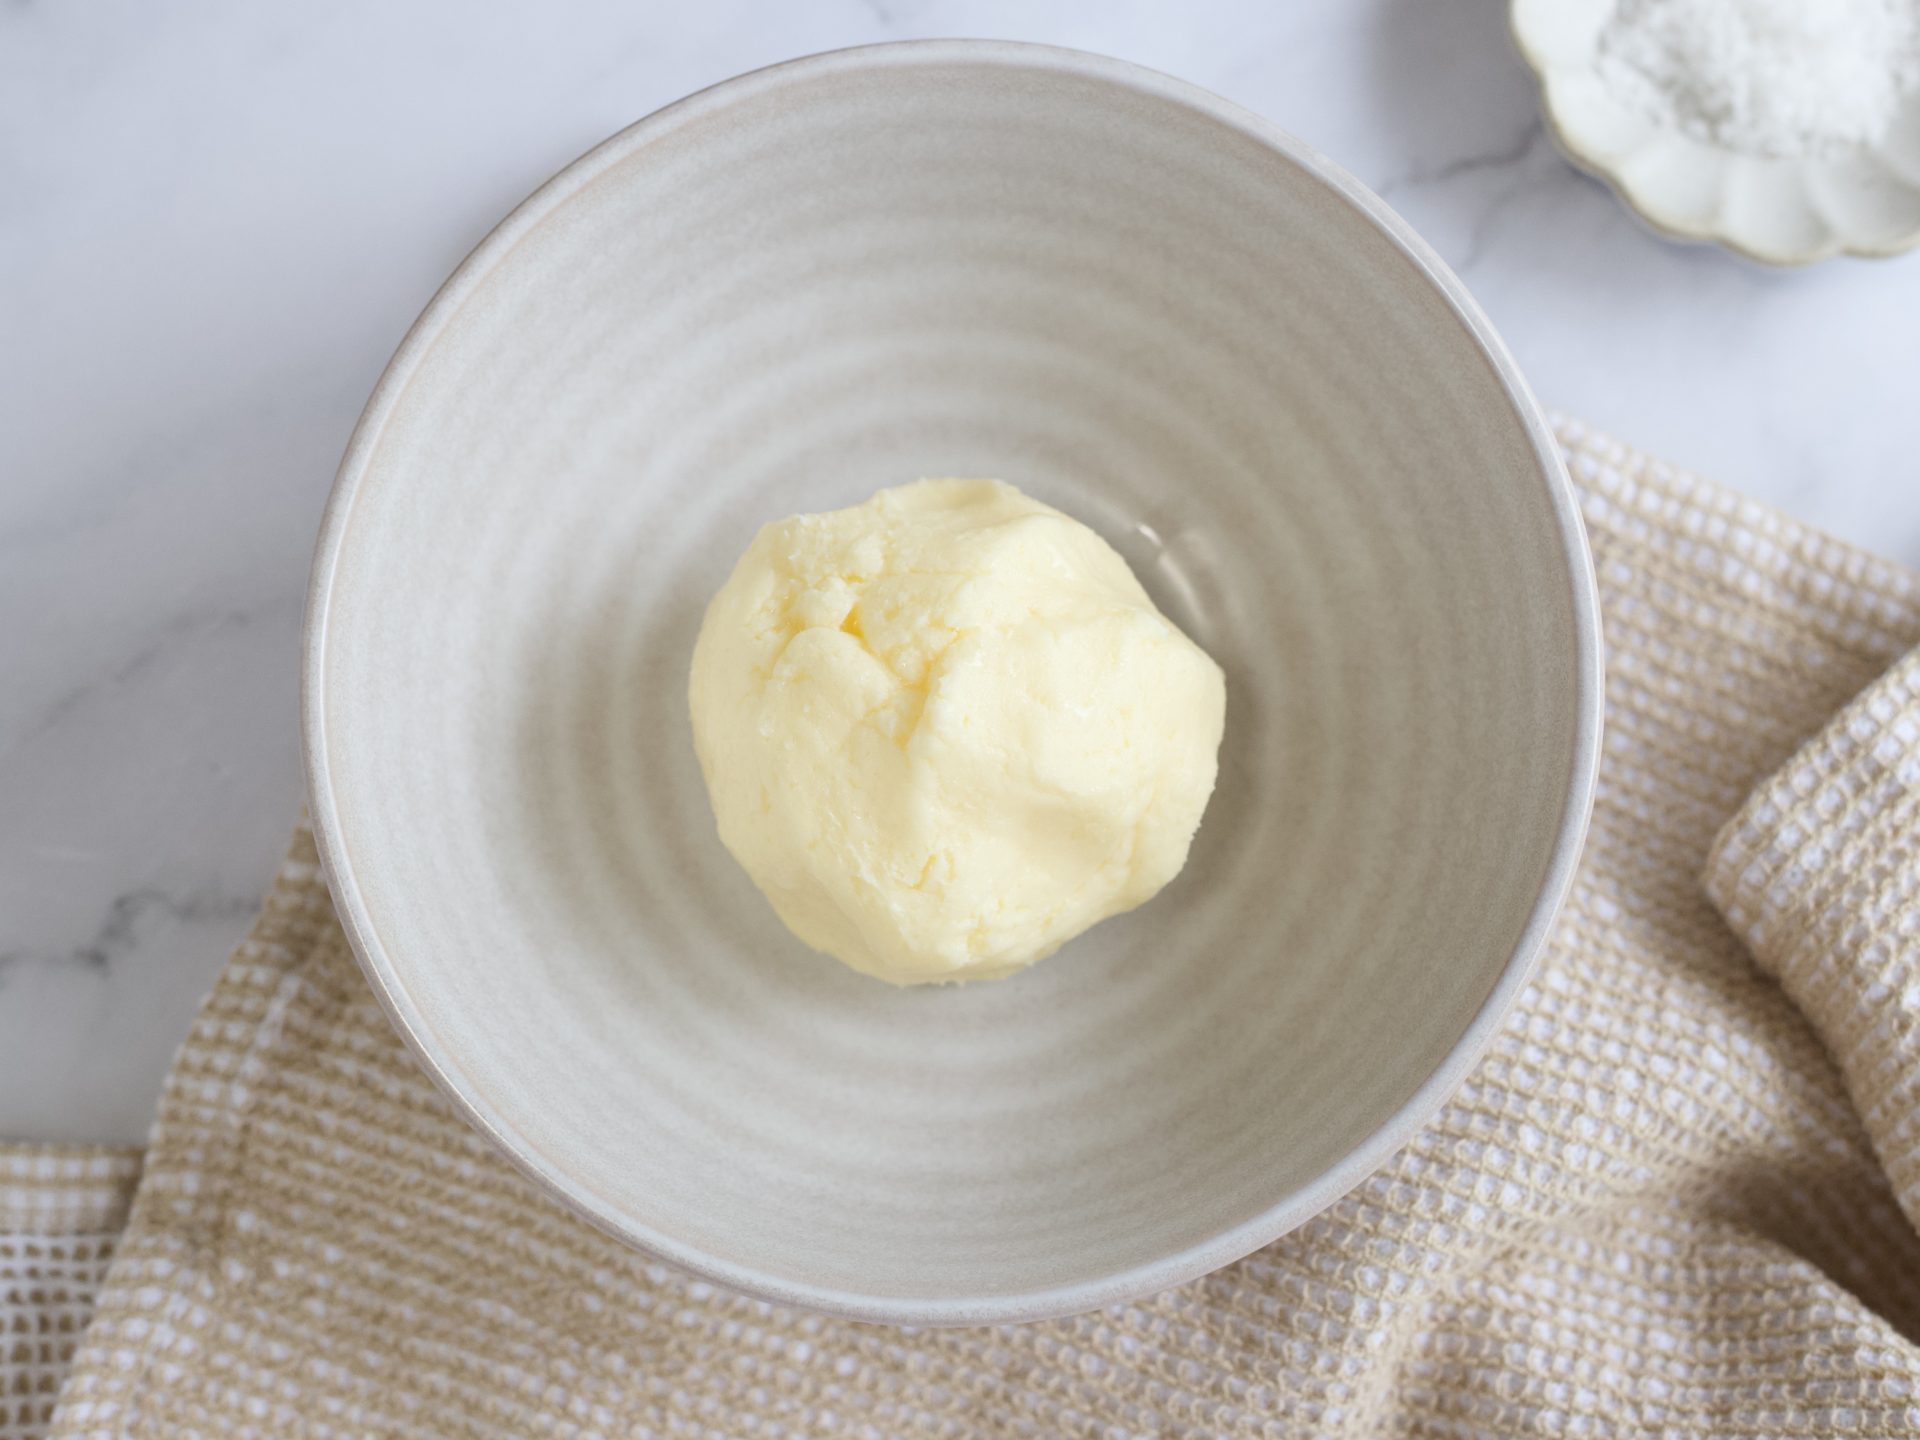
Using clean spoons, gently press and gather the butter together into a ball. Try to press out as much of the remaining buttermilk as you can.
Step 4. Rinse the butter
Once you've removed as much buttermilk as possible, run your tap water until it is very cold.
Gently pick up the butter and hold it under the cold running water. Use your hands or a spoon to gently press and work the butter, allowing the water to wash away any remaining buttermilk.
Keep going until the water running off the butter is clear and you've removed as much of the buttermilk as possible.
This step is worth taking your time with because removing the remaining buttermilk will help your homemade butter keep longer.
Step 5. Add salt (Optional)
Transfer the butter to a clean bowl and remove any excess water.
Add ½ teaspoon of sea salt, if using, and mix it through the butter.
That's it! You just made your own butter.
How to Store Homemade Butter
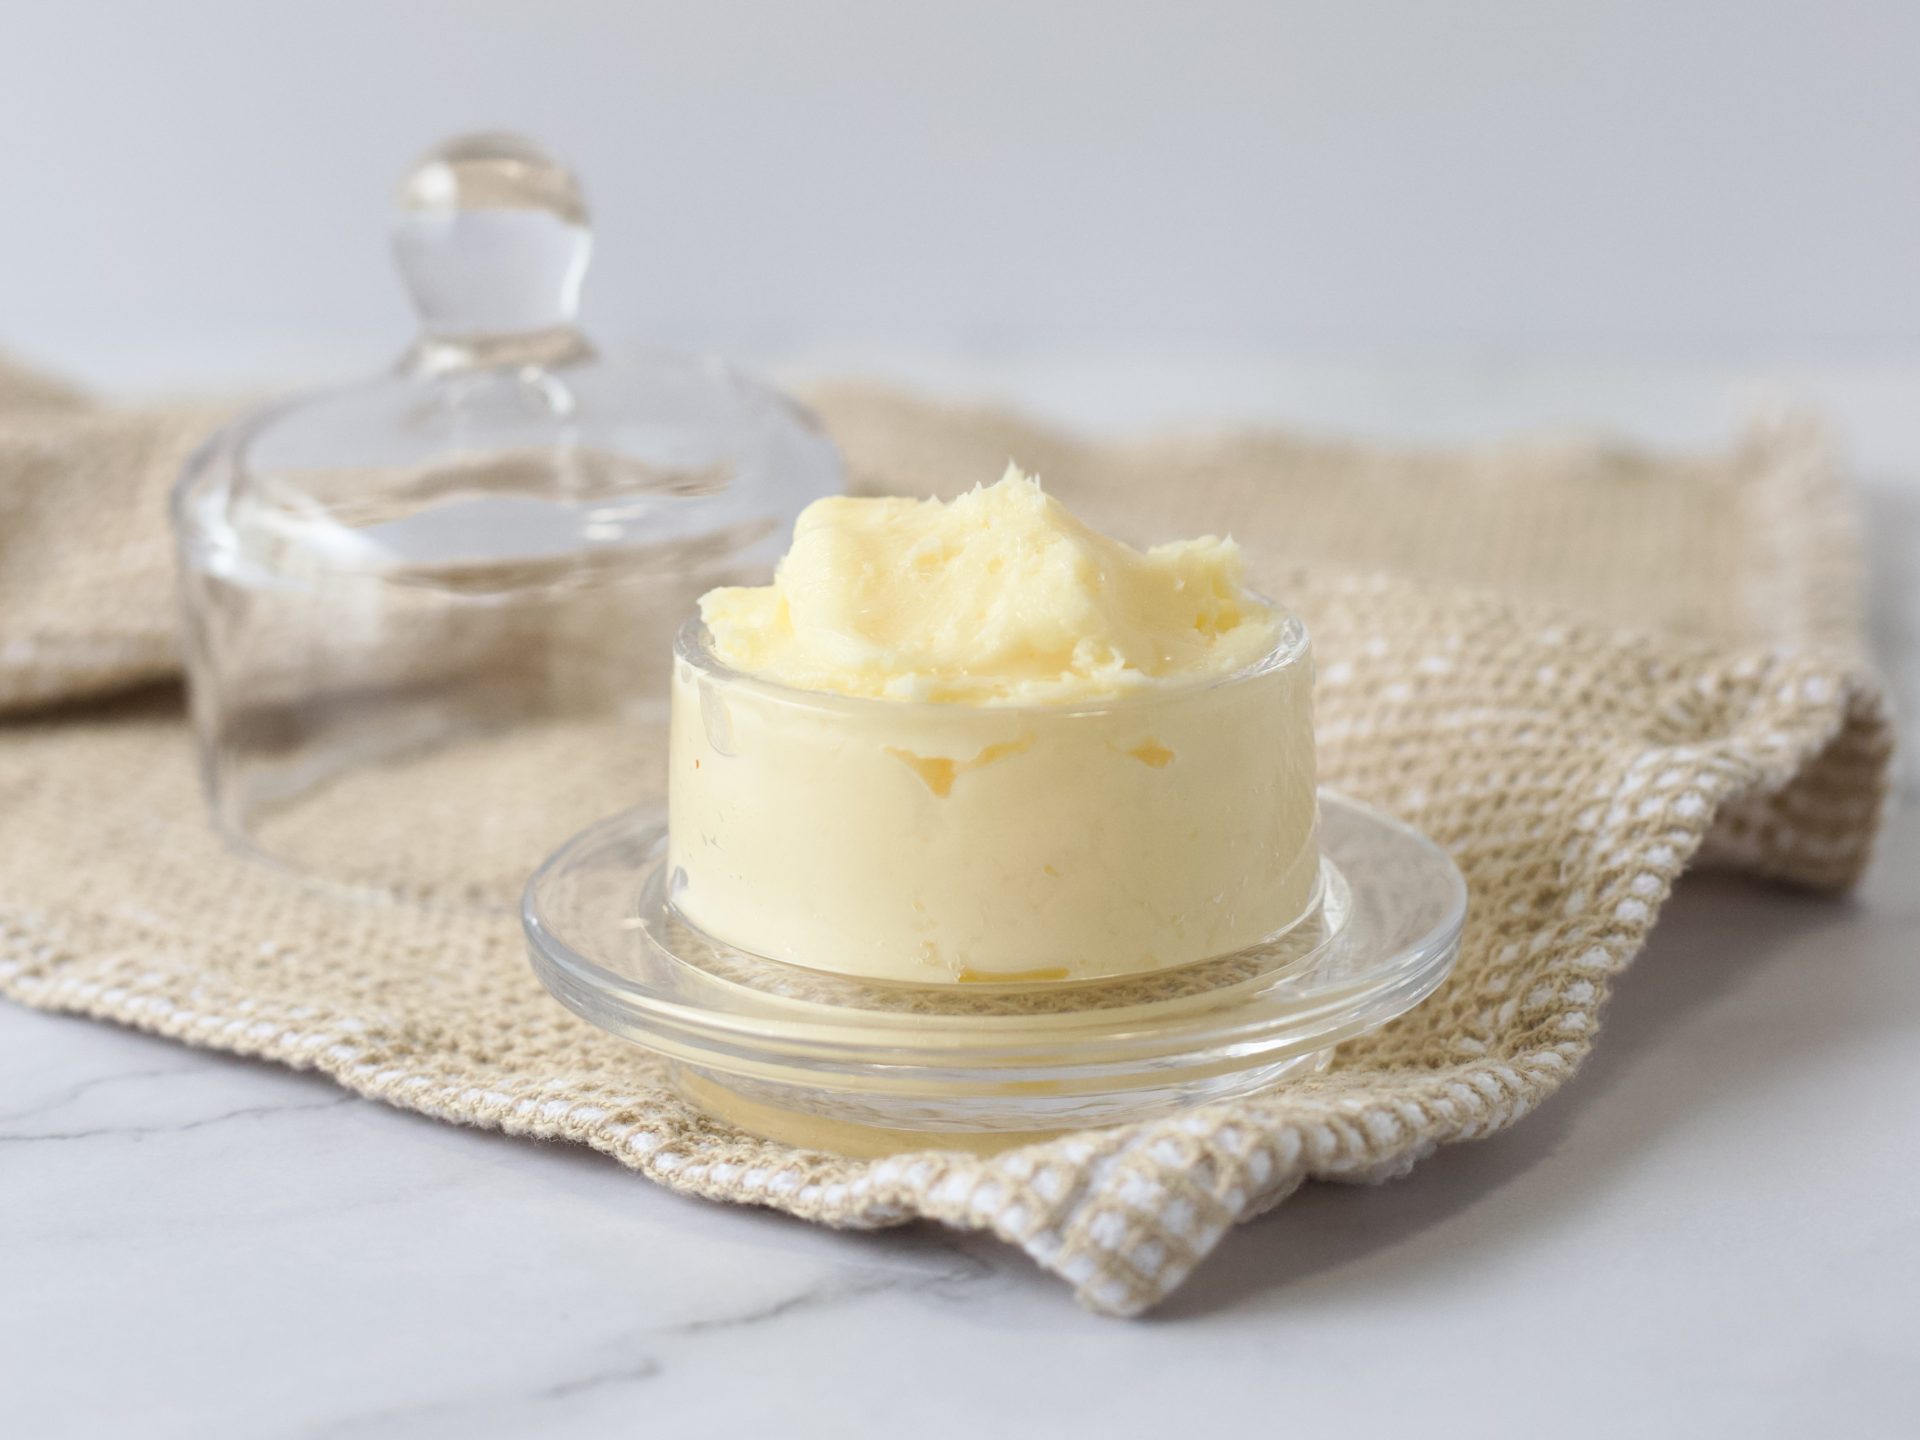
I keep my homemade butter in the refrigerator and transfer a small portion to a butter bell that I keep on the counter for a couple of days while I'm using it.
If you're not going to use it right away, keep it refrigerated.
Ways to Enjoy Homemade Butter
There are so many simple ways to enjoy fresh homemade butter.
My favourite is probably the simplest: spread it over a piece of fresh bread while the butter is still cool and creamy.
It's also delicious served alongside:
- Homemade beef stew
- Mushroom soup
- Freshly baked bread
- Roasted vegetables
- Warm potatoes
- Toast or crackers
And don't forget to save the buttermilk! You can use it in other recipes instead of throwing it away.
Why Make Homemade Butter?
Honestly, because it's just so easy.
There's something really fun about watching a carton of whipping cream go through all those stages — cream, whipped cream, and finally butter — right before your eyes.
You don't need any special equipment, and the result is fresh, creamy butter that tastes delicious.
Once you make it yourself, you might wonder why you didn't try it sooner!
Homemade Butter
Ingredients
- 1 quart whipping cream minimum 33%
- ½ tsp sea salt optional
Instructions
- Pour the whipping cream into a large Mason jar, leaving plenty of room for the cream to expand. If using a smaller jar, work with half the cream at a time.
- Let the cream sit at room temperature for about 30-45 minutes.
- Using an electric whisk, whisk the cream on high. After a few minutes, it will become thick like whipped cream. Keep whisking.
- Continue whisking until small droplets of butter appear and the mixture starts to become watery again.
- Keep whisking until large clumps of butter form and the butter is completely separated from the buttermilk.
- Pour the mixture through a sieve into a bowl, catching the buttermilk so you can save it for another recipe.
- Use spoons to gently press the butter together into a ball, removing as much buttermilk as possible.
- Run the tap until the water is very cold. Gently hold the butter under the cold running water and press the butter to remove any remaining buttermilk.
- Transfer the butter to a bowl and remove any excess water.
- Add the sea salt, if using, and mix well.
- Store the butter in the refrigerator. Transfer a portion to a butter bell for keeping on the counter while using.
Nutrition information is estimated and does not adhere to U.S. FDA NLEA guidelines.